
 Pin it
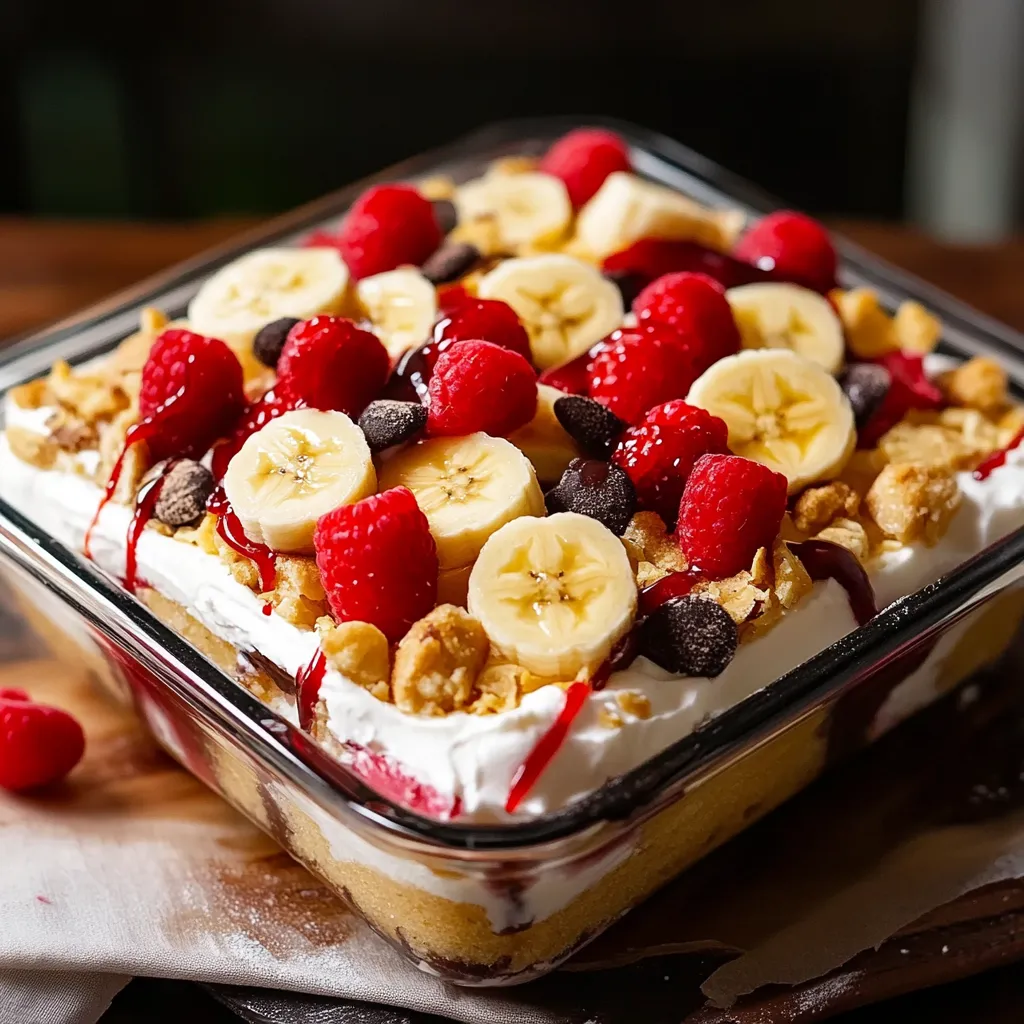
This spectacular no-bake banana split dessert transforms the classic ice cream treat into a showstopping layered cake that wows at every gathering without ever turning on your oven. Perfect for summer potlucks or when you need an impressive dessert without the fuss.
I first made this for my daughter's birthday when the summer heat made baking unbearable. The entire dessert disappeared within minutes, and now it's requested at virtually every family gathering from May through September.
Ingredients
- Graham cracker crumbs: Create a crisp, sweet foundation that holds everything together beautifully. Look for premade crumbs or pulse whole crackers in your food processor for fresher flavor
- Cream cheese: Provides structure and tangy richness. Always use full-fat for the best texture and allow it to soften properly at room temperature
- Cool Whip: Gives that light, cloudlike texture reminiscent of ice cream. You can substitute homemade whipped cream stabilized with a bit of gelatin if preferred
- Fresh bananas: Add authentic banana split flavor. Choose ones that are yellow with light spotting for perfect ripeness
- Crushed pineapple: Brings tropical sweetness and moisture. Be sure to drain extremely well to prevent a soggy dessert
- Fresh strawberries: Provide vibrant color and jammy sweetness. Select bright red berries with no white shoulders for maximum flavor
- Chopped hazelnuts: Add essential crunch and nutty depth. Toast them lightly beforehand for enhanced flavor
- Chocolate sauce: Recreates the classic sundae drizzle. Use quality chocolate sauce or melted chocolate for best results
Step-by-Step Instructions
- Create the Foundation:
- Combine graham cracker crumbs with melted butter and salt until the mixture resembles wet sand. Press firmly into the bottom of your baking dish using the flat bottom of a measuring cup to create an even, compacted layer. This creates a sturdy base that will hold its shape when sliced.
- Whip the Creamy Layer:
- Beat cream cheese until completely smooth with no lumps whatsoever, then add sugar and vanilla. The mixture should be silky and light before you fold in the whipped topping. Use gentle, sweeping motions with a silicone spatula to maintain maximum airiness in the mixture.
- Build Your Fruit Layers:
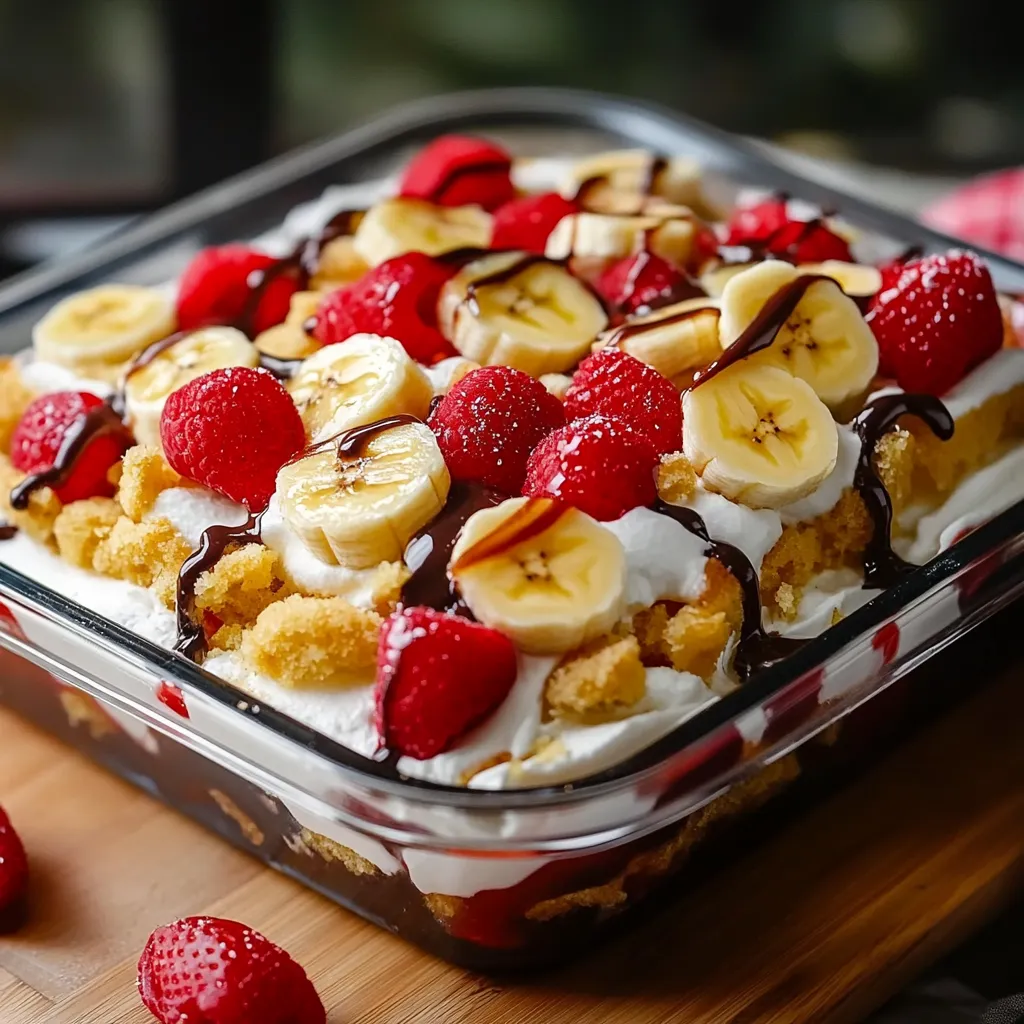
- Arrange banana slices in a single, slightly overlapping layer covering the entire cream cheese mixture. Follow with exceptionally well drained pineapple spread evenly across the surface. The strawberry layer should be arranged for maximum coverage and visual appeal.
- Crown Your Creation:
- Spread the final whipped topping layer with artistic swoops and swirls for visual interest. The chocolate drizzle should be applied in a zigzag pattern across the entire surface, and the nuts sprinkled generously to ensure some in every bite.
 Pin it
The crushed pineapple layer is what truly sets this dessert apart from other no bake cakes. My grandmother always insisted on draining it overnight in a fine mesh sieve for the perfect consistency, and after years of making this recipe, I can confirm her wisdom was spot on.
Preventing Banana Browning
The biggest challenge with this dessert is keeping the bananas from turning brown. Dip your banana slices in a mixture of 1 tablespoon lemon juice and 1 cup water before adding them to your dessert. This quick acidic bath prevents oxidation while not affecting the flavor significantly. Alternatively, arrange your banana slices immediately before adding the pineapple layer, as the acidity in the pineapple helps preserve the bananas naturally.
Make It Your Own
This recipe welcomes creative variations based on your preferences. Try using chocolate graham crackers for the crust for a more decadent base. Replace strawberries with cherries for a more traditional banana split flavor. Add a layer of hot fudge directly on top of the cream cheese layer before the fruit for serious chocolate lovers. Mix mini chocolate chips into the cream cheese layer for texture contrast throughout.
Serving Suggestions
For an extra special presentation, serve this dessert with additional warm chocolate sauce on the side. Prepare individual portions in clear glasses for an elegant dinner party option, building the layers vertically for a striking visual effect. Consider serving with extra sliced bananas and berries on the side for guests who want to amp up the fruit factor even more.
 Pin it
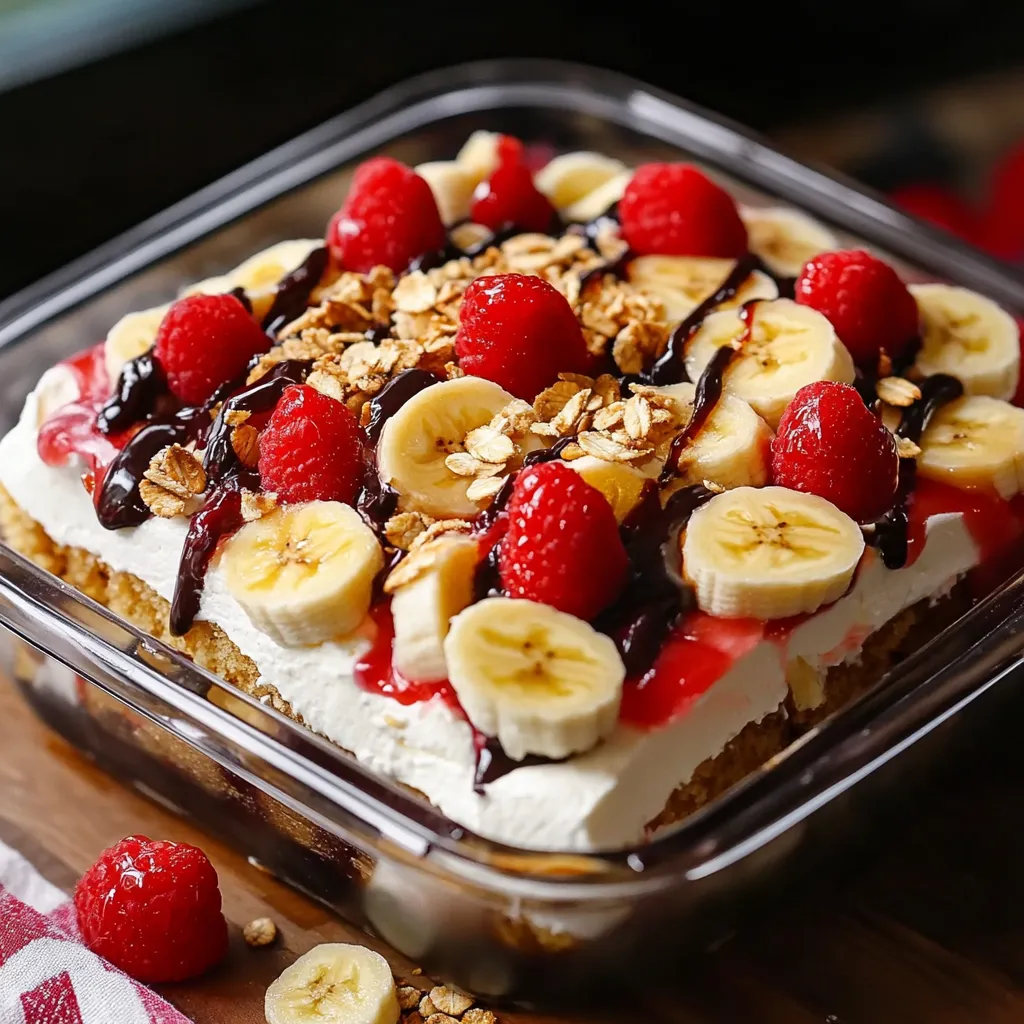
This recipe takes all the flavors of a banana split and transforms them into a no-bake wonder that slices beautifully and tastes like summer on a plate!
Frequently Asked Questions
- → Can I make this dessert ahead of time?
Yes! This dessert actually benefits from being made ahead. It needs at least 4 hours in the refrigerator to set properly, but can be made up to 24 hours in advance. Just keep it covered in the refrigerator until ready to serve.
- → How do I prevent the bananas from turning brown?
To prevent browning, you can toss the banana slices in a little lemon juice before arranging them. Alternatively, make sure they're completely covered by the pineapple layer, which will help protect them from air exposure.
- → Can I use fresh whipped cream instead of whipped topping?
Yes, you can substitute homemade whipped cream for the whipped topping. For best results, beat 2 cups of heavy cream with 1/4 cup of powdered sugar and 1 teaspoon of vanilla until stiff peaks form. Keep in mind that fresh whipped cream may not hold up as long as commercial whipped topping.
- → What can I substitute for graham cracker crumbs?
Good alternatives include vanilla wafer crumbs, digestive biscuits, shortbread cookies, or even chocolate cookie crumbs for a different flavor profile. Just ensure they're finely crushed and mixed well with the melted butter.
- → How long will this dessert keep in the refrigerator?
This dessert will keep well in the refrigerator for 2-3 days. After that, the bananas may start to soften too much and the crust might become soggy. For the best taste and texture, consume within the first 48 hours.
- → Can I freeze this banana split dessert?
While you can freeze it, the texture of the fresh fruit layers will change upon thawing. If you do freeze it, wrap it tightly and consume within 1 month. Let it thaw in the refrigerator overnight before serving.