
 Pin it
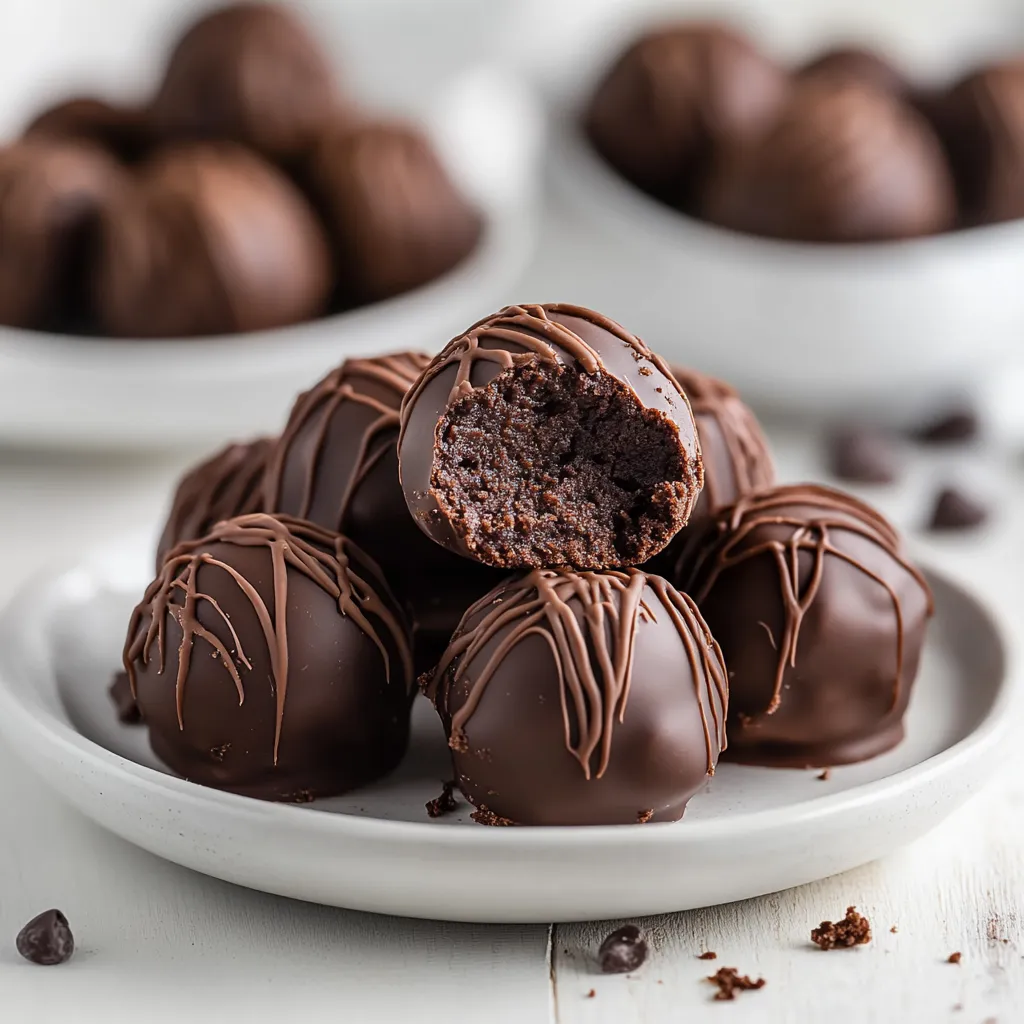
This brownie truffle recipe transforms ordinary box mix brownies into decadent, bite-sized treats that look and taste like they came from a fancy chocolate shop. The combination of fudgy brownies and cream cheese creates an irresistible texture that melts in your mouth beneath a crisp chocolate shell.
I first made these for a holiday cookie exchange when I was short on time, and they were the first treats to disappear. Since then, they've become my secret weapon for potlucks and parties when I want maximum impact with minimal effort.
Ingredients
- Boxed brownie mix plus ingredients on package: Creates the rich chocolate base with minimal effort
- Full-fat brick-style cream cheese: Adds creaminess and helps bind the truffles, must be room temperature for proper mixing
- Chocolate melting wafers: Specially formulated for smooth coating without tempering
- Sprinkles: Add festive color and a bit of texture contrast to the finished truffles
- Parchment paper: Ensures the truffles don't stick during freezing and setting
Step-by-Step Instructions
- Prepare the Brownies:
- Bake the brownies according to the package directions in a 9x13 inch pan. The key is to let them cool completely before proceeding, otherwise your mixture will be too soft to work with. For best results, allow at least 2 hours of cooling time or prepare the brownies a day ahead.
- Create the Truffle Mixture:
- Scoop the cooled brownies into a large bowl, leaving behind any harder edges. This ensures your truffles have a consistent texture throughout. Add the room temperature cream cheese and beat thoroughly using a hand or stand mixer until completely combined. The mixture should be smooth with no visible streaks of cream cheese remaining.
- Shape the Truffles:
- Roll the brownie mixture into 1 tablespoon sized balls and place them on a parchment lined baking sheet. Use a cookie scoop if available for uniform sizing. Work quickly as the mixture can become sticky as it warms in your hands. If this happens, refrigerate the mixture for 15 minutes before continuing.
- Freeze for Firmness:
- Place the shaped truffles in the freezer for at least 30 minutes until they're solid. This crucial step ensures they hold their shape during dipping and makes the chocolate coating process much easier. The truffles should feel firm to the touch before proceeding to the next step.
- Melt the Chocolate:
- Melt the chocolate wafers in a microwave safe bowl using 20 second increments, stirring between each interval. Continue until completely smooth. The key is using gentle heat to prevent scorching. The melted chocolate should be fluid but not hot to ensure it coats the truffles properly without melting them.
- Dip the Truffles:
- Working with a few frozen truffles at a time, use a fork to dip each one completely in the melted chocolate. Gently tap the fork against the side of the bowl to remove excess chocolate and create a smooth finish. Return the dipped truffle to the parchment lined sheet and immediately add sprinkles before the chocolate sets.
- Set the Chocolate:
- Refrigerate the dipped truffles for 15-20 minutes to allow the chocolate coating to fully harden. The finished truffles should have a shiny appearance and make a slight cracking sound when bitten into, revealing the fudgy center.
 Pin it
These truffles remind me of the first time I tried making homemade chocolates with my daughter. We accidentally made them too large and ended up with chocolate all over the kitchen, but the memory of her chocolate-covered smile made it worthwhile. Now we make a batch together every Christmas as our special tradition.
Creative Variations
The basic brownie truffle recipe is incredibly versatile. Try adding 1/2 teaspoon of peppermint extract to the brownie mixture for holiday themed treats. Or fold in 1/4 cup of finely chopped nuts or mini chocolate chips for added texture. For an adults only version, add 2 tablespoons of coffee liqueur to the brownie mixture for a sophisticated mocha flavor.
Storage Solutions
Store finished truffle in an airtight container in the refrigerator for up to a week. Place parchment paper between layers to prevent sticking. For longer storage, these truffles freeze beautifully for up to three months. Thaw in the refrigerator overnight before serving. Allow them to sit at room temperature for about 10 minutes before eating for the best texture and flavor experience.
Troubleshooting Tips
If your truffle mixture is too soft to roll, refrigerate it for 30 minutes first. When the chocolate coating is setting too quickly, try working with smaller batches of melted chocolate and reheat as needed. If you notice the chocolate becoming too thick, add a teaspoon of neutral oil to thin it slightly. For perfectly round truffles, roll them again briefly after the initial freezing but before dipping.
 Pin it
These brownie truffles are a show-stopping treat that anyone can master with ease.
Frequently Asked Questions
- → Can I use homemade brownies instead of boxed mix?
Absolutely! Homemade brownies work wonderfully in this recipe. Just make sure they're fudgy rather than cakey for the best texture when mixed with cream cheese.
- → How long do brownie truffles last in the refrigerator?
When stored in an airtight container in the refrigerator, these brownie truffles will stay fresh for up to 1 week. For longer storage, you can freeze them for up to 3 months.
- → Can I use different decorations instead of sprinkles?
Yes! Try crushed nuts, coconut flakes, cocoa powder, or drizzled white chocolate as alternative decorations. You can also use colored candy melts for seasonal themes.
- → Why do the truffles need to be frozen before dipping?
Freezing the brownie balls makes them firm enough to hold their shape during the dipping process. This prevents them from falling apart or melting when they come in contact with the warm chocolate.
- → What can I substitute for chocolate melting wafers?
Regular chocolate chips mixed with 1 teaspoon of coconut oil or shortening per cup will work as a substitute. The added fat helps the chocolate melt smoothly and set properly on the truffles.
- → Why is room temperature cream cheese important?
Room temperature cream cheese blends more easily with the brownies, preventing lumps and ensuring a smooth, consistent truffle texture. Cold cream cheese won't incorporate properly.