
 Pin it
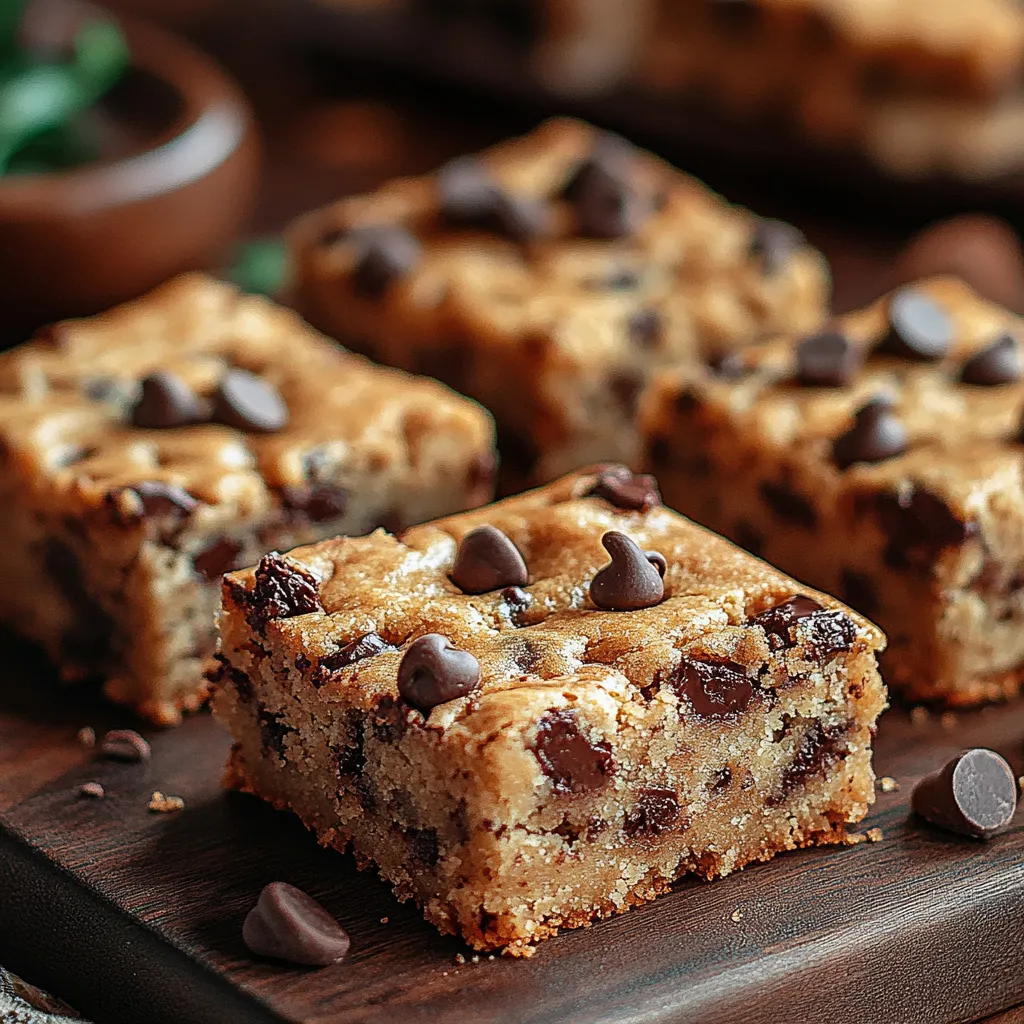
This decadent chocolate chip cookie bar recipe transforms the classic cookie into a convenient, crowd-pleasing treat that delivers all the chewy, chocolatey goodness without having to form individual cookies. My family begs for these whenever we have guests coming over or need a quick dessert for potlucks.
The first time I made these cookie bars was for my daughter's soccer team party. I was running late and needed something foolproof and fast. They disappeared in minutes with several parents requesting the recipe.
Ingredients
- Unsalted butter: Gives you complete control over the salt content and creates that rich buttery flavor base
- Brown sugar: Provides moisture and that distinctive caramelized flavor that makes these bars irresistibly chewy
- Granulated sugar: Balances the moisture and helps create those slightly crisp edges
- Large eggs: Bind everything together while adding structure to your bars
- Vanilla extract: Enhances all the other flavors look for pure vanilla not imitation for best results
- All purpose flour: Provides the perfect structure not too cakey not too dense
- Baking soda: Ensures the right amount of lift without making them too puffy
- Salt: Balances the sweetness and enhances the chocolate flavor always include it even with salted butter
- Semi sweet chocolate chips: Offer the perfect balance of sweetness and chocolate intensity use high quality for best results
- Chopped nuts: Add wonderful texture and flavor contrast walnuts or pecans work beautifully
Step-by-Step Instructions
- Prepare Your Pan:
- Properly greasing and lining your 9x13 inch baking pan is crucial for easy removal later. The parchment paper overhang acts as handles to lift the entire slab out cleanly before cutting. Make sure the parchment covers the bottom and extends up at least two sides.
- Cream Butter and Sugars:
- This step builds the foundation for perfect texture. Start with truly softened butter at room temperature about 65°F and beat until the mixture lightens in color and becomes fluffy. This incorporates air creating a lighter texture in your finished bars. Scrape down the sides of your bowl frequently.
- Add Eggs and Vanilla:
- Adding eggs one at a time allows each to fully incorporate creating an emulsion that helps hold everything together. The vanilla adds warmth and depth to the flavor. Make sure your eggs are at room temperature for better incorporation.
- Mix Dry Ingredients:
- Whisking the dry ingredients separately ensures even distribution of leavening agents and salt. When adding to wet ingredients use a gentle hand and stop mixing as soon as no dry streaks remain. Overmixing develops gluten which can make your bars tough.
- Add Mix Ins:
- Using a spatula to fold in chocolate chips and nuts prevents overmixing while ensuring even distribution. This gentle folding motion preserves the air bubbles you created earlier. Feel free to press additional chocolate chips on top for an extra appealing appearance.
- Bake the Cookie Bars:
- The 25 to 30 minute baking time is crucial. Look for golden edges with a center that appears slightly underdone. Remember that carryover cooking continues after removal from the oven. A toothpick should have a few moist crumbs when inserted in the center but not wet batter.
- Cool and Cut:
- Patience is essential during cooling. Attempting to cut warm bars will result in a messy situation. The complete cooling allows the structure to set properly. Use a sharp knife and clean it between cuts for the most presentable bars.
 Pin it
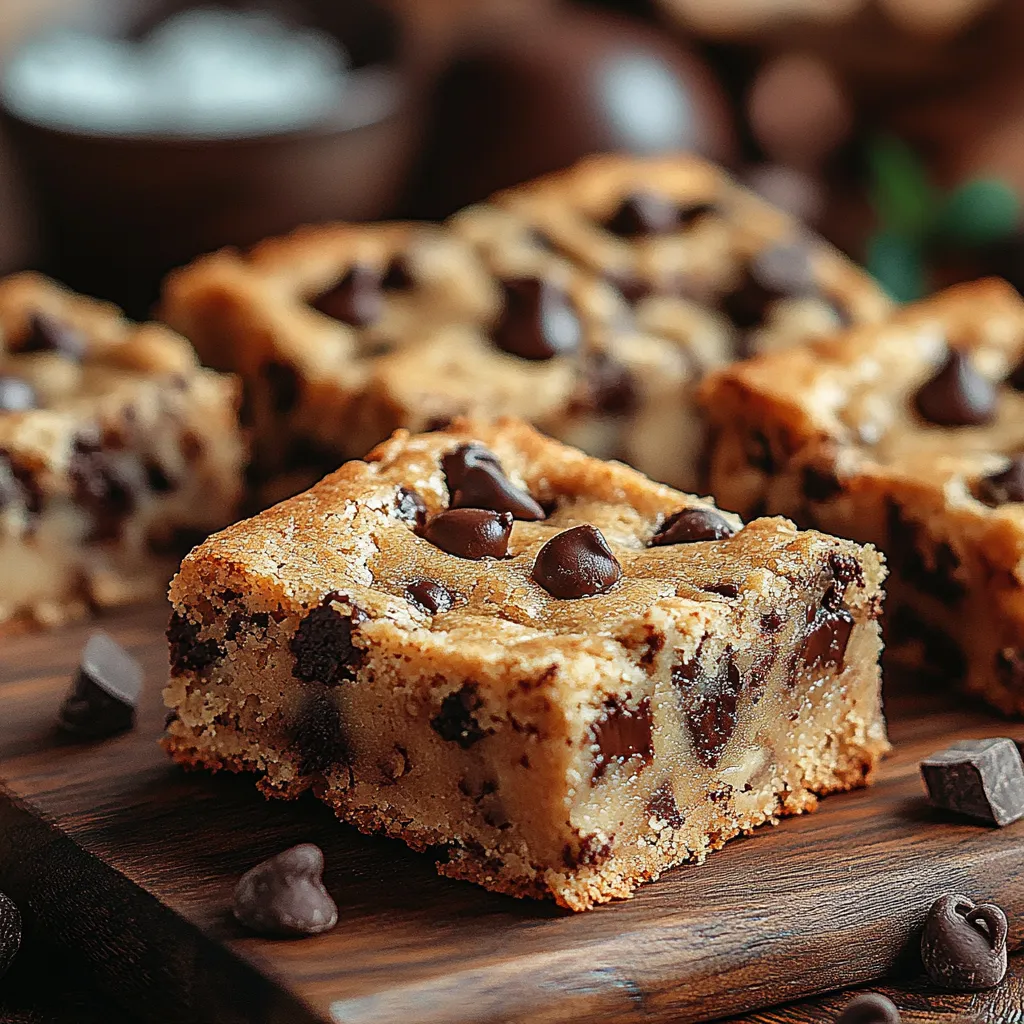
The brown sugar is truly the secret hero in this recipe. Its molasses content creates that signature chewiness that keeps everyone coming back for more. My grandfather always insisted on dark brown sugar for an even more pronounced flavor.
Customization Ideas
These cookie bars welcome creative additions beyond traditional chocolate chips. Try butterscotch chips caramel bits white chocolate chunks or even crushed candy bars. My personal favorite variation includes toffee bits which create pockets of caramelized goodness throughout.
Storage Solutions
At room temperature these bars maintain their perfect chewy texture for up to 5 days when stored in an airtight container. Place parchment paper between layers to prevent sticking.
Serving Suggestions
While these bars are perfect on their own try warming slightly and topping with vanilla ice cream for an elevated dessert experience. A drizzle of warm caramel sauce takes them to an entirely new level of decadence.
 Pin it
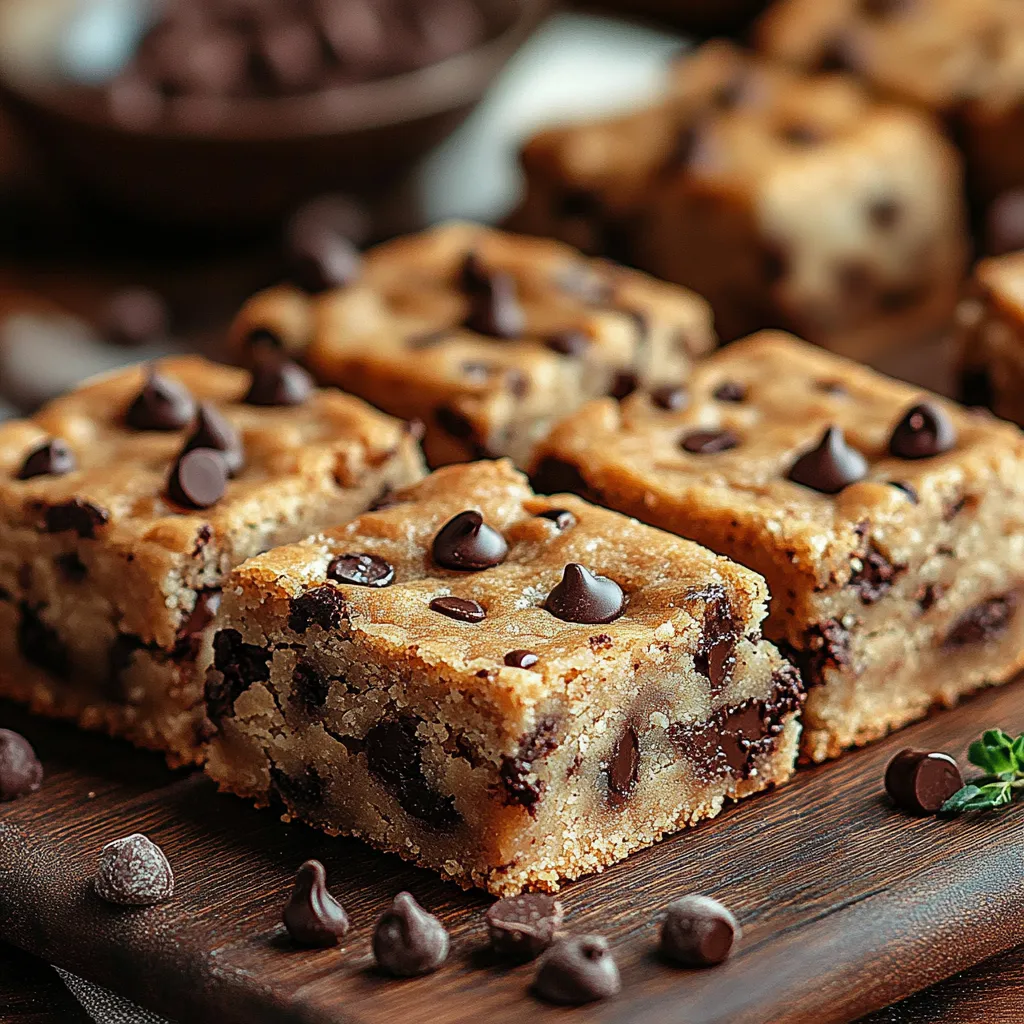
The perfect ending to any gathering, these bars are a crowd-pleaser that will leave everyone asking for seconds.
Frequently Asked Questions
- → How do I know when the chocolate chip bars are properly baked?
The bars are done when the edges turn golden brown and a toothpick inserted in the center comes out with a few moist crumbs (not wet batter). For optimal chewiness, be careful not to overbake - it's better to slightly underbake than overbake these treats.
- → Can I use different mix-ins instead of chocolate chips?
Absolutely! While semi-sweet chocolate chips are classic, you can substitute or combine with white chocolate chips, butterscotch chips, peanut butter chips, or chopped candy bars. The base dough works well with most sweet mix-ins.
- → How should I store these cookie bars?
Once completely cooled, store the bars in an airtight container at room temperature for up to a week. You can also freeze them for up to 3 months by wrapping individual pieces in plastic wrap and placing in a freezer bag.
- → Can I make these bars gluten-free?
Yes, you can substitute the all-purpose flour with a 1:1 gluten-free baking flour blend. Just ensure the blend contains xanthan gum for proper binding. The texture may be slightly different but still delicious.
- → Why did my bars turn out cakey instead of chewy?
Cakey bars usually result from overmixing the batter or using too much flour. For chewier bars, mix just until ingredients are combined, measure flour precisely (preferably by weight), and don't overbake. The brown sugar content also contributes to their chewy texture.
- → Can I make these ahead for a party?
These bars are perfect for make-ahead desserts! You can prepare them 1-2 days before your event and store in an airtight container. For the freshest taste, you can also make the dough ahead, refrigerate for up to 3 days, then bake just before serving.