
 Pin it
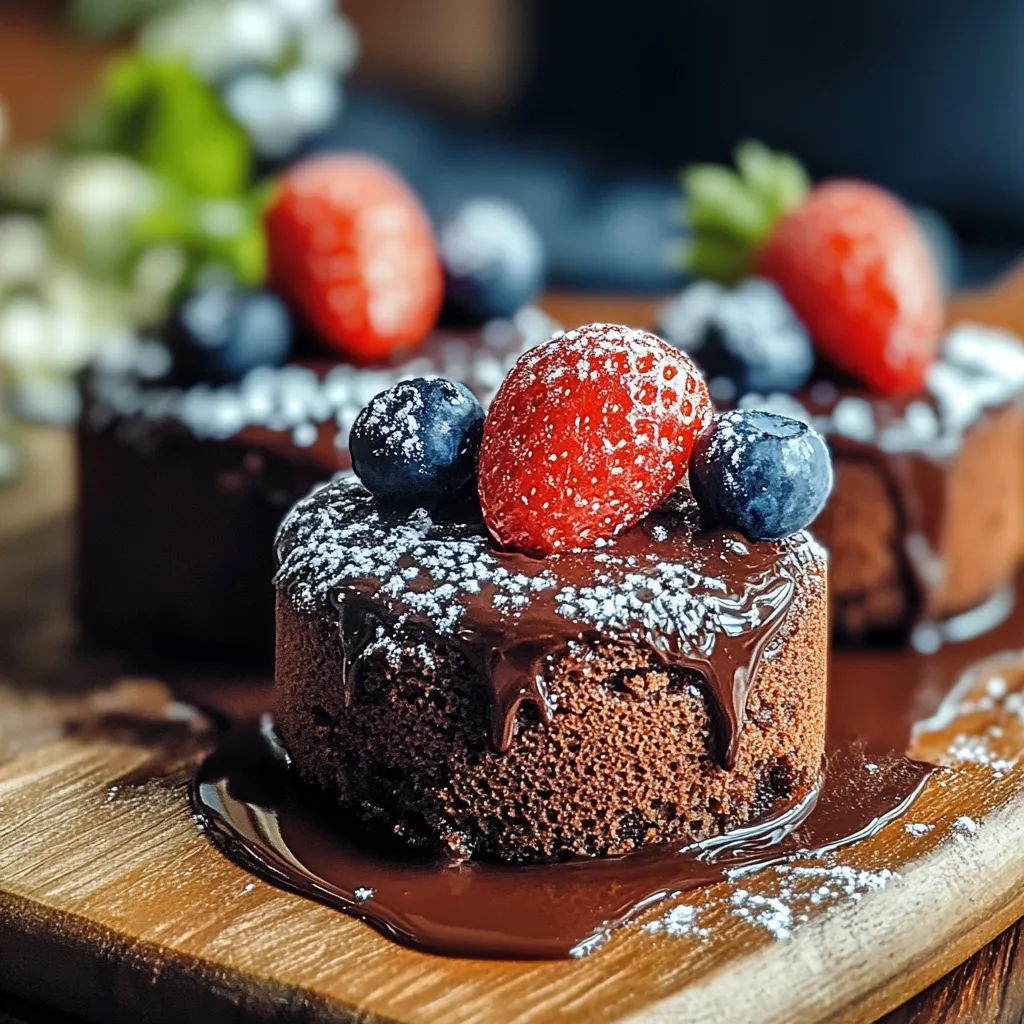
These heavenly mini soft cakes bring the perfect balance of rich chocolate flavor in a delicate bite-sized treat that's sure to impress even the pickiest dessert lovers. The light texture combined with deep cocoa notes makes these little cakes irresistible for any occasion.
I first created these mini chocolate cakes when hosting an impromptu afternoon tea for neighbors who dropped by unexpectedly. With limited time and ingredients, these little beauties saved the day and have since become my signature dessert that friends specifically request when visiting.
Ingredients
- All purpose flour: Creates the perfect tender structure while keeping the cakes light
- Granulated sugar: Balances the cocoa without making the cakes overly sweet
- Unsweetened cocoa powder: Provides that rich chocolate flavor; use Dutch-processed for a smoother taste
- Baking powder and baking soda: Work together to create the ideal rise and texture
- Buttermilk: Adds moisture and tenderness while activating the leavening agents
- Vegetable oil: Keeps these cakes moist far longer than butter would
- Large egg: Binds everything together while adding richness
- Vanilla extract: Enhances the chocolate flavor; look for pure rather than imitation
- Hot water: Blooms the cocoa powder, intensifying the chocolate flavor
- Chocolate chips: Optional but recommended for pockets of melty goodness
- Powdered sugar: Creates a beautiful finishing touch without overwhelming sweetness
- Fresh berries: Provide a gorgeous color contrast and bright flavor balance
Step-by-Step Instructions
- Prepare Your Equipment:
- Begin by preheating your oven to exactly 350°F. Thoroughly grease each cup of your mini muffin pan, or line with mini cupcake liners for easy removal. Silicone muffin pans work wonderfully for this recipe.
- Combine Dry Ingredients:
- In a spacious mixing bowl, sift the flour, sugar, cocoa powder, baking powder, and baking soda. Whisk thoroughly until uniform in color.
- Mix Wet Ingredients:
- In a separate bowl, combine room temperature buttermilk, vegetable oil, egg, and vanilla extract. Whisk until smooth and homogeneous.
- Create The Batter:
- Pour your wet ingredients into the dry ingredients gradually while stirring. Stop when just combined, leaving small traces of flour to prevent toughness.
- Add The Magic:
- Slowly incorporate hot water into the batter. Stir gently until silky and glossy. Fold in chocolate chips with minimal strokes if using.
- Fill And Bake:
- Portion the batter into prepared mini muffin cups, filling each cavity two-thirds full. Tap the pan gently to release trapped air bubbles.
 Pin it
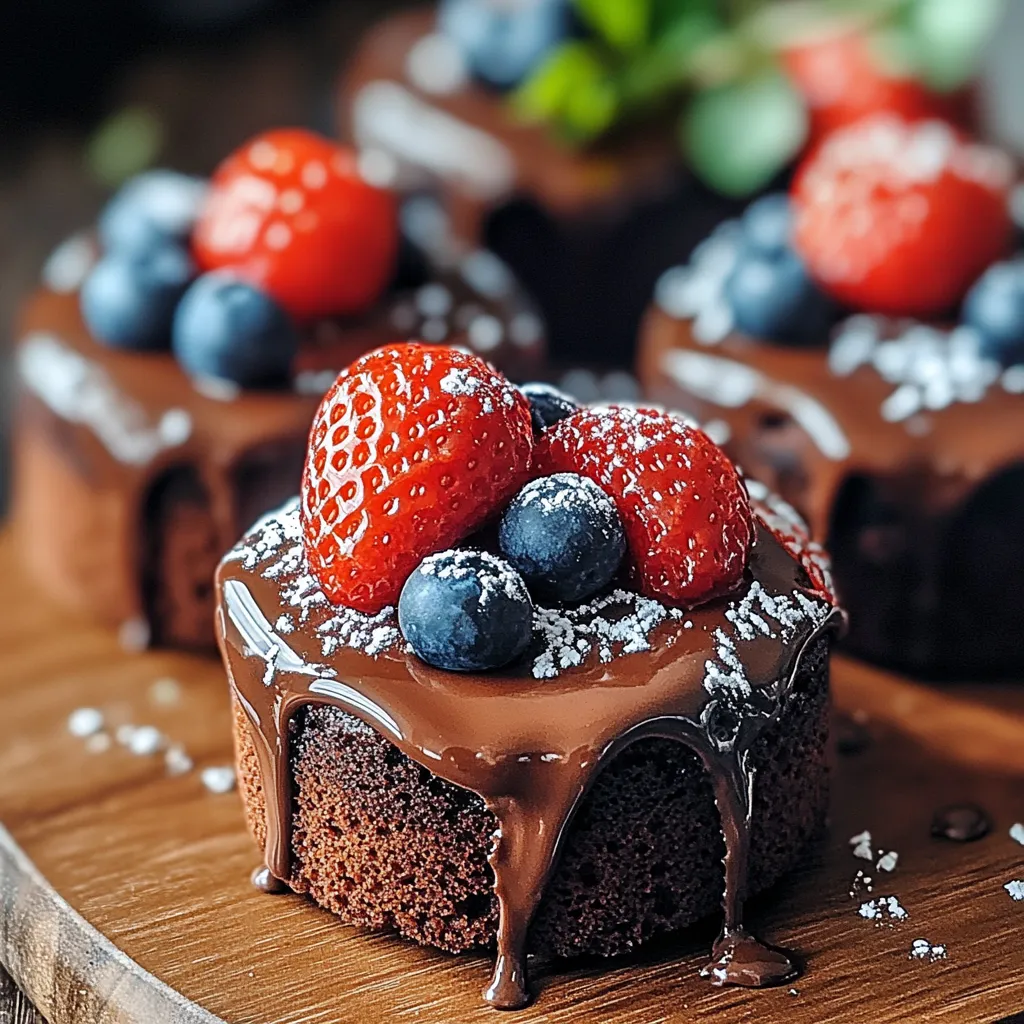
My absolute favorite moment with these cakes was watching my chocolate-averse mother-in-law devour three in one sitting during a family dinner. She claimed she was just being polite but secretly asked me for the recipe the next day. These little cakes have a way of converting even the most resistant dessert skeptics.
Storage and Freshness
These mini cakes maintain their soft, tender texture for up to three days when stored in an airtight container at room temperature. For longer storage, refrigerate them for up to a week, though allow them to come to room temperature before serving for the best flavor and texture. You can also freeze them unfrosted for up to three months. Simply thaw at room temperature and dust with powdered sugar just before serving.
Perfect Accompaniments
While these mini chocolate cakes are delightful on their own, they truly shine when paired thoughtfully. A dollop of lightly sweetened whipped cream adds luxurious creaminess. For dinner parties, serve warm with a small scoop of vanilla bean ice cream and a drizzle of raspberry coulis. During holiday seasons, add a hint of peppermint extract to the batter and garnish with crushed candy canes for a festive touch.
Making Them Your Own
The versatility of this recipe allows for countless variations. Fold in orange zest for a chocolate-orange version that tastes like those holiday chocolate balls. Replace some of the flour with almond meal for a nuttier profile with added moisture. Swirl in a teaspoon of peanut butter before baking for a decadent surprise center. For adults, add a tablespoon of your favorite liqueur like Grand Marnier or Baileys to the batter for sophisticated depth.
 Pin it
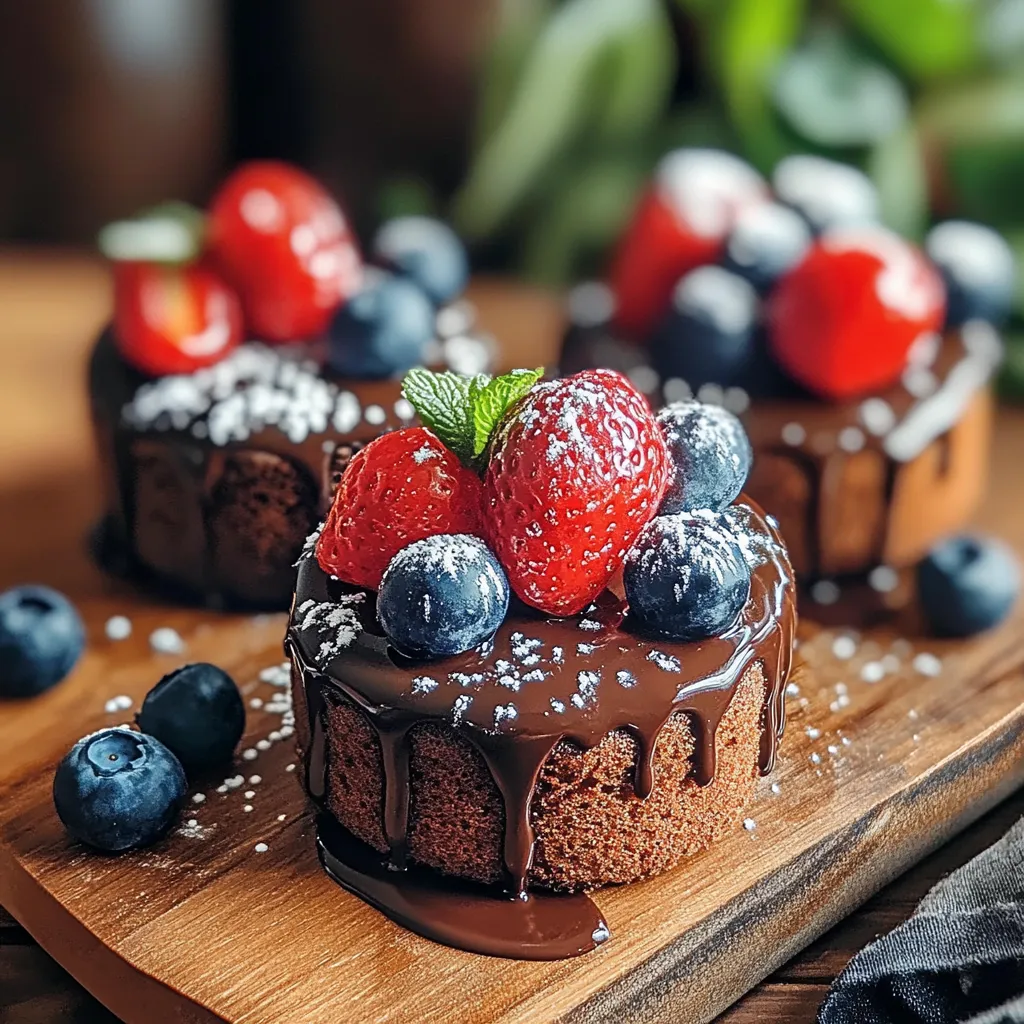
Enjoy these delightful little cakes with your loved ones anytime you need a sweet treat or an elegant dessert to impress!
Frequently Asked Questions
- → Can I make these mini cakes ahead of time?
Yes, you can make these mini cakes 1-2 days in advance. Store them in an airtight container at room temperature. Wait to dust with powdered sugar and add berry garnishes until just before serving for the best presentation.
- → How can I tell when the mini cakes are done baking?
Insert a toothpick into the center of one of the mini cakes. If it comes out clean or with just a few moist crumbs (but no wet batter), they're done. This typically takes 12-15 minutes at 350°F.
- → Can I freeze these mini chocolate cakes?
Absolutely! These mini cakes freeze beautifully. Cool them completely, then place in a freezer-safe container with parchment between layers. Freeze for up to 3 months. Thaw at room temperature and add the powdered sugar and berries before serving.
- → What can I substitute for buttermilk?
If you don't have buttermilk, you can make a quick substitute by adding 1½ teaspoons of vinegar or lemon juice to ½ cup of regular milk. Let it sit for 5-10 minutes until slightly curdled. Plain yogurt thinned with a little milk also works well.
- → Can I add other mix-ins besides chocolate chips?
Definitely! Try chopped nuts, dried fruit bits, or flavored baking chips. Toffee bits, mint chips, or even a swirl of peanut butter would complement the chocolate flavor nicely. Just keep additional mix-ins to about ½ cup total to maintain the proper batter consistency.
- → Why does the recipe call for hot water?
The hot water serves two important purposes: it blooms the cocoa powder, enhancing its chocolate flavor, and it creates a thinner batter that produces an exceptionally moist, tender crumb in the finished cakes.