 Pin it
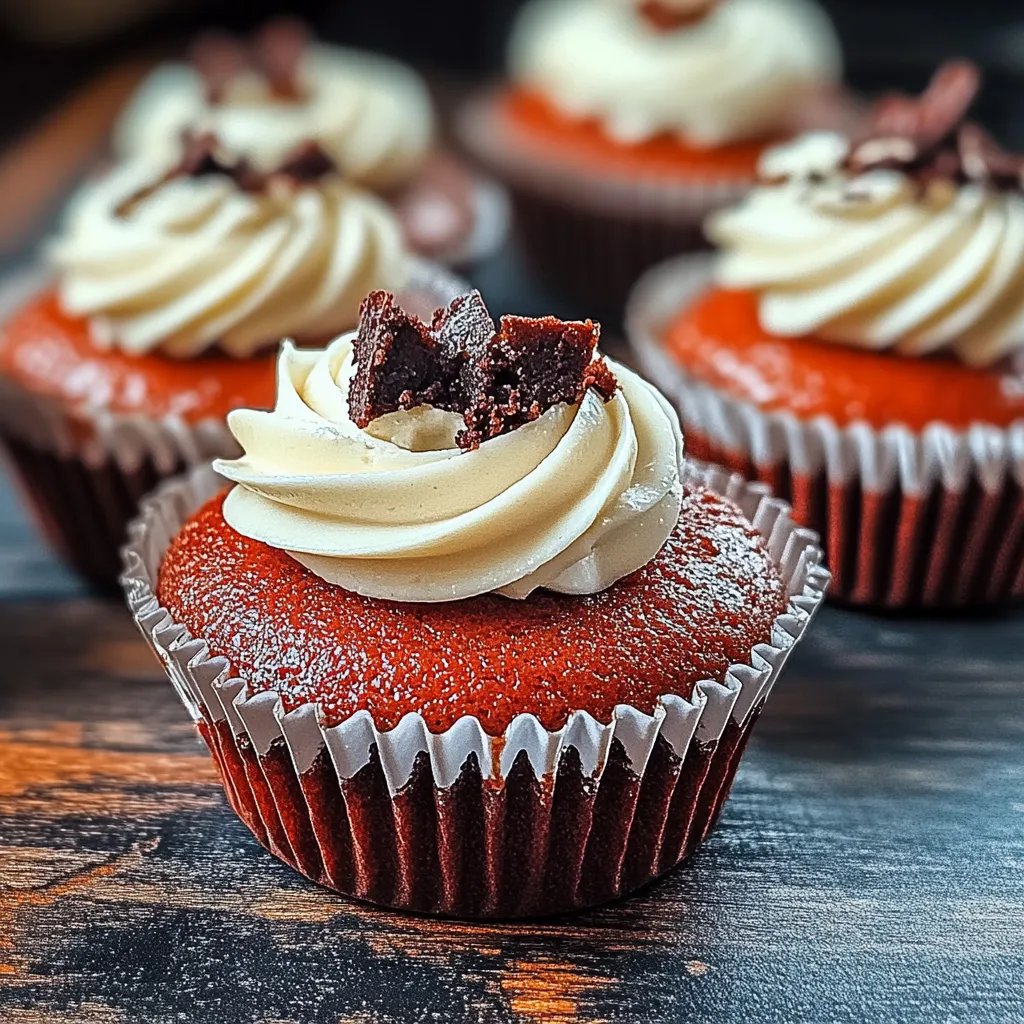
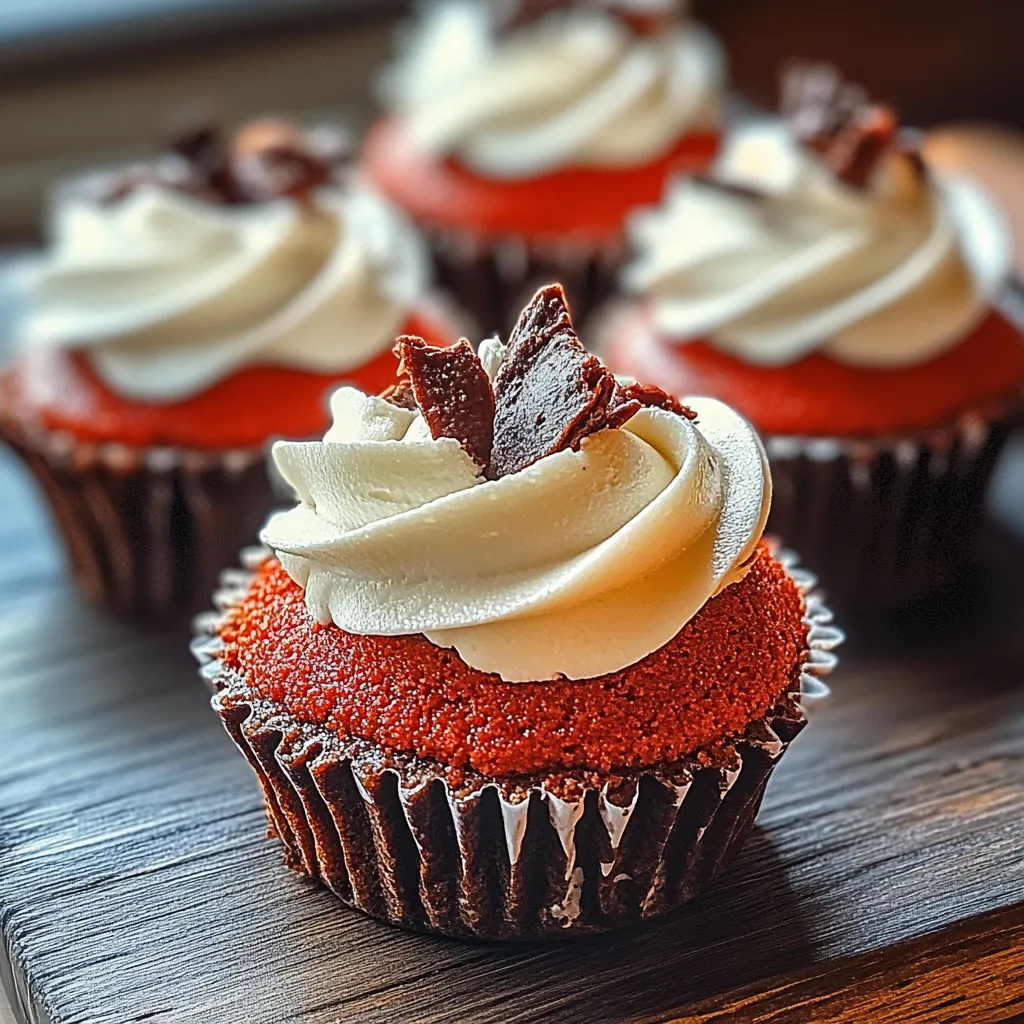
Mini red velvet cheesecakes are my secret weapon when I want an utterly charming dessert that wows a crowd yet fits perfectly in the palm of your hand. These little beauties are rich in chocolatey flavor with a vibrant hue and hint of tang that makes every bite irresistible. Their petite size means everyone gets their own, and cleanup is a breeze. If you love the classic red velvet cake and crave creamy cheesecake, this recipe brings both together in a simple make-ahead treat that never fails to impress.
I still remember making these for my daughter’s birthday party. They disappeared so quickly that now they are a must for any gathering in our house. Not only are they delicious but they are nearly foolproof with just a handful of easy steps.
Ingredients
- Chocolate wafer cookies: Crushed for a chocolatey cookie base; choose good quality wafers for a richer crust
- Unsalted butter: Melted; helps hold the crust together; use fresh butter for best taste and texture
- Cream cheese: Softened; acts as the creamy main component; always use full-fat for best results and let it sit at room temp to avoid lumps
- Granulated sugar: Gives sweetness and helps the filling set; look for fine-grain sugar so it blends smoothly
- Brown sugar: Packed; adds a caramel hint and extra moisture; opt for soft brown sugar for easy blending
- Large eggs: Bind and add richness; fresh eggs will lead to the creamiest filling
- All-purpose flour: Stabilizes the batter and helps prevent cracks; sift before using for a smooth texture
- Unsweetened cocoa powder: Deepens classic red velvet chocolate flavor; good cocoa makes all the difference
- Vanilla extract: Enhances flavor and rounds out the tang; choose pure vanilla for full aroma
- Red food coloring: Creates the iconic red look; gel color works best for vibrant results
- Sour cream: Adds tang and makes the cheesecake ultra creamy; full-fat is key here
- Baking soda: Works with vinegar for traditional red velvet tang
- Vinegar: Enhances tang and activates baking soda for ideal texture; white vinegar is classic
- Whipped cream: For topping; gives a cool creamy finish; homemade is always worth it
- Grated chocolate or red velvet cake crumbs: For garnish; provide that final festive touch
Step-by-Step Instructions
- Prepare the Crust:
- Combine crushed chocolate wafer cookies and melted butter in a mixing bowl. Stir until all crumbs are evenly moistened by the butter. Line a muffin tin with cupcake liners and firmly press about a quarter inch of the mixture into each bottom using a spoon or the back of a glass. Bake these for about eight to ten minutes in a preheated 325 degree oven. Let the crusts cool completely in the tin before moving to the next step. This sets a sturdy foundation and allows the crusts to hold their shape.
- Make the Cheesecake Filling:
- In a large mixing bowl beat softened cream cheese with granulated sugar and brown sugar until the mixture looks completely smooth creamy and fluffy. Use a hand or stand mixer and scrape down the bowl often so there are no lumps.
- Add the Flavor and Color:
- With the mixer on low, blend in flour, unsweetened cocoa powder, vanilla extract, and red food coloring. Once no streaks remain, add the sour cream, baking soda, and vinegar. Beat until the batter is thick creamy and vibrantly red, making sure everything is evenly combined.
- Fill the Crusts:
- Spoon or pour the cheesecake batter into each baked cookie crust, filling about three quarters full. Gently tap the tin on the counter to level the tops and release air bubbles.
- Bake:
- Slide the muffin tin into your preheated oven and bake for twenty to twenty-five minutes. The edges should look set but the center still jiggles a little when you nudge the pan. Turn the oven off when baking is done and prop the door open slightly. Let the cheesecakes cool right inside for thirty minutes. This trick keeps the tops smooth and helps prevent cracks.
- Cool and Chill:
- Once out of the oven, let the cheesecakes come to room temperature. Transfer to the fridge and chill for at least three hours or overnight if you have time. Chilling sets the texture and makes them easier to handle.
- Serve:
- Gently remove each cheesecake from the tin and peel off the liners. Top with a swirl of whipped cream and a sprinkle of grated chocolate or red velvet cake crumbs for a festive and elegant finish.
 Pin it
I have a real soft spot for good quality cocoa powder in this recipe. The deep chocolate taste layered with tangy cream cheese and bright color makes even a simple family night feel extra special. There is just something about seeing my kids line up at the fridge for these little cakes that always makes me smile.
Storage Tips
Store the mini cheesecakes tightly covered in the fridge for up to five days. They actually improve in flavor and texture after a chilly overnight rest. If you want to prepare far ahead, place them in a single layer in an airtight container and freeze for up to two months. To serve after freezing, move to the refrigerator overnight so they thaw gently and remain creamy.
Ingredient Substitutions
For a gluten free crust try gluten free chocolate cookies in the same way as traditional wafers. If you run out of sour cream, Greek yogurt makes an excellent tangy swap and will keep the creamy texture intact. Natural red food coloring works if you want to avoid artificial dyes but expect the color to be a bit more subtle.
Serving Suggestions
Dress these cheesecakes up for holidays with colored sprinkles or mini hearts for Valentine’s Day. Lemon zest or a berry sauce on top will add a fresh note for spring and summer gatherings. I often set up a little topping bar with crushed nuts, chocolate chips, and more for letting everyone be their own decorator.
 Pin it
These mini red velvet cheesecakes bring joy to every occasion and are always worth the little extra effort.
Frequently Asked Questions
- → How do I prevent cracks in mini cheesecakes?
Let the cheesecakes cool gradually in the oven with the door slightly open before chilling. This gentle cooling minimizes cracks and helps retain a smooth surface.
- → Can I use a different crust base?
Yes, try crushed graham crackers, Oreos, or vanilla cookies instead of chocolate wafers for a different foundation and flavor profile.
- → What is the purpose of vinegar and baking soda?
Combined, they react to add tenderness, a slight tang, and assist with the classic red velvet texture and rise in the cheesecake batter.
- → How long should I chill the cheesecakes before serving?
Chill for at least 3 hours, or overnight for the best texture and easier removal from liners.
- → Can these be made ahead of time?
Absolutely! Prepare, chill overnight, and garnish just before serving for optimal freshness.
- → Are there alternative garnish ideas?
Try fresh berries, a drizzle of chocolate sauce, or even a dusting of cocoa powder for variation.
