
 Pin it
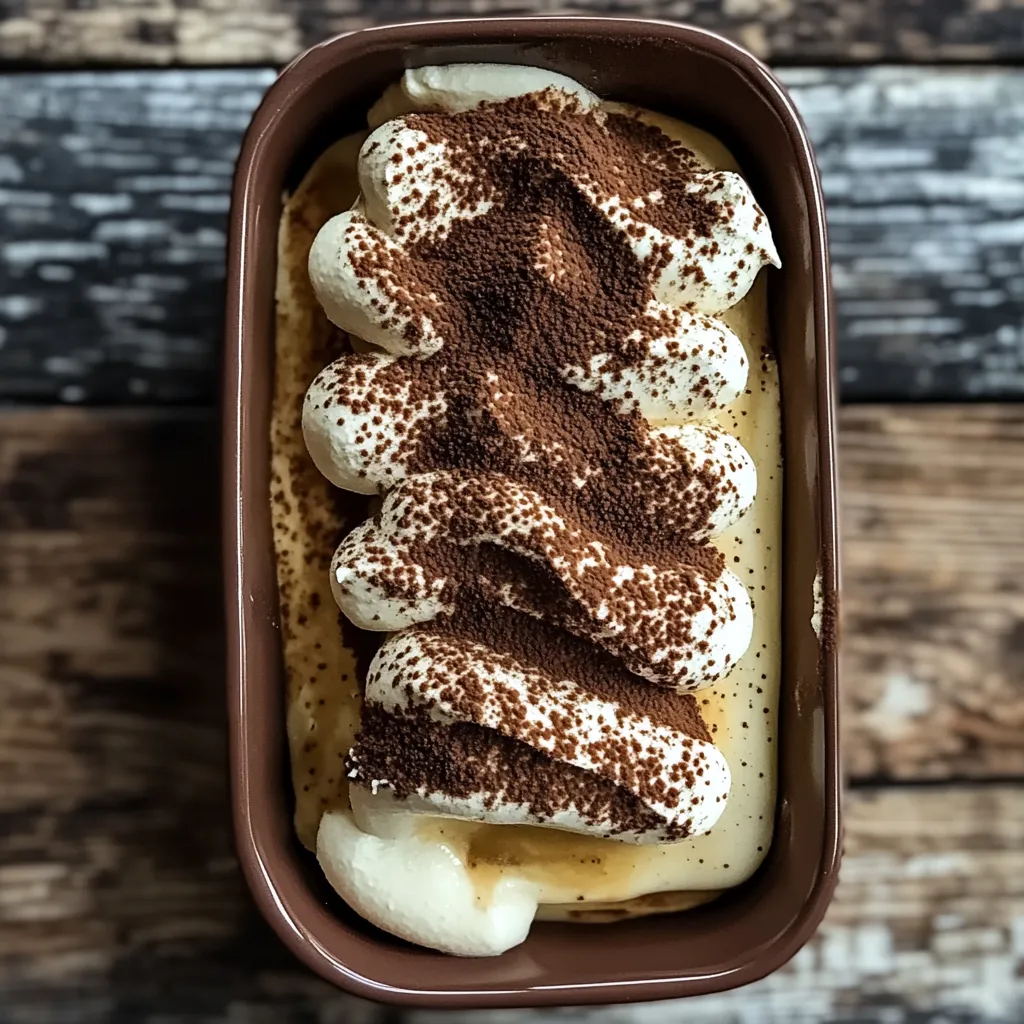
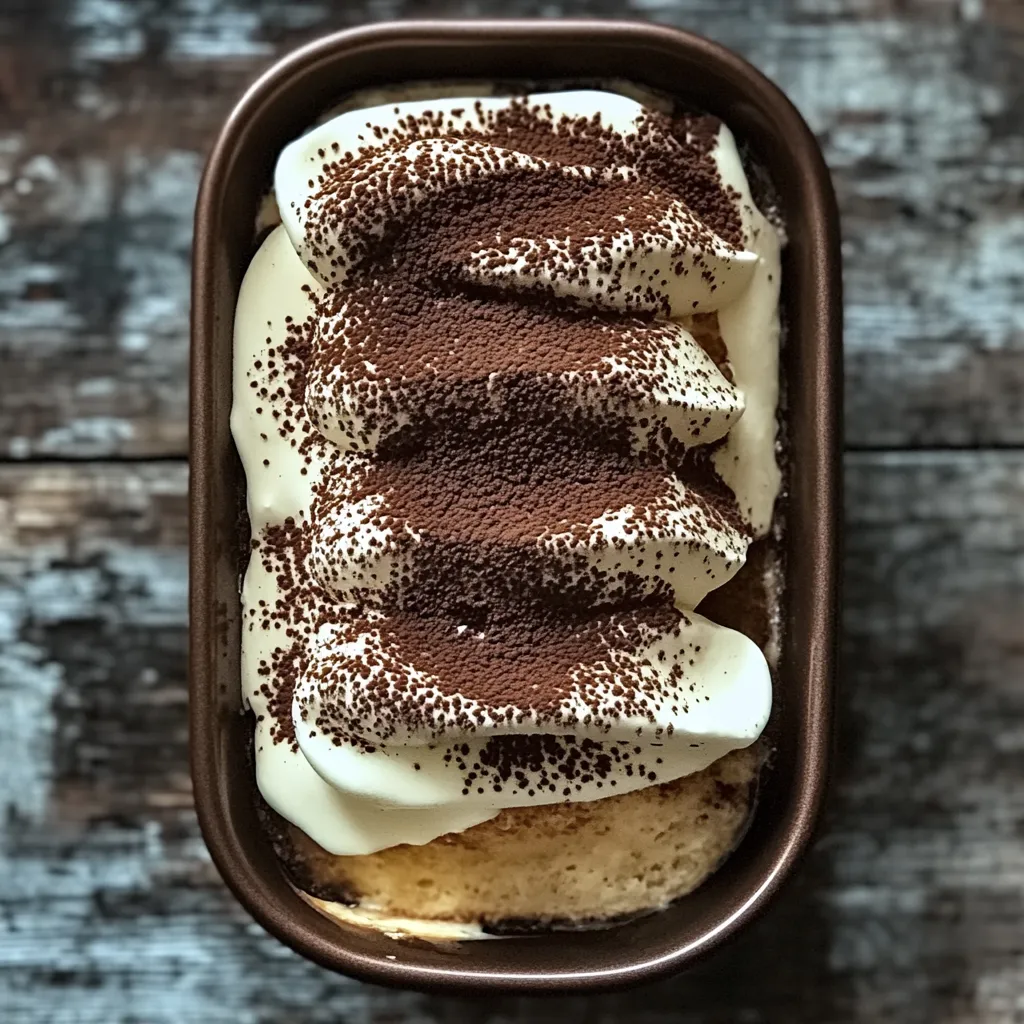
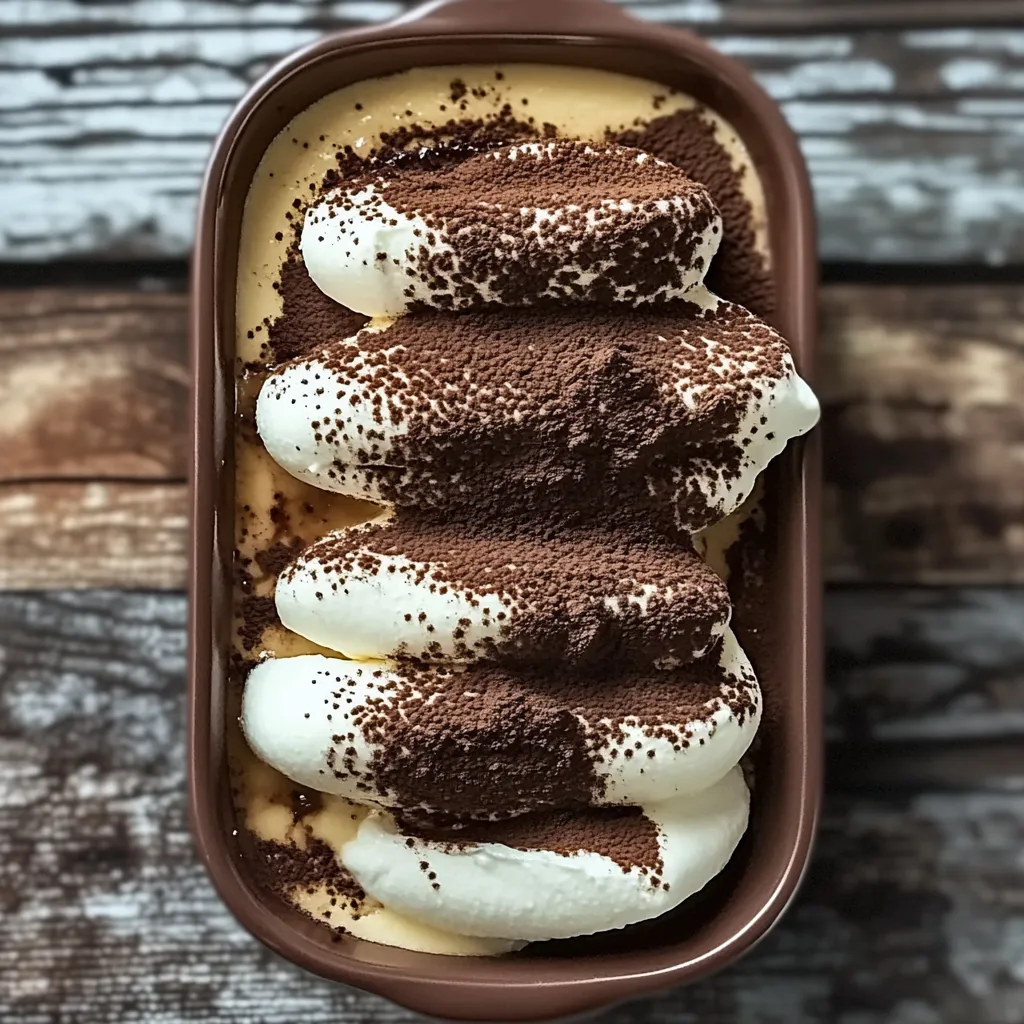
This silky no-bake tiramisu has been my secret weapon for impressing dinner guests without spending hours in the kitchen. The contrast between the coffee-soaked ladyfingers and creamy mascarpone layers creates a dessert that tastes like it came from an Italian bakery.
I first created this recipe when planning a last-minute anniversary dinner for my parents. Despite the rush, it was such a hit that it's now requested at nearly every family gathering.
Ingredients
- Mascarpone cheese: Provides the authentic Italian flavor and creamy texture that makes tiramisu special
- Heavy cream: Creates a light and airy mousse when whipped properly
- Powdered sugar: Sweetens the dessert without adding graininess
- Vanilla extract: Adds warmth and depth to the creamy layers
- Strong brewed coffee: Brings the classic tiramisu flavor without alcohol
- Ladyfinger cookies: Traditional biscuits that soften beautifully when soaked
- Cocoa powder: For dusting adds the signature bitter contrast to the sweet cream
- Dark chocolate shavings: Make for an elegant presentation and extra flavor dimension
Step-by-Step Instructions
- Preparing the Mascarpone Mixture:
- Start by mixing 2 cups of mascarpone cheese with 1/2 cup of powdered sugar and 1 teaspoon of vanilla extract. Use a hand mixer or whisk to blend until smooth and creamy. This step is key for a rich flavor. You want a thick but spreadable mixture. If it feels too thick, add a splash of cream to loosen it slightly.
- Whipping the Cream:
- Next, whip 1 cup of heavy cream in a separate bowl. Use a hand mixer to achieve stiff peaks. This means the cream stands tall when you lift the whisk. Be careful not to over-whip, as it can become grainy. Once the cream is ready, gently fold it into the mascarpone mixture. Use a spatula and move in a circular motion. This keeps the mixture light and fluffy.
- Assembling the Tiramisu:
- Now it's time to assemble the tiramisu. Quickly dip 12-16 ladyfinger cookies into 1 cup of cooled, strong brewed coffee. Make sure they soak just enough, so they don't fall apart. Arrange them in a single layer in a rectangular dish. Spread half of the mascarpone mixture over the ladyfingers. Smooth it out evenly. Repeat with another layer of dipped ladyfingers and then top with the rest of the mascarpone mixture. Cover the dish with plastic wrap and refrigerate for at least 4 hours. For best flavor, chill overnight.
 Pin it
My favorite part of making tiramisu is watching people's faces light up with their first bite. The rich, creamy texture combined with the coffee-soaked ladyfingers creates a perfect balance that's somehow both light and decadent at the same time.
The Perfect Coffee Soak
The coffee element is crucial for authentic tiramisu flavor. I recommend brewing espresso or extra-strong coffee and letting it cool completely before dipping the ladyfingers. The key is quick dipping—just a second or two on each side. The ladyfingers should absorb enough coffee to soften and add flavor but not so much that they fall apart. If you prefer a non-caffeinated version, decaf coffee works perfectly well without compromising flavor.
Storage and Make-Ahead Tips
This tiramisu actually improves with time in the refrigerator. You can make it up to 48 hours before serving, making it perfect for entertaining. Keep it covered with plastic wrap to prevent it from absorbing other flavors in your refrigerator. The dessert will stay fresh for up to 5 days, though the texture is best within the first 3 days. Unfortunately, tiramisu doesn't freeze well due to the delicate cream structure, so I recommend enjoying it fresh.
Serving Suggestions
Just before serving, dust the top generously with cocoa powder using a fine-mesh sieve for even distribution. The slight bitterness of the cocoa perfectly balances the sweet cream layers. For an extra special presentation, add dark chocolate shavings or curls on top. Serve tiramisu chilled but not ice-cold—about 15 minutes out of the refrigerator allows the flavors to bloom. Pair with espresso for a traditional Italian experience or a dessert wine like Vin Santo for special occasions.
 Pin it
This no-bake tiramisu is perfect for making lasting impressions with minimal effort. Give it a try and wow your guests!
Frequently Asked Questions
- → Can I make tiramisu without alcohol?
Absolutely! This version is already alcohol-free. Traditional tiramisu often includes marsala wine or coffee liqueur, but this recipe relies solely on strong coffee for flavor. If you prefer, you can add 1-2 tablespoons of coffee liqueur to the brewed coffee for additional depth.
- → How far in advance can I make tiramisu?
Tiramisu actually improves with time! You can make it up to 2 days ahead and keep it refrigerated. The flavors meld beautifully as it sits, and the texture becomes even more luscious. Just wait to add the cocoa powder dusting until right before serving for the best presentation.
- → What can I substitute for ladyfinger cookies?
If you can't find ladyfingers, you can substitute sponge cake sliced into fingers, plain butter cookies, or even graham crackers. The texture will be slightly different, but still delicious. Whatever you choose should be firm enough to soak up coffee without completely disintegrating.
- → Why is my mascarpone mixture runny?
Runny mascarpone usually happens when the cheese gets too warm or is overbeaten. Make sure your mascarpone is cold from the refrigerator, and mix it gently until just combined with the sugar and vanilla. When folding in the whipped cream, use gentle, sweeping motions to maintain the air in the mixture.
- → How do I know if my ladyfingers are soaked properly?
The perfect dip is quick - about 1-2 seconds per side in the coffee. The ladyfingers should absorb some liquid but still maintain their structure. They'll continue to soften as the tiramisu chills. If they're falling apart or too soggy, your dip was too long; if they're dry in the center after chilling, they needed more time.
- → Can tiramisu be frozen?
Yes, tiramisu freezes surprisingly well! Wrap it tightly and freeze for up to 3 months. Thaw overnight in the refrigerator before serving. The texture might be slightly different after freezing, but the flavor will still be delicious. Add fresh cocoa powder dusting after thawing.