
 Pin it
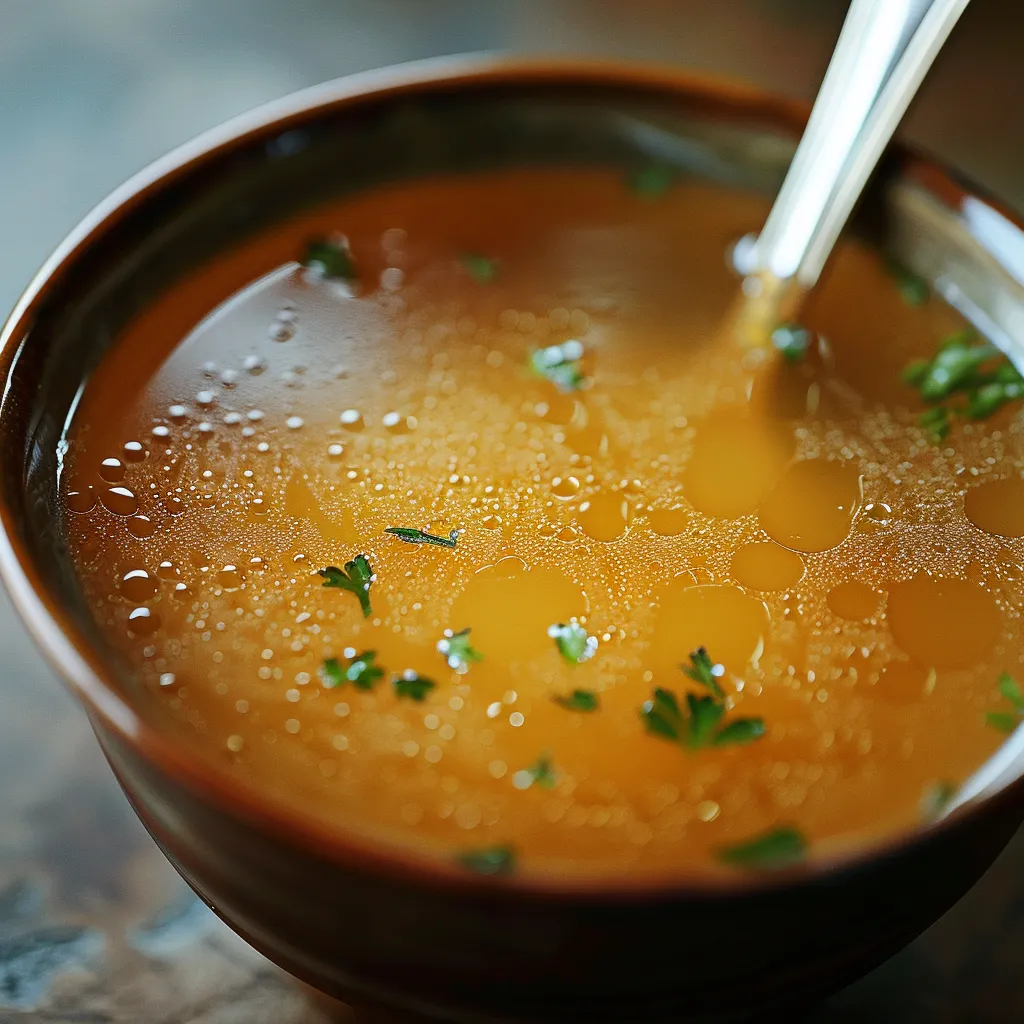
Golden, fragrant liquid gold simmers away in your pressure cooker, transforming simple ingredients into rich homemade chicken broth in just one hour. This kitchen staple elevates every recipe it touches while providing you with perfectly cooked chicken as a bonus. The simplicity of preparation coupled with the depth of flavor makes this technique an essential addition to your cooking repertoire.
I originally resisted making homemade broth, assuming it required hours of simmering and constant attention. When I finally tried this pressure cooker method, I was genuinely shocked by how simple it was. My kitchen filled with an aroma that took me straight back to my grandmother's Sunday dinners. Now I make a batch every few weeks, storing portions in the freezer for whenever inspiration strikes.
Quality Ingredients
- Whole chicken: Choose organic or free range for best flavor and richest broth color
- Onions: Yellow onions provide the perfect savory base note for well rounded broth
- Carrots: Add natural sweetness and beautiful golden color to the finished product
- Celery: Contributes subtle herbaceous notes that balance the overall flavor profile
- Garlic: Fresh cloves add aromatic complexity impossible to achieve with powdered versions
- Bay leaves: These unassuming dried leaves contribute remarkable depth to the broth
- Nutritional yeast: Optional ingredient that enhances color and adds immune boosting properties
Growing up, my mother always said the secret to exceptional broth was using the whole chicken, skin and all. She insisted that chicken feet made the richest broth, though I rarely find them at my local market. When I do spot them, I always add a couple to my broth pot for that extra richness.
Essential Method
- Prep workspace:
- Gather all ingredients before beginning, ensuring clean cutting board and sharp knife for vegetable preparation.
- Brown the chicken:
- Heat pressure cooker on sauté function until hot, then add small amount of oil and sear chicken skin until golden brown.
- Vegetable preparation:
- Roughly chop onions, carrots and celery into large chunks, keeping pieces substantial enough to easily remove later.
- Combine ingredients:
- Add vegetables, garlic cloves, bay leaves and optional nutritional yeast to pot with chicken, arranging for optimal flavor extraction.
- Add water:
- Pour filtered water into pot, being careful not to exceed maximum fill line indicated on pressure cooker.
- Secure lid:
- Close pressure cooker lid according to manufacturer instructions, ensuring valve is set to sealing position.
- Pressure cooking:
- Set cooker to high pressure for 60 minutes, allowing natural pressure release when cycle completes.
- Strain thoroughly:
- Use large colander lined with cheesecloth to separate clear broth from solids, pressing gently on vegetables to extract all liquid.
- Cool properly:
- Allow broth to reach room temperature before refrigerating or freezing in appropriate containers.
 Pin it
My grandmother always saved vegetable scraps throughout the week in a designated freezer bag. When broth making day arrived, she would add these saved pieces to the pot alongside fresh vegetables. This not only reduced waste but also created layers of flavor impossible to achieve with just fresh ingredients. I've adopted this practice and find it particularly useful for utilizing leek tops and mushroom stems that might otherwise be discarded.
Perfect Pairings
Homemade soup recipes transform dramatically with fresh broth. Classic chicken noodle soup becomes extraordinary with homemade broth, developing depth that store bought versions simply cannot match. The natural gelatin creates silky texture that coats each noodle perfectly. Risotto preparation benefits tremendously from quality broth, elevating dishes like mushroom risotto. Rice cooking reaches new heights when substituting water with homemade broth, adding deep flavor to simple side dishes.
Flavorful Variations
Herb infused options create specialized broths by adding thyme, rosemary, and parsley for French flavors. Asian inspired broths develop beautifully with fresh ginger, star anise, and lemongrass. Roasting onions, carrots, and garlic before pressure cooking creates a deeply caramelized broth for special occasions.
Storage Solutions
Store cooled broth in glass containers with tight fitting lids in the refrigerator for up to five days. Freeze in portioned containers for up to two months. Thaw overnight in the refrigerator or quickly in a warm water bath when needed.
 Pin it
My journey with pressure cooker broth began from practical necessity. With young children and limited time, I needed efficient methods for creating nutritious meals. What started as convenience became passion when I tasted the difference homemade broth made in everyday cooking. Now I consider it essential kitchen knowledge worth sharing with anyone who enjoys cooking. The satisfaction of creating something so fundamental from scratch connects us to culinary traditions while simplifying modern meal preparation.
Frequently Asked Questions
- → Can I use chicken pieces or bones instead of a whole chicken?
- Absolutely! This recipe is very flexible regarding the chicken you use. Instead of a whole chicken, you can use 2½-3 pounds of chicken pieces such as thighs, drumsticks, wings, or backs—these bone-in pieces are particularly good for broth making. Another excellent option is using 2-3 carcasses from rotisserie chickens, which makes great use of something that might otherwise be discarded. If using rotisserie carcasses, you can skip the browning step as they're already cooked. For the richest broth, bones are key, so even if using boneless cuts, try to include some bones in the mix. The cook time remains the same regardless of which option you choose.
- → What is nutritional yeast and why is it in this chicken broth?
- Nutritional yeast is a deactivated yeast that comes in yellow flakes or powder. It has a nutty, savory flavor that adds umami (that satisfying fifth taste) to dishes. In this chicken broth recipe, it's used as an optional ingredient to add depth of flavor without adding salt or MSG. While not traditional in most chicken broth recipes, it's a chef's trick that enhances the savoriness of the broth. Nutritional yeast is commonly found in health food stores or the health food section of supermarkets and is particularly popular in vegan cooking as a cheese substitute. It's also rich in B vitamins. If you don't have it or prefer not to use it, you can simply omit it from the recipe without making any other adjustments.
- → How can I make this chicken broth more flavorful?
- There are several ways to boost the flavor of your homemade chicken broth. First, don't skip the browning steps—these develop rich, complex flavors. To intensify the flavor further, try roasting the vegetables and chicken in the oven before adding them to the pressure cooker. You can also add additional aromatics like leeks, parsnips, a small piece of ginger, lemongrass, or herbs such as rosemary or tarragon. For a deeper color and flavor, include 1-2 tablespoons of tomato paste during the vegetable sautéing step. A splash (about 1/4 cup) of white wine added after browning the chicken creates another layer of flavor. Finally, if time allows, let the finished broth cool with all ingredients still in it before straining—this allows flavors to continue developing.
- → Can I freeze this chicken broth for later use?
- Yes, this chicken broth freezes beautifully and is perfect for meal prep. After straining and cooling the broth completely, transfer it to freezer-safe containers, leaving about 1 inch of headspace to allow for expansion. For maximum flexibility, freeze in various quantities—ice cube trays (2 tablespoons each), 1-cup containers, and quart containers work well for different needs. For easy stacking, use square or rectangular containers rather than round ones. Be sure to label each container with the date and contents. The broth will maintain its best quality for up to 3 months in a standard freezer and up to 6 months in a deep freezer. To thaw, either transfer to the refrigerator overnight or use the defrost setting on your microwave for quick thawing.
- → Why is my chicken broth cloudy instead of clear?
- Cloudy broth is perfectly normal and doesn't indicate any problem with quality or flavor. However, if you prefer a clearer broth, there are several techniques you can use. First, avoid vigorously boiling the broth—the pressure cooker should maintain a gentle simmer. Second, after cooking, strain the broth through a fine-mesh sieve lined with cheesecloth to catch small particles. For even clearer broth, try this chef's technique: once the broth has cooled slightly, whisk 1-2 egg whites, then stir them into the warm (not hot) broth. Bring the mixture to a very gentle simmer—the egg whites will attract impurities, forming a raft on top that you can then skim off. Finally, be aware that using a whole chicken with skin will result in a somewhat cloudy, fatty broth, which is actually desirable for many recipes.
- → What's the difference between chicken broth, stock, and bone broth?
- While these terms are often used interchangeably, there are technical differences. Chicken broth (like this recipe) is made with both meat and bones, simmered for a relatively short time, producing a light-bodied, flavorful liquid. It's ideal for soups and recipes where a lighter chicken flavor is desired. Chicken stock is traditionally made primarily with bones and scraps (little meat), simmered longer (4+ hours conventionally), resulting in a richer mouthfeel from collagen breakdown. It's excellent for sauces and reductions. Bone broth is essentially a long-cooked stock (12-24+ hours conventionally), often with an acidic component like vinegar to help extract minerals and collagen from the bones. This recipe using the pressure cooker creates something between a traditional broth and stock—it has the quick cooking time of a broth but extracts collagen like a longer-cooked stock, giving you the best of both worlds.