
 Pin it
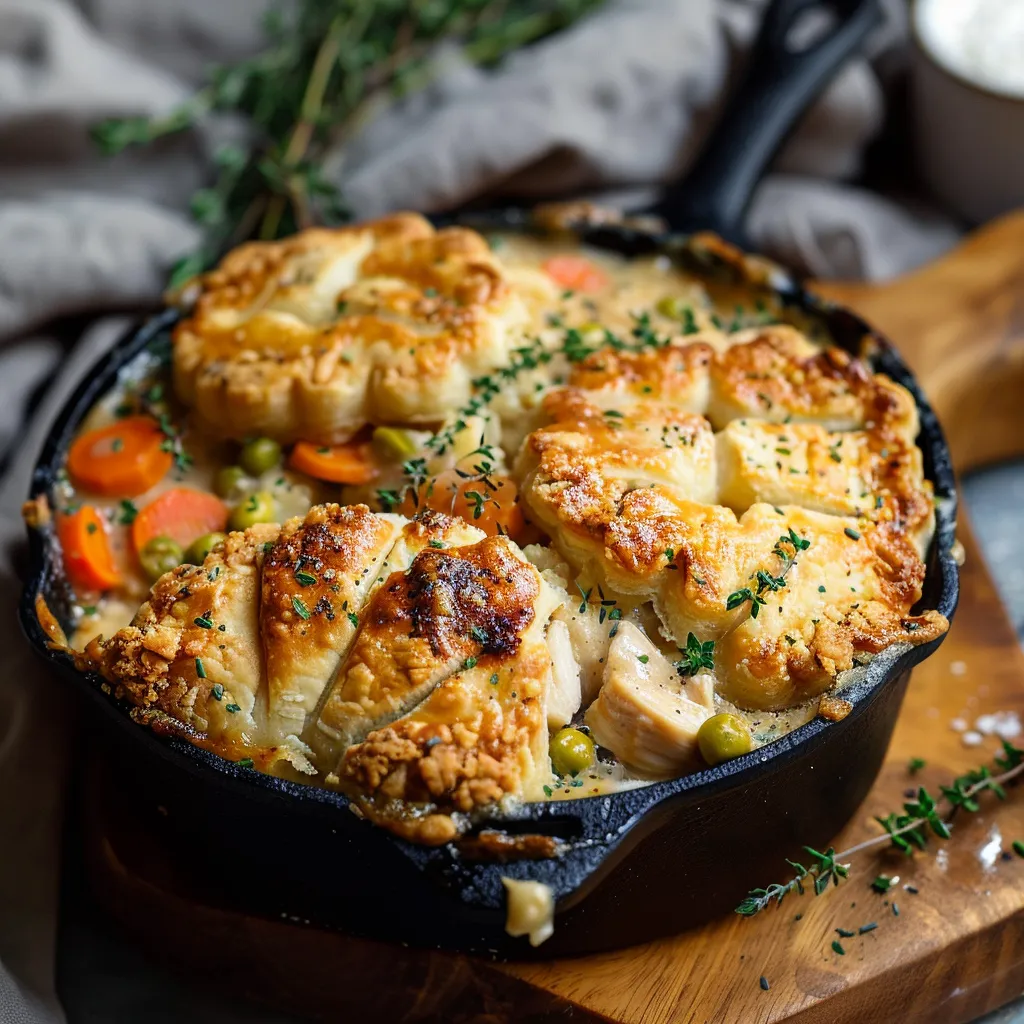
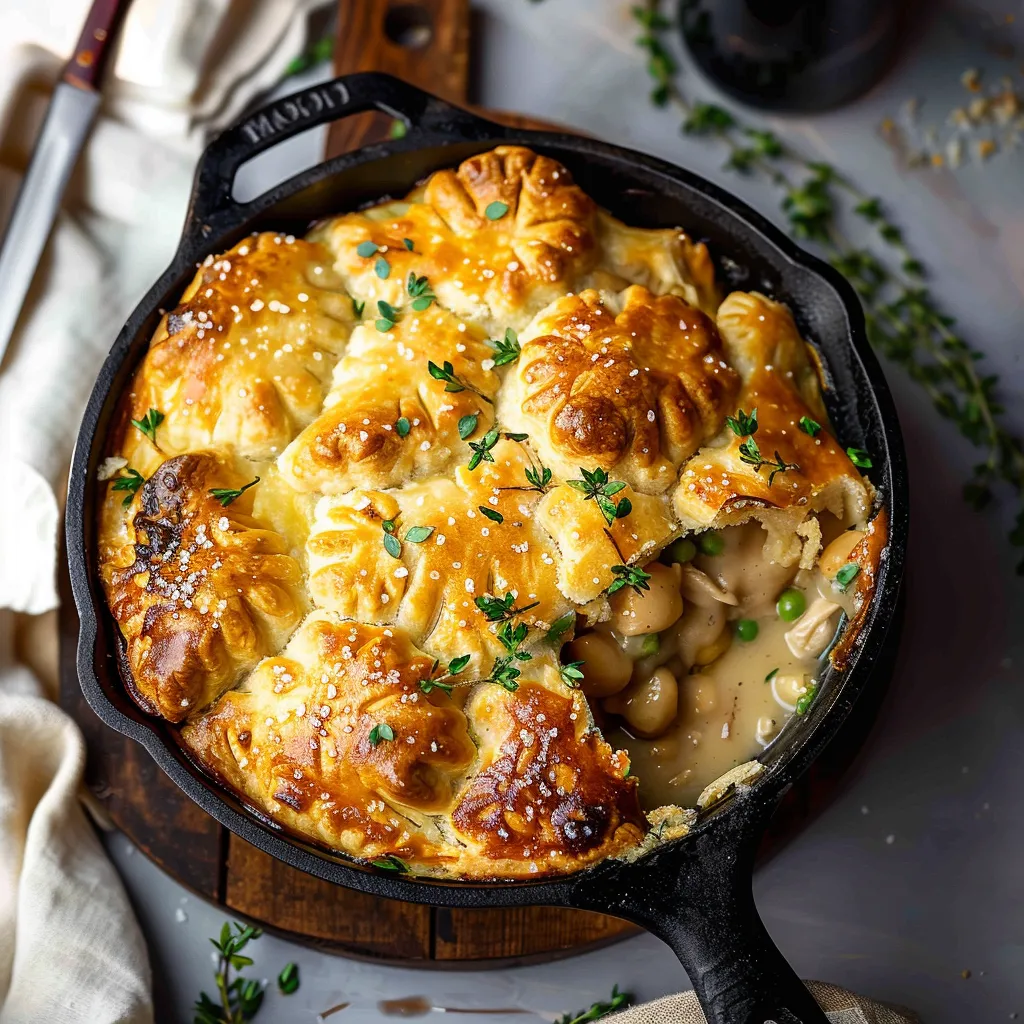
This cozy chicken pot pie combines tender rotisserie chicken, vegetables, and a velvety sauce all topped with fluffy homemade biscuits. It's my family's go-to comfort food that manages to taste like it took all day while fitting perfectly into busy weeknight schedules.
I first made this recipe during a particularly hectic week when I was craving comfort food but short on time. The way my family's eyes lit up at the golden biscuits and bubbling filling convinced me this shortcut version deserved a permanent spot in our dinner rotation.
Ingredients
- Unsalted butter: Forms the base for both the filling and biscuits giving everything a rich flavor
- All purpose flour: Helps create the perfect sauce consistency and forms tender biscuits
- Chicken broth: Adds depth to the sauce while keeping it lighter than using all cream
- Evaporated milk: Creates creaminess without needing heavy cream
- Frozen mixed vegetables: Save chopping time while adding color and nutrition
- Rotisserie chicken: Provides tender precooked meat that stays juicy
- Buttermilk: Creates exceptionally tender biscuits with a subtle tang
- Baking powder and baking soda: Work together for perfectly risen biscuits
- Sugar: Enhances browning and balances the savory flavors
Step-by-Step Instructions
- Prepare the pan:
- Preheat your oven to 375°F. A 10 inch cast iron skillet is ideal for this recipe as it conducts heat beautifully and goes right from stovetop to oven. If you don't have cast iron, any oven safe skillet or even a deep pie dish will work.
- Create the roux:
- Melt 6 tablespoons butter over medium heat until it begins to foam. Add chopped onions and cook for 5 minutes until translucent but not browned. The onions should become soft and aromatic. Whisk in 6 tablespoons flour and cook for exactly one minute while whisking constantly. This step cooks out the raw flour taste without letting it brown.
- Build the sauce:
- Slowly pour chicken broth into the flour mixture about a half cup at a time, whisking continuously to prevent lumps from forming. Once all broth is incorporated, add the evaporated milk in the same gradual manner. Bring the mixture to a gentle simmer and cook for 2 to 3 minutes until thickened to a gravy consistency that coats the back of a spoon. Season with salt and pepper.
- Add filling ingredients:
- Remove the pan from heat. Fold in the rotisserie chicken chunks and frozen vegetables. Stir gently to maintain the chicken texture while ensuring everything is evenly coated in sauce. The residual heat will begin thawing the vegetables without overcooking them.
- Mix the biscuit dough:
- In a medium bowl, whisk together the dry biscuit ingredients. Add cold butter cubes and work them into the flour mixture using your fingertips until the mixture resembles coarse crumbs with some pea sized butter pieces still visible. Pour in the buttermilk and stir just until the dough comes together. The dough should be somewhat shaggy looking rather than smooth.
- Top with biscuits:
- Using a large cookie scoop or measuring cup, drop mounds of biscuit dough evenly across the surface of the filling. Aim for about 9 biscuits that cover most of the surface while allowing some space between them for expansion.
- Bake to golden perfection:
- Place the skillet in the preheated oven with a baking sheet on the rack below to catch any potential overflow. Bake for 20 to 25 minutes until the biscuits have risen and turned golden brown and the filling is bubbling around the edges. Let the pot pie rest for 5 minutes before serving to allow the filling to set slightly.
 Pin it
My absolute favorite part of this recipe is the contrast between the crisp golden tops of the biscuits and their tender middles that soak up just a bit of the savory filling. It reminds me of Sunday dinners at my grandmother's house where she would serve something similar albeit with a much longer cooking time. This version brings those same comforting flavors to our table any night of the week.
Make-Ahead Options
This pot pie works beautifully as a make-ahead meal. You can prepare the filling up to two days in advance and store it in an airtight container in the refrigerator. When ready to serve, reheat the filling in your cast iron skillet, then prepare the biscuit dough and continue with the recipe. For even quicker assembly, you can mix the dry biscuit ingredients ahead of time and store them in a sealed container, then just add the cold butter and buttermilk when ready to bake.
Ingredient Swaps
This recipe welcomes customization based on what you have available. Instead of rotisserie chicken, use any cooked chicken or turkey you have on hand. Fresh vegetables can replace frozen with a quick sauté before adding to the filling. No buttermilk? Make your own by adding a tablespoon of lemon juice or vinegar to regular milk and letting it sit for 5 minutes. For a dairy-free version, use plant-based butter, your favorite unsweetened non-dairy milk, and add a touch more seasoning to compensate for the flavor.
Serving Suggestions
While this dish stands perfectly on its own as a complete meal, a simple side salad with a light vinaigrette provides a fresh contrast to the rich pot pie. For special occasions, serve alongside cranberry sauce which adds a delightful sweet-tart element that complements the savory filling. If serving for company, consider individual portions made in small ramekins or mini cast iron skillets for an impressive presentation that also helps control portion sizes.
The Cast Iron Advantage
Using a cast iron skillet for this recipe offers several benefits beyond tradition. The even heat distribution ensures the filling cooks consistently, while the heat retention keeps your pot pie warm longer at the table. The transition from stovetop to oven simplifies cleanup, and the seasoned surface of a well-maintained cast iron skillet adds subtle flavor that improves with each use. If you're new to cast iron, this forgiving recipe is an excellent way to start building your pan's seasoning.
 Pin it
Frequently Asked Questions
- → Can I make this without a cast iron skillet?
Yes, you can use any oven-safe skillet or a baking dish. Make sure it can hold the filling and biscuits comfortably.
- → What if I don't have buttermilk for the biscuits?
You can substitute buttermilk with regular milk mixed with a tablespoon of lemon juice or vinegar. Let it sit for a few minutes before using.
- → Can I use fresh vegetables instead of frozen?
Absolutely! Use equal amounts of fresh vegetables, but be sure to cook them slightly before adding them to the filling to ensure they soften properly.
- → How do I store leftovers?
Remove leftovers from the cast iron skillet and store them in an airtight container in the refrigerator for up to 3-4 days. Reheat gently in the oven or microwave.
- → Can I prepare the filling or biscuits in advance?
Yes, you can make the filling a day ahead and store it in the refrigerator. The biscuits are best made fresh, but you can prepare the dry ingredients and store them until ready to use.