
 Pin it
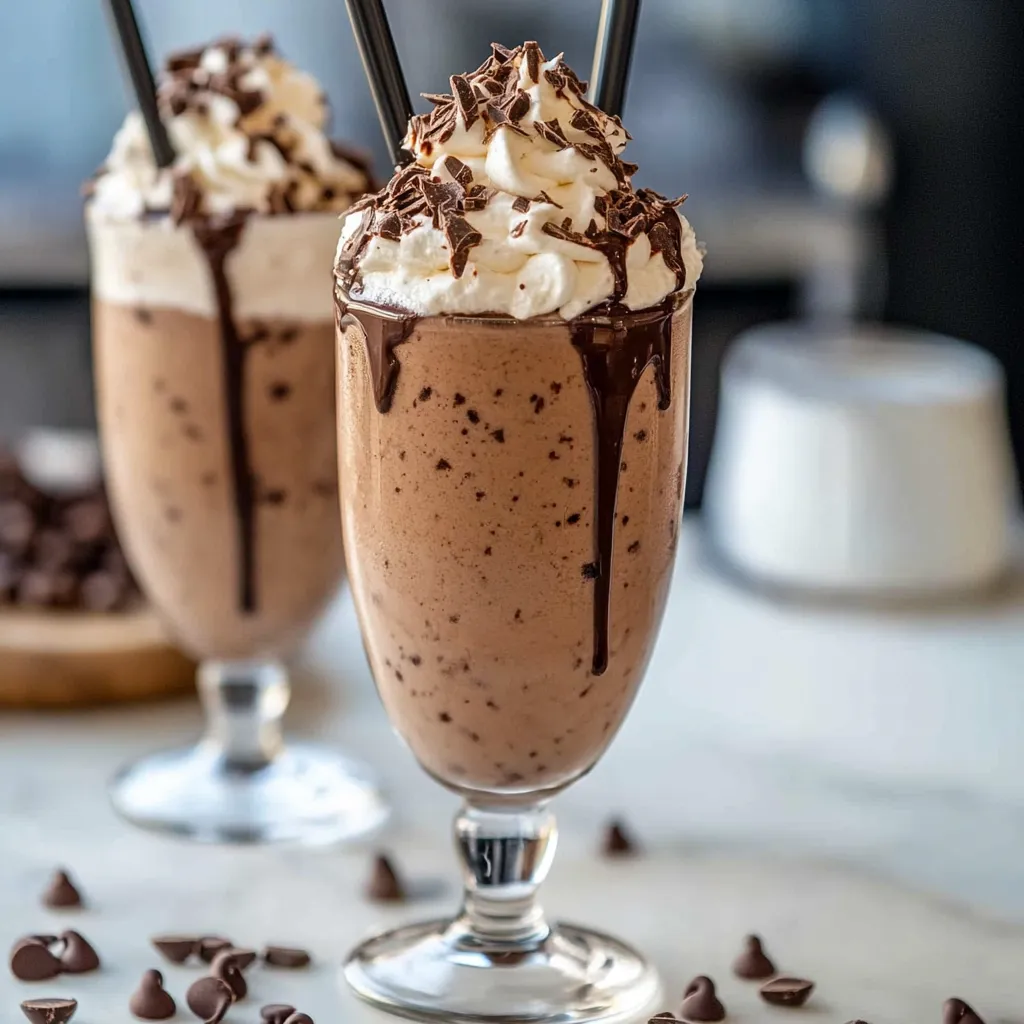
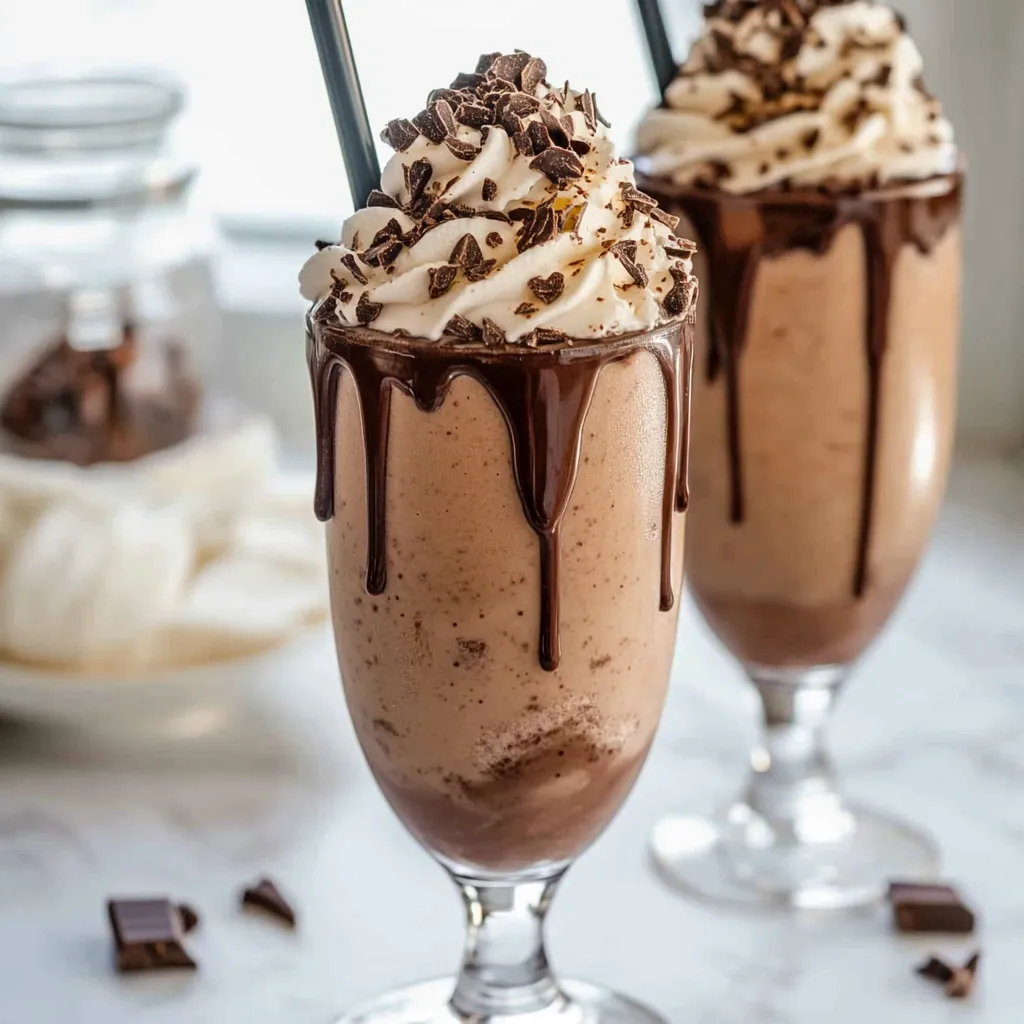
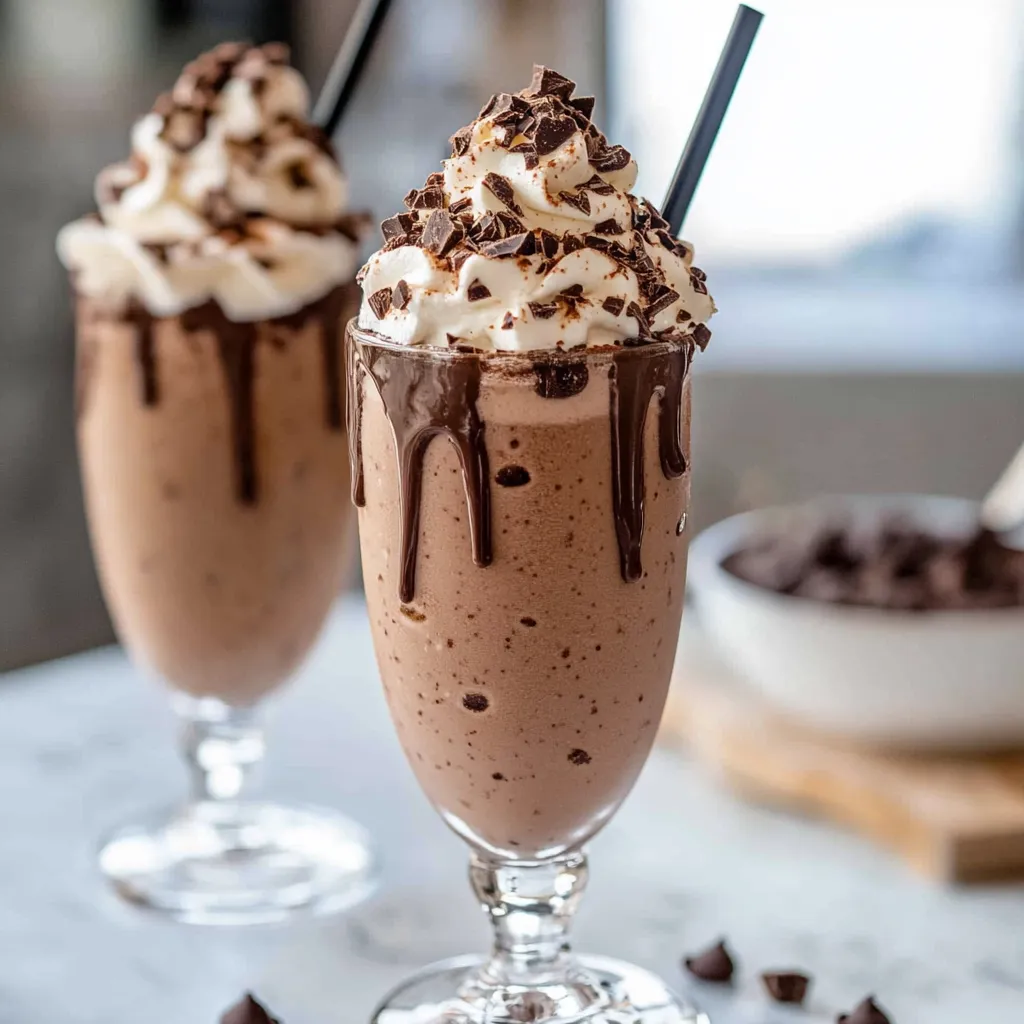
A rich, velvety chocolate milkshake brings together the perfect balance of creamy ice cream and smooth milk, creating an indulgent treat that satisfies even the most persistent chocolate cravings. This classic recipe elevates the simple milkshake into a cafe-worthy dessert drink that rivals any premium shake shop's offerings.
Growing up, making chocolate milkshakes was our Saturday afternoon ritual. I've spent years perfecting this recipe, testing different chocolate combinations and ratios until finding this ideal blend that creates the perfect balance of richness and drinkability.
Essential Ingredients
- Chocolate Ice Cream: Choose a premium ice cream with real cocoa butter for the richest flavor and creamiest texture. The higher fat content creates an exceptionally smooth shake.
- Whole Milk: The fat content in whole milk ensures perfect blending with the ice cream. While you can use lower-fat options, whole milk creates that authentic milkshake mouthfeel.
- Chocolate Sauce: Use a high-quality sauce made with real chocolate rather than artificially flavored syrup. The sauce adds depth and ensures chocolate flavor in every sip.
Instructions
- Step 1: Preparation
- Before starting, slightly soften your ice cream by letting it sit at room temperature for 5 minutes. This ensures smoother blending and prevents the motor strain on your blender. Meanwhile, chill your serving glasses in the freezer - this helps maintain the thick texture longer.
- Step 2: The Perfect Blend
- Add your chocolate ice cream to the blender first, followed by half the milk. Starting with less milk allows you to control the final consistency more precisely. Pour in your chocolate sauce, ensuring it coats the ice cream rather than going directly to the bottom.
- Step 3: Blending Technique
- Begin blending on low speed for 15-20 seconds to break down the ice cream, then increase to medium speed. Watch the mixture carefully - when you see a whirlpool forming in the center, you're at the right consistency. If needed, add remaining milk gradually until you reach your desired thickness.
- Step 4: The Finishing Touch
- Pour your milkshake into the chilled glasses immediately after blending. The key is to serve right away - waiting too long allows the shake to melt and lose its perfect texture. Add your chosen toppings with artistic flair.
 Pin it
My family's absolute favorite combination includes a drizzle of dark chocolate sauce inside the glass before pouring in the shake - it creates beautiful chocolate streaks and adds an extra layer of indulgence.
 Pin it
This chocolate milkshake recipe has become my signature dessert drink, requested at every family gathering and celebration. The combination of premium ingredients and careful attention to technique creates a milkshake that's both nostalgic and sophisticated - a true chocolate lover's dream come true.
Frequently Asked Questions
- → How do I make my chocolate milkshake thicker?
- Use less milk initially and add more only if needed. You can also freeze your glass for 10 minutes before serving.
- → Can I make this milkshake without a blender?
- While a blender gives the best results, you can use a hand mixer or whisk vigorously in a large bowl with softened ice cream.
- → What type of milk works best for milkshakes?
- Whole milk creates the creamiest texture, but any milk works. You can even use chocolate milk for extra flavor.
- → How long can I keep a homemade milkshake?
- Milkshakes are best enjoyed immediately. If stored in the freezer, let it sit for 5 minutes and re-blend before drinking.
- → Can I make this milkshake dairy-free?
- Yes, use dairy-free ice cream and almond milk or any plant-based milk as substitutes.