
 Pin it
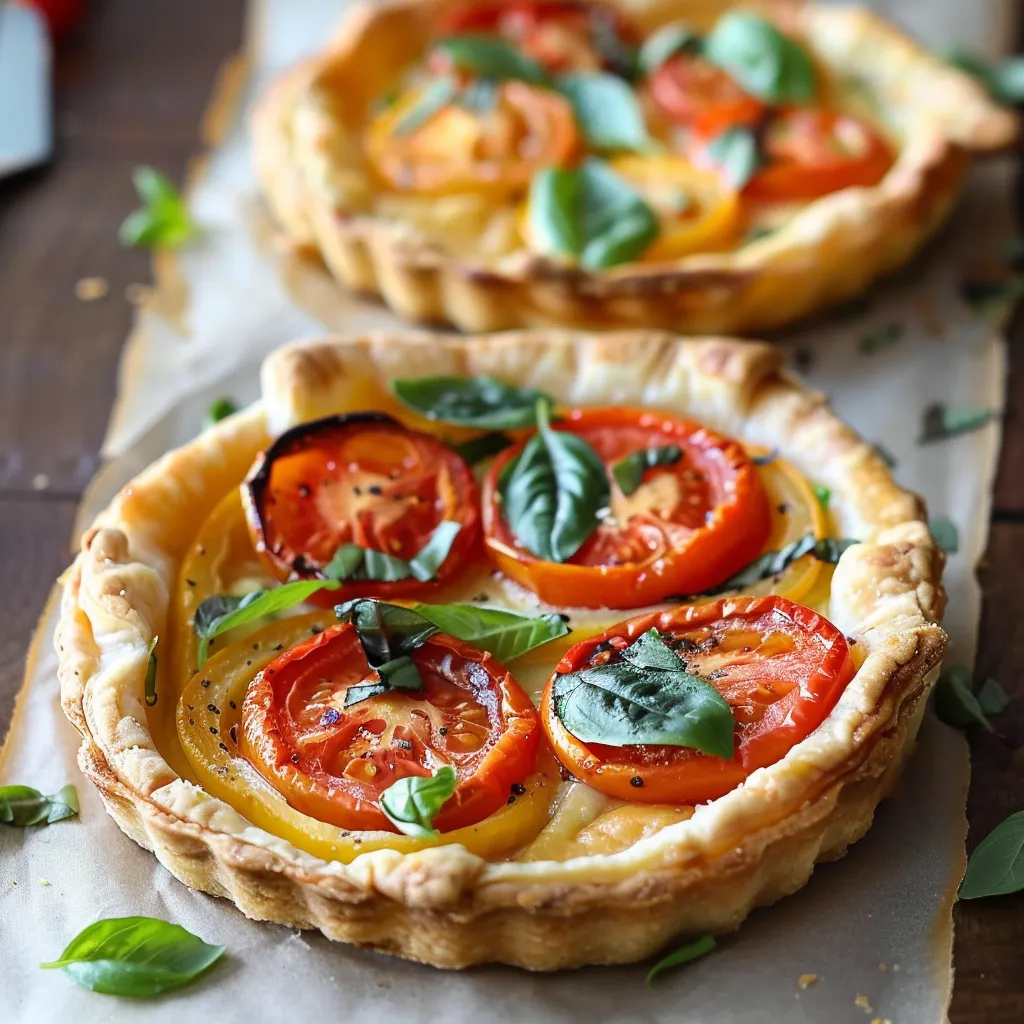
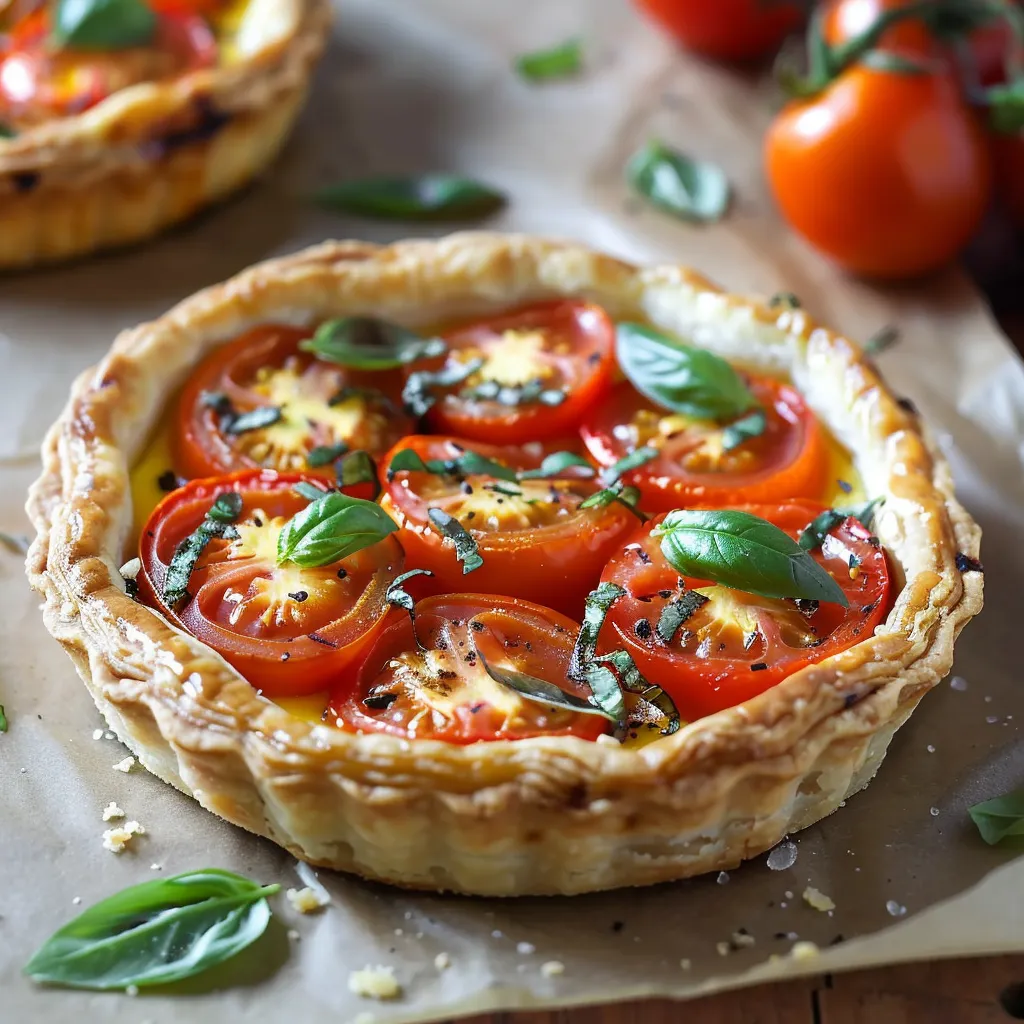
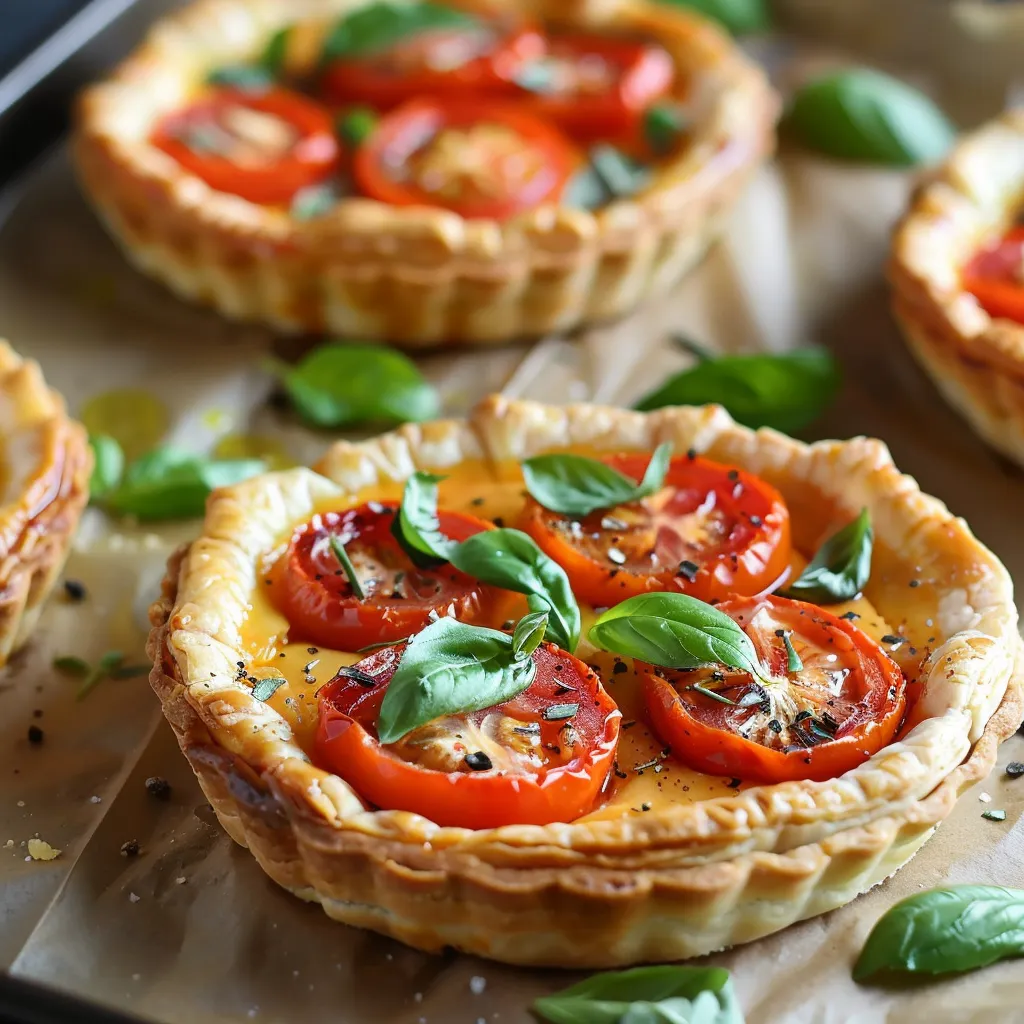
Tomato basil tart combines the quintessential flavors of summer in an elegant presentation that looks far more complicated than it actually is. The buttery, flaky crust provides the perfect foundation for the creamy cheese filling studded with vibrant cherry tomatoes and aromatic fresh basil. Whether served warm from the oven or at room temperature, this versatile dish transitions effortlessly from casual brunches to elegant dinner parties.
I discovered this tart recipe during a summer when my garden produced more tomatoes and basil than we could possibly use. Looking for creative ways to showcase these ingredients, I experimented with this combination and brought it to a neighborhood potluck. Three different people asked for the recipe before the evening ended, and it has since become my most requested dish for gatherings.
Essential Crust Ingredients
- All-purpose flour: Creates perfect structure and tenderness
- Cornstarch: Ensures delicate, shortbread-like texture
- Salt: Enhances flavor throughout the crust
- Cold unsalted butter: Provides rich flavor and flakiness
- Fresh egg: Binds ingredients while adding richness
Flavorful Filling Components
- Farm-fresh egg: Creates custard-like base texture
- Heavy cream: Contributes luxurious mouthfeel
- Whole milk: Balances richness perfectly
- Parmesan cheese: Adds savory depth throughout
- Red pepper flakes: Provide gentle warmth
- Garlic powder: Infuses aromatic notes
- Sea salt: Enhances all other flavors
- Black pepper: Adds subtle spice
- Fresh basil: Contributes signature summer flavor
- Tangy goat cheese: Creates creamy pockets throughout
- Sweet cherry tomatoes: Provide bursts of bright flavor
Perfect Preparation
- Crust Creation:
- Begin by combining flour, cornstarch, and salt in a medium bowl, whisking to distribute ingredients evenly. Add cold, diced butter and incorporate using a pastry cutter or two forks, working quickly to prevent butter from warming. The mixture should resemble coarse crumbs with some pea-sized pieces of butter still visible, which creates flakiness in the finished crust.
- Dough Development:
- Add the egg to the flour mixture and stir with a fork until the dough begins to come together. If the mixture seems dry, add ice-cold water one teaspoon at a time until the dough holds together when pressed between your fingers. Avoid overworking, which develops gluten and creates a tough crust.
- Shaping Technique:
- Turn the dough onto a lightly floured surface and knead gently just until smooth. For a full-sized tart, roll the dough into a circle approximately twelve inches in diameter and one-eighth inch thick. The dough should be slightly larger than your tart pan to allow for the sides. For mini tarts, divide dough and roll individual circles sized appropriately for your tart pans.
- Proper Fitting:
- Carefully transfer the rolled dough to your tart pan by draping it over the rolling pin and unrolling it centered over the pan. Gently press the dough into the corners and up the sides without stretching, which would cause shrinkage during baking. Trim excess dough by rolling the rolling pin across the top of the pan, creating a clean edge.
- Chilling Period:
- Refrigerate the prepared crust for at least ten minutes while preparing the filling. This crucial step relaxes the gluten, preventing shrinkage, and rechills the butter for maximum flakiness during baking. The cold crust will also hold its shape better when filled.
- Filling Preparation:
- Whisk together egg, cream, milk, Parmesan, and seasonings until completely combined. The mixture should be smooth and will serve as the custard base that holds everything together. Stir in chopped fresh basil and crumbled goat cheese, distributing them evenly throughout the mixture.
- Tomato Arrangement:
- Halve cherry tomatoes and arrange them cut side up over the chilled tart crust. This placement prevents excess moisture from releasing into the filling while creating an attractive presentation. The arrangement can be rustic or in concentric circles depending on your aesthetic preference.
- Careful Filling:
- Pour the prepared egg and cheese mixture carefully over the arranged tomatoes, allowing it to flow between them without disturbing their placement. Sprinkle the remaining Parmesan over the top, which will create a beautifully golden crust during baking.
- Optimal Baking:
- Place the tart on a baking sheet before putting it in the preheated oven. This makes handling easier and catches any potential overflow. Bake until the filling is set in the center and the crust is golden brown around the edges. The top should have light golden spots but not be overly browned.
- Proper Cooling:
- Allow the tart to cool on a wire rack for at least ten minutes before removing from the pan. This resting period allows the filling to set completely and makes slicing cleaner. The tart can be served warm, at room temperature, or chilled depending on preference.
 Pin it
I particularly love serving this tart for summer brunches alongside a simple green salad. The contrast between the warm, savory tart and cool, crisp greens creates the perfect balance. My mother-in-law, who typically avoids anything containing tomatoes, tried this reluctantly at a family gathering and ended up requesting it for her birthday lunch the following month. Something about the combination of flaky crust, creamy filling, and roasted tomatoes converts even the skeptics.
Perfect Serving Suggestions
Present this beautiful tart as the centerpiece of a brunch spread accompanied by fresh fruit and sparkling wine for a sophisticated gathering. For a light lunch, serve wedges alongside mixed greens dressed simply with olive oil and lemon juice. Create an elegant appetizer by cutting a full-sized tart into small squares or preparing in mini tart pans for individual servings at cocktail parties.
Creative Variations
Transform this classic recipe by substituting different fresh herbs such as thyme or oregano for unique flavor profiles. For cheese variations, try sharp cheddar and caramelized onions for a more rustic presentation or smoked gouda with sun-dried tomatoes for deeper flavor. Create seasonal adaptations using asparagus in spring, zucchini in summer, or butternut squash in fall.
 Pin it
Storage Solutions
Store leftover tart covered loosely with foil in the refrigerator for up to three days. Reheat individual slices in a 300°F oven for approximately five minutes until just warmed through. For making ahead, prepare the tart completely, cool, and refrigerate for up to one day. Bring to room temperature before serving or warm slightly in a low oven.
Frequently Asked Questions
- → Can I make this tart ahead of time?
- Yes! You can prepare the crust up to 2 days ahead and store it wrapped in the refrigerator. The entire tart can be baked a day in advance and reheated in a 300°F oven for 5-7 minutes before serving. For best results, add fresh basil after reheating.
- → What's the best substitute for goat cheese?
- The recipe notes suggest 4 oz of cheddar or mozzarella as great alternatives to goat cheese. Feta would also work well for a similar tangy flavor, or try cream cheese for a milder option. For a dairy-free version, a firm cashew cheese would be your best bet.
- → Can I use puff pastry instead of making the crust from scratch?
- Absolutely! For an even quicker version, use a sheet of store-bought puff pastry or refrigerated pie crust. If using puff pastry, prick it several times with a fork before adding the filling to prevent excessive puffing.
- → Why doesn't this crust need par-baking?
- This special crust recipe includes cornstarch, which creates a tender texture while still allowing it to bake properly with the filling. The egg in the dough also provides structure that helps prevent sogginess, eliminating the need for par-baking and saving you valuable time.
- → Can I add other vegetables to this tart?
- Yes! This tart is very versatile. Try adding thinly sliced zucchini, caramelized onions, roasted red peppers, or sautéed mushrooms. Just make sure any additions aren't too wet (pre-cook watery vegetables) to avoid making the crust soggy.