
 Pin it
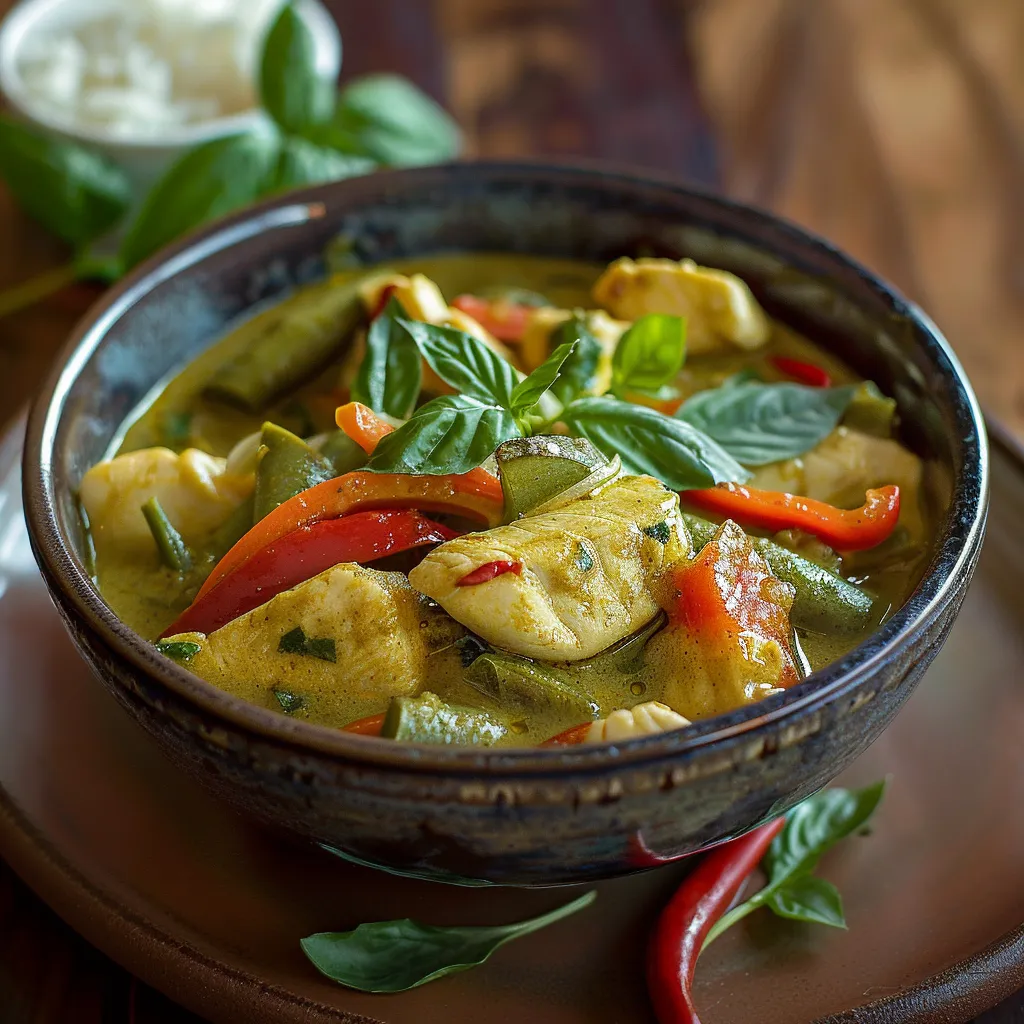
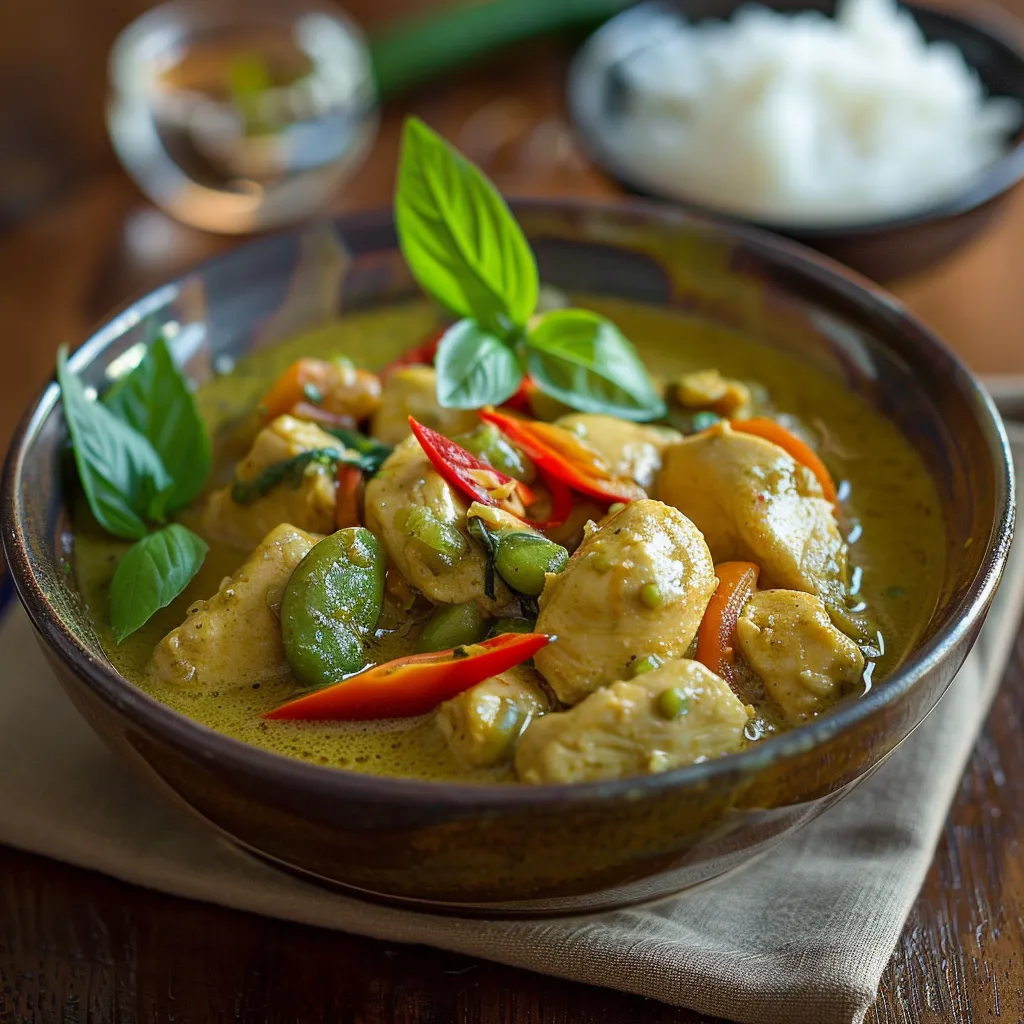
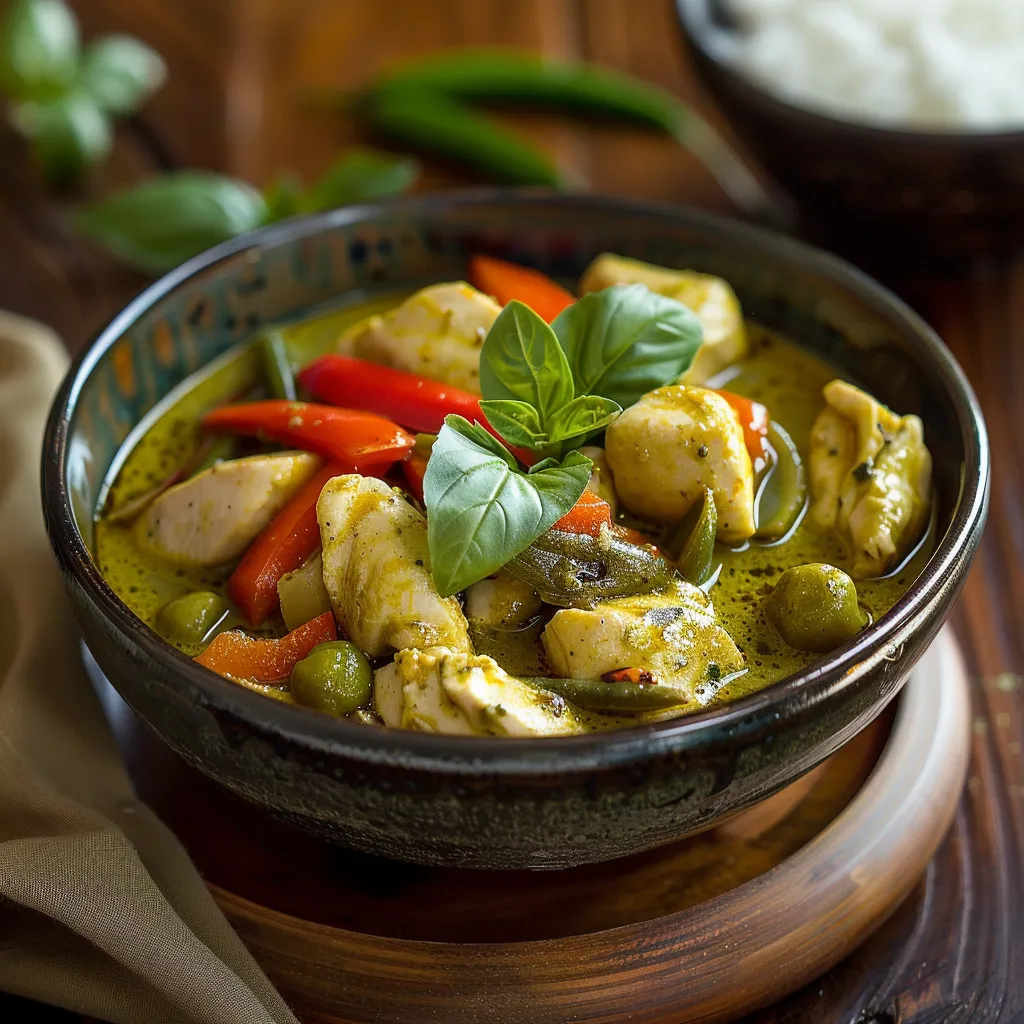
Aromatic green curry paste melds with creamy coconut milk creating a luxurious sauce that coats tender chicken and crisp vegetables in this restaurant-quality dish. Each spoonful delivers the perfect balance of sweet, spicy, sour, and savory notes that define authentic Thai cuisine. This simplified yet impressive recipe brings exotic flavors straight to your kitchen without requiring specialty cooking skills or equipment.
The evening I first served this curry to friends, conversation momentarily ceased as everyone savored their initial bites. My neighbor, who typically avoids anything remotely spicy, found herself repeatedly reaching for more, explaining that the coconut milk perfectly tempered the heat while allowing the complex flavors to shine through. Something about the combination of familiar ingredients prepared with unexpected aromatics creates an approachable yet special experience that appeals to diverse palates.
Quality Components
- Coconut milk: Creates a silky base that carries all other flavors throughout the dish
- Green curry paste: Provides a complex spice foundation without requiring dozens of ingredients
- Fresh ginger: Adds warming aromatic notes that permeate the entire curry
- Lime juice and zest: Bright citrus elements cut through richness and enhance other flavors
- Colorful vegetables: Bell peppers, green beans, carrots, and onions offer textural contrast
- Turmeric: Contributes subtle earthiness and beautiful golden color to the sauce
- Fresh basil: Fragrant herb that elevates the entire dish with its distinctive aroma
- Brown sugar: Balances the heat and acidity with necessary sweetness
I discovered through experimentation that allowing the coconut milk and curry paste to reduce properly creates significantly better texture and flavor concentration. My first attempts rushed this crucial step, resulting in a thinner sauce that lacked the luxurious mouthfeel of restaurant versions. Patience during this reduction stage transforms the dish from good to exceptional, creating that silky sauce that clings perfectly to every component.
Perfect Preparation
- Prepare chicken properly:
- Cut breast meat into uniform pieces for even cooking, seasoning lightly with salt and pepper.
- Sauté aromatics:
- Cook garlic in coconut oil until fragrant but not browned, creating a flavor foundation.
- Brown chicken gently:
- Cook chicken pieces until lightly golden but not completely done to prevent overcooking.
- Stage vegetable cooking:
- Prepare vegetables in sequence according to cooking times, maintaining ideal texture for each.
- Create sauce base:
- Combine coconut milk with curry paste, allowing them to meld completely while simmering.
- Infuse aromatics:
- Add ginger, lime components, chilies, and spices during sauce reduction for flavor development.
- Balance sweetness:
- Incorporate brown sugar gradually, adjusting to create perfect harmony with spicy elements.
- Combine components strategically:
- Return chicken and vegetables to reduced sauce, allowing flavors to permeate while completing cooking.
- Finish with freshness:
- Add torn basil leaves during the final moments, preserving their vibrant color and aroma.
 Pin it
I learned through disappointing trial and error that adding all vegetables simultaneously results in inconsistent textures. My first attempt produced perfectly cooked chicken alongside mushy green beans and still crunchy carrots. Now I carefully stage vegetable additions according to their cooking requirements, ensuring each component reaches ideal doneness simultaneously for perfect curry harmony.
Serving Suggestions
Traditional presentation highlights the vibrant sauce. Serve in white bowls over jasmine rice that absorbs the flavorful coconut sauce beautifully.
Creative Variations
Substitute shrimp for a faster cooking option or firm tofu for a vegetarian version without compromising the flavor profile. Add snow peas in spring or butternut squash in fall for seasonal variations. Increase or decrease dried chilies and red pepper flakes to create a milder, family-friendly version or a spicier authentic experience.
Storage Solutions
Store completely cooled curry in an airtight container for up to three days, keeping rice separate to prevent sogginess. Warm gently over medium-low heat, adding a splash of coconut milk if the sauce has thickened too much during storage.
 Pin it
The inspiration for mastering this recipe came after visiting a popular Thai restaurant chain that made me realize homemade versions could actually surpass restaurant quality with proper technique. Through careful observation and experimentation, this recipe evolved into something that satisfies cravings for exotic flavors while remaining completely approachable for home cooks.
Frequently Asked Questions
- → What brand of green curry paste works best for this recipe?
- For convenience and consistent results, Thai Kitchen and Maesri are both excellent and widely available brands of green curry paste. Thai Kitchen tends to be milder, making it great for those new to Thai cooking or those who prefer less heat. Maesri is more authentic and slightly spicier. If you have access to an Asian grocery store, Aroy-D is another excellent option. Start with the recommended 3 tablespoons and adjust to your taste preference – you can always add more for extra flavor and heat.
- → Can I use light coconut milk instead of regular?
- While you can substitute light coconut milk, it will result in a thinner, less rich curry sauce. Regular (full-fat) coconut milk creates that creamy, luxurious texture that makes restaurant curries so satisfying. If you do use light coconut milk, you might want to simmer the sauce a bit longer to reduce it further, or add a teaspoon of cornstarch mixed with water to help thicken it. For the best flavor and authentic texture, full-fat coconut milk is recommended.
- → How spicy is this curry, and how can I adjust the heat level?
- As written, this curry has a medium heat level. To make it milder, you can reduce or omit the dried Thai chilies and red pepper flakes, and use only 1-2 tablespoons of curry paste. For additional heat, leave the seeds in the dried chilies, increase the red pepper flakes, or add a fresh Thai bird's eye chili when preparing the sauce. Remember that the spiciness of curry paste varies by brand, so taste as you go whenever possible.
- → What vegetables can I substitute or add to this curry?
- This curry is extremely versatile and works well with many vegetables. Great additions or substitutions include snow peas, broccoli florets, cauliflower, zucchini, eggplant, bamboo shoots, water chestnuts, or mushrooms. For a heartier version, try adding diced sweet potatoes or butternut squash (these may need a longer cooking time). Just maintain similar-sized cuts so everything cooks evenly, and adjust cooking times according to the hardness of the vegetables.
- → Can I make this curry ahead of time?
- Yes, this curry actually develops even better flavor when made ahead! Prepare it completely, then cool and refrigerate in an airtight container for up to 3 days. When reheating, add a splash of water or coconut milk if the sauce has thickened too much. For best texture, consider slightly undercooking the vegetables if you plan to reheat later. The curry also freezes well for up to 3 months – just thaw overnight in the refrigerator before reheating gently on the stovetop.
- → What can I serve with this curry besides jasmine rice?
- While jasmine rice is traditional, this curry pairs wonderfully with many alternatives. Try it with brown rice for added nutrition, cauliflower rice for a low-carb option, or rice noodles for a different texture. For a complete Thai meal, serve with spring rolls or fresh summer rolls as an appetizer. Roti (Thai flatbread) is excellent for scooping up the sauce. A simple cucumber salad with rice vinegar makes a refreshing side dish that balances the rich curry perfectly.