 Pin it
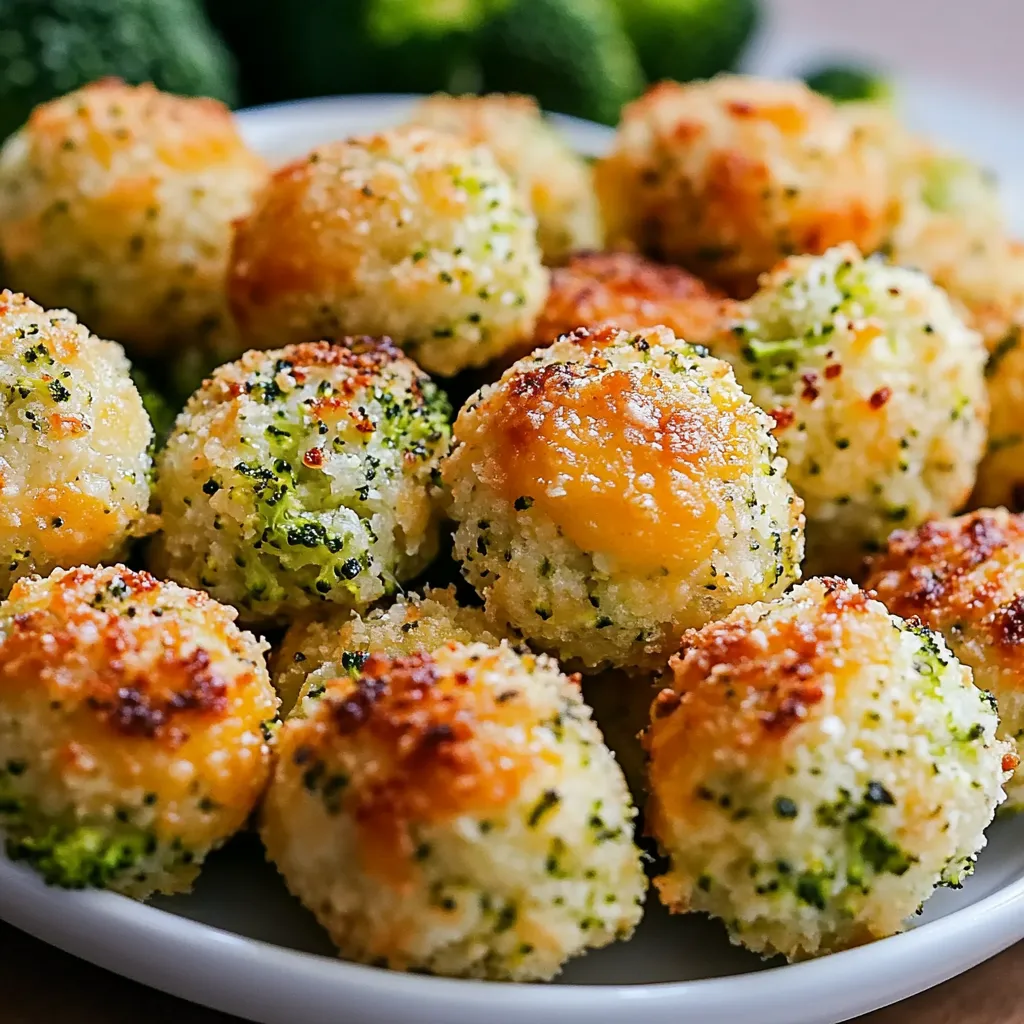
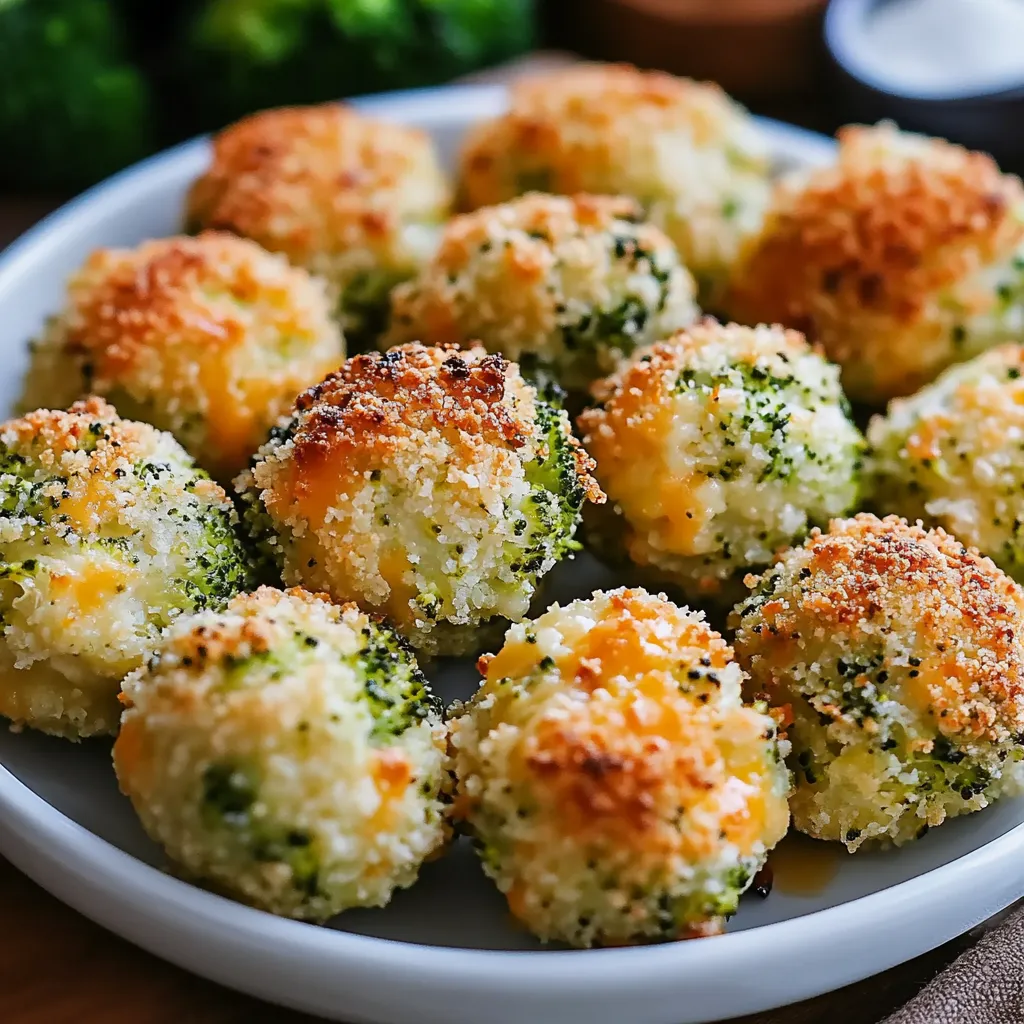
These golden, crispy broccoli cheese balls transform humble vegetables into an irresistible appetizer that even the pickiest eaters will devour. The combination of tender broccoli and melty cheese creates bite-sized morsels that disappear quickly at any gathering.
I first created these cheese balls when looking for ways to get my nephew to eat more vegetables. What started as a veggie disguise mission has become our family's most requested party appetizer, appearing at everything from game days to holiday gatherings.
Ingredients
- Broccoli florets: Add nutrients and texture while balancing the richness of the cheese. Choose fresh, bright green heads with tight florets for best flavor.
- Breadcrumbs: Essential for binding and creating a crispy exterior. Panko works wonderfully for extra crunch.
- Cheddar cheese: Provides rich flavor and that perfect cheese pull. Sharp varieties offer more depth.
- Parmesan cheese: Adds a salty umami dimension. Freshly grated works best for melting.
- Eggs: Hold everything together. Use room temperature eggs for easier mixing.
- All purpose flour: Helps absorb moisture and bind the ingredients.
- Garlic powder: Infuses each bite with savory flavor without the harshness of fresh garlic.
- Onion powder: Adds aromatic notes without texture interruption.
- Salt and pepper: Season to taste. Freshly ground black pepper makes a noticeable difference.
- Cooking spray: Ensures the balls don't stick to the baking sheet and helps create a golden exterior.
Step-by-Step Instructions
- Prepare the Broccoli:
- Begin by preheating your oven to 400°F to ensure it reaches the proper temperature while you prep the ingredients. Steam your broccoli florets for exactly 3 to 5 minutes until they reach that perfect tender crisp texture. You want them soft enough to incorporate into the mixture but not mushy. After steaming, immediately transfer to a colander and rinse with cold water to stop the cooking process. This maintains the bright green color and prevents overcooking. Allow the broccoli to cool completely before chopping it very finely. The smaller the pieces, the better your balls will hold together.
- Mix the Ingredients:
- In a spacious mixing bowl, add your finely chopped broccoli first, then layer in the breadcrumbs, both cheeses, eggs, and flour. Season with garlic powder, onion powder, and a generous pinch of salt and pepper. Using clean hands is the most effective way to combine everything thoroughly. Mix until you can squeeze a small amount in your palm and it holds together. If the mixture seems too wet, add another tablespoon of breadcrumbs. If too dry, a touch more beaten egg will help. The perfect consistency should be moist enough to form balls but not so wet that it sticks excessively to your hands.
- Shape the Balls:
- Line your baking sheet with parchment paper or apply a light coating of cooking spray. Using a tablespoon or small cookie scoop, portion out the mixture to ensure uniformity. This creates about 20 to 24 balls depending on your preferred size. Roll each portion between your palms with gentle pressure until smooth. Place each ball on the prepared baking sheet, allowing at least an inch of space between them for even browning. For extra convenience, you can shape these up to a day ahead and refrigerate covered until ready to bake.
- Bake the Cheese Balls:
- Position your oven rack in the middle position for even heat distribution. Place your prepared baking sheet in the preheated oven and bake for 20 minutes. At this point, check for golden browning. If they need more color, continue baking for an additional 5 minutes. For that irresistible crispy exterior, switch to the broiler setting for just 1 to 2 minutes, watching constantly to prevent burning. The perfect broccoli cheese ball should be golden brown outside with a steamy, cheesy interior when broken apart.
- Serve and Enjoy:
- Remove from the oven and allow the balls to rest for 3 to 5 minutes before serving. This brief cooling period helps them set up and become easier to handle. Arrange on a serving platter with small bowls of dipping sauces. While marinara and ranch are classics, a spicy sriracha mayo or honey mustard also pairs wonderfully with the cheesy broccoli flavors. These are best enjoyed warm when the cheese is still stretchy and melted.
 Pin it
My absolute favorite part of this recipe is watching people's surprise when they learn they're mostly eating broccoli. My daughter once proudly announced to her entire kindergarten class that these cheese balls were her favorite "special treat"—quite the victory for a parent trying to encourage vegetable consumption.
Storage Solutions
These broccoli cheese balls maintain their quality remarkably well when stored properly. After cooling completely, place them in an airtight container with parchment paper between layers to prevent sticking. They will keep in the refrigerator for up to 3 days. To reheat, place them on a baking sheet in a 350°F oven for about 10 minutes until warmed through. For longer storage, freeze the cooled balls on a baking sheet until solid, then transfer to a freezer bag. They can be frozen for up to 2 months. Reheat frozen balls directly in a 375°F oven for 15 minutes until hot throughout and crispy on the outside.
Ingredient Substitutions
This recipe welcomes adaptations based on dietary needs or what you have available. For a gluten free version, substitute regular breadcrumbs with gluten free panko or crushed rice cereal. The all purpose flour can be replaced with rice flour or chickpea flour. Dairy free eaters can use plant based cheese alternatives, though you may need to add a bit more binding agent. For those watching carbs, try almond flour instead of breadcrumbs and add an extra egg for binding. Cauliflower works beautifully in place of broccoli for a different flavor profile, following the same preparation method. For added protein, mix in 1/4 cup of finely chopped cooked bacon or pancetta.
Serving Suggestions
Transform these versatile broccoli cheese balls into a complete meal with thoughtful pairings. For a light lunch, serve 3 to 4 balls alongside a fresh green salad with lemon vinaigrette. As a dinner entrée, pair with roasted sweet potatoes and a protein of your choice. They make excellent toppers for creamy tomato soup, adding texture and substance. For entertaining, create a dipping sauce bar featuring marinara, pesto, honey mustard, and spicy aioli to complement the cheesy flavor. These also work wonderfully in lunch boxes, as they taste great at room temperature and provide a nutritious alternative to processed snacks.
 Pin it
These crispy, cheesy, veggie-packed bites are a surefire winner for any occasion.
Frequently Asked Questions
- → Can I make these broccoli cheese balls ahead of time?
Yes! You can prepare the mixture and shape the balls up to 24 hours in advance. Store them covered in the refrigerator, then bake just before serving. You can also fully bake them, refrigerate, and reheat in a 350°F oven for 10 minutes.
- → What's the best way to prevent the cheese balls from falling apart?
Ensure your broccoli is well-drained after steaming to avoid excess moisture. Also, refrigerating the mixture for 30 minutes before shaping helps it firm up. If the mixture seems too wet, add a tablespoon or two more breadcrumbs until it holds together when shaped.
- → Can I use frozen broccoli instead of fresh?
Absolutely! Thaw frozen broccoli completely and squeeze out excess moisture before chopping and adding to the mixture. This prevents the balls from becoming too wet and falling apart during baking.
- → What other cheeses work well in this dish?
While cheddar provides excellent flavor and meltability, you can experiment with mozzarella for stretchiness, Gruyère for nuttiness, or pepper jack for heat. Just ensure you include some Parmesan as it adds savory depth and helps with binding.
- → Can I make these gluten-free?
Yes, substitute regular breadcrumbs with gluten-free breadcrumbs and use gluten-free flour instead of all-purpose flour. The texture might be slightly different, but they'll still be delicious.
- → What are some good dipping sauce options?
These versatile bites pair well with marinara sauce, ranch dressing, honey mustard, sriracha mayo, or even a simple garlic aioli. For a tangy option, try mixing Greek yogurt with herbs and lemon juice.
