
 Pin it
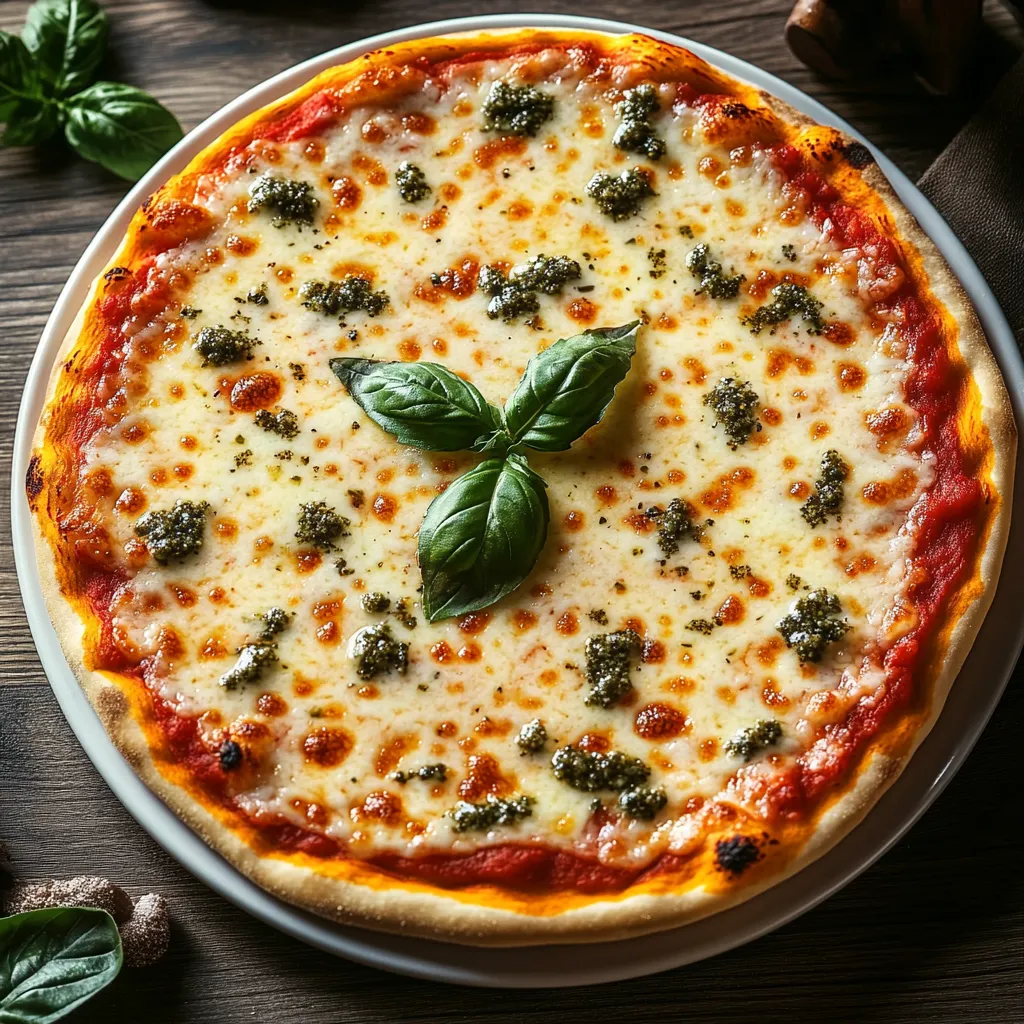
This hearty school cafeteria-style pizza recipe brings back the nostalgic flavors of childhood lunches with a homemade twist. The rectangular slices with slightly crispy edges and perfect cheese-to-sauce ratio capture that unmistakable cafeteria pizza experience that many of us remember fondly, but with ingredients you can control.
I first recreated this recipe when my kids mentioned missing their school lunch pizza during summer break. The familiar scent filling our kitchen transported me right back to my own elementary school days, and now it's our Friday night tradition.
Ingredients
- All purpose flour: Creates the perfect base for that slightly chewy yet crisp school pizza crust texture
- Active dry yeast: Gives the dough its rise without making it too airy like restaurant pizzas
- Sugar: Helps activate the yeast and adds subtle flavor balance to the crust
- Salt: Enhances the flavor of the dough and balances the sweetness in the sauce
- Warm water: At precisely 110°F activates the yeast without killing it
- Olive oil: Adds richness to the dough and helps create that golden crust
- Pizza sauce: Provides that classic sweet tomato flavor that school pizzas are known for
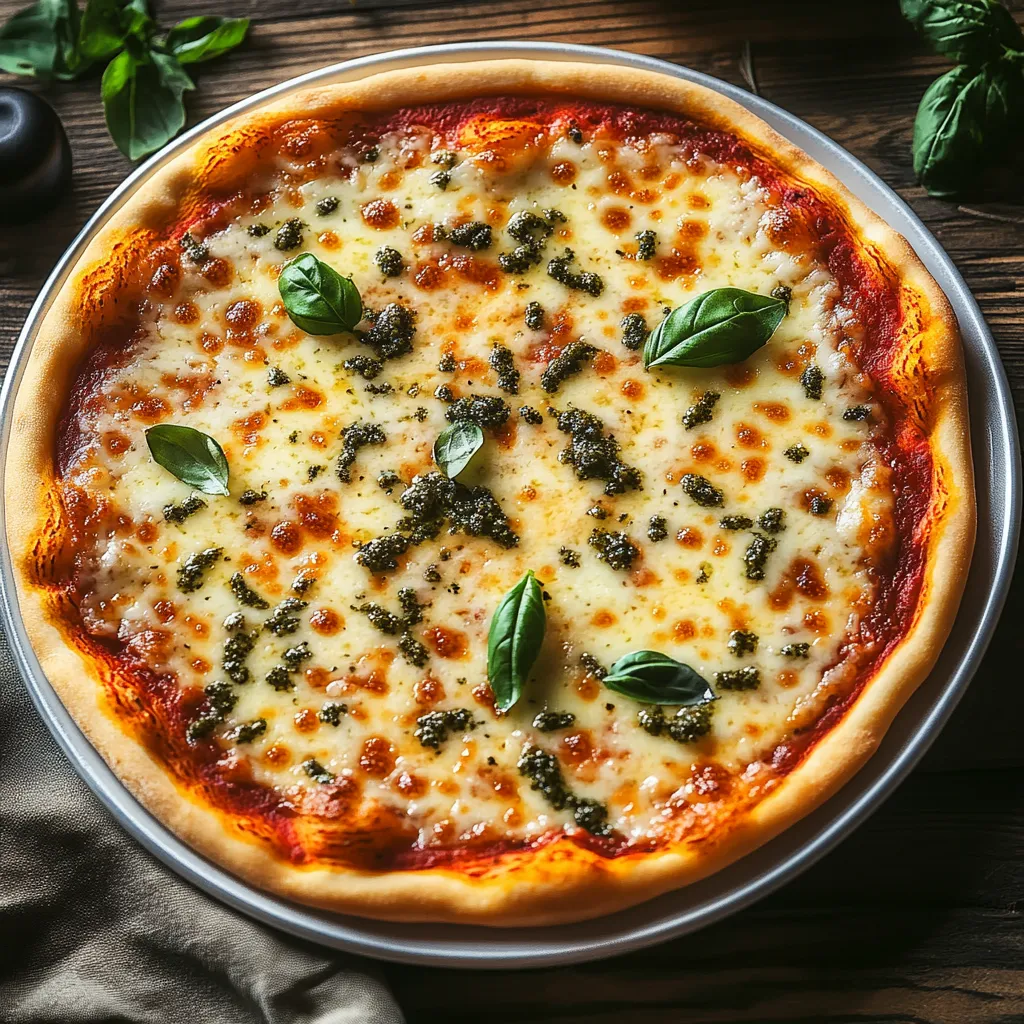
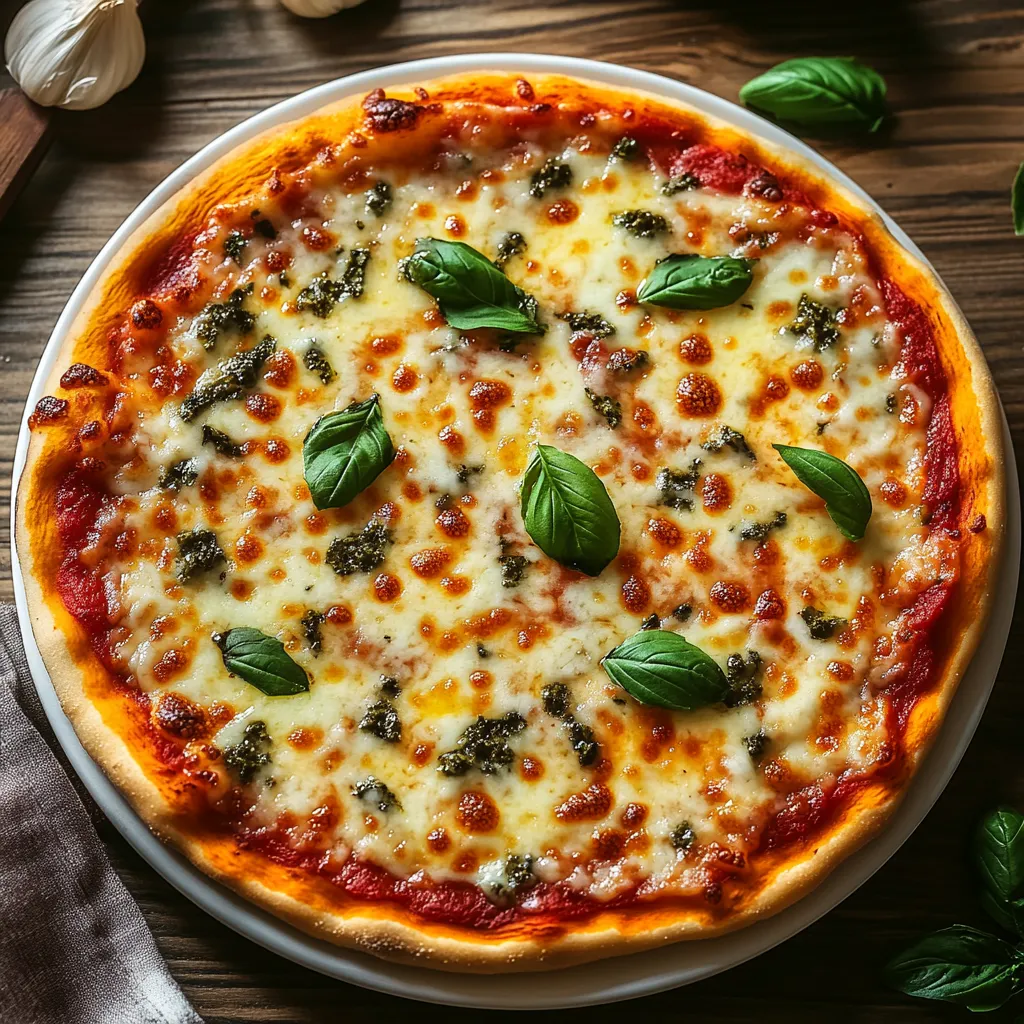
- Mozzarella cheese: Should be the low moisture variety for that authentic cafeteria melt
- Italian seasoning or dried oregano: Adds that familiar herb flavor you remember
- Fresh basil: Elevates the homemade version with color and aroma
Step-by-Step Instructions
- Activate the Yeast:
- Dissolve one teaspoon of sugar in three quarters cup of warm water around 110°F. Sprinkle the packet of active dry yeast over the water and let it sit undisturbed for 5 to 10 minutes. Watch for it to become frothy and foamy which indicates the yeast is alive and ready to work its magic in your dough.
- Create the Dough Base:
- In a large mixing bowl, whisk together two cups of all purpose flour and one teaspoon of salt until evenly combined. Pour in the activated yeast mixture along with one tablespoon of olive oil. Stir everything together with a wooden spoon until the mixture begins to form a shaggy dough that pulls away from the sides of the bowl.
- Develop the Gluten:
- Turn the dough out onto a lightly floured surface and knead it for a full 5 to 7 minutes. This step is crucial for developing the gluten that gives the crust its structure. Properly kneaded dough will feel smooth and elastic, and will spring back slightly when poked with a finger.
- Allow for Rising:
- Place the kneaded dough in a bowl that has been lightly greased with olive oil. Turn the dough once to coat it with oil, then cover the bowl with a clean kitchen towel. Place it in a warm, draft free area of your kitchen for about one hour. The dough should visibly double in size, indicating the yeast has done its job creating air pockets.
- Shape the Classic Rectangle:
- Preheat your oven to 475°F for at least 20 minutes before baking. Gently punch down the risen dough to release air bubbles. On a floured surface, use a rolling pin to shape the dough into a rectangle that fits your baking sheet. For authentic school pizza, aim for a thickness of about half an inch across the entire surface.
- Create the Flavor Base:
- Spread one cup of pizza sauce evenly across the dough surface, leaving a small half inch border around the edges to create a crust. The sauce should be spread thinly in an even layer using the back of a spoon in circular motions. This thin layer is key to the authentic cafeteria style.
- Add the Classic Cheese Layer:
- Sprinkle two cups of shredded mozzarella cheese evenly over the sauce, making sure to distribute it all the way to the edges of the sauce. The cheese should completely cover the sauce in a uniform layer about a quarter inch thick, which will melt into that perfect cafeteria pizza texture.
- Bake to Perfection:
- Place the pizza in the fully preheated oven on the middle rack and bake for 12 to 15 minutes. Watch carefully as it bakes until the crust edges turn golden brown and the cheese becomes bubbly with light brown spots. The bottom should be crisp enough to hold its shape when lifted.
 Pin it
My favorite childhood memory of school pizza day was trading my chocolate milk for an extra slice with my best friend Jimmy. We would sit at the end of the lunch table and talk about video games while enjoying our cafeteria feast. That special food memory is what makes recreating this recipe so meaningful.
Make-Ahead Options
This school cafeteria style pizza dough can be prepared up to 24 hours in advance and stored in the refrigerator. Simply place the dough in a large bowl with enough room for expansion, cover it tightly with plastic wrap, and refrigerate. The slow, cold fermentation actually improves the flavor of the crust, giving it more depth than the original school version. When ready to use, remove the dough from the refrigerator and allow it to sit at room temperature for 30 minutes before rolling it out.
Family-Friendly Variations
The beauty of this nostalgic pizza recipe is how easily it adapts to different preferences while maintaining that school cafeteria character. For picky eaters, you can divide the dough and create a half and half pizza with different toppings. Some authentic school variations include the classic pepperoni, cheese only, or the surprising favorite among many school districts the breakfast pizza with scrambled eggs and bacon bits. For a modern twist that still honors the original, try adding thinly sliced vegetables like bell peppers or mushrooms under the cheese layer so they stay moist during baking.
Serving Suggestions
For the full cafeteria experience, serve this pizza alongside a simple side salad with ranch dressing or carrot and celery sticks. Many schools paired their pizza with corn or green beans, so those make nostalgic side options as well. Cut the pizza into rectangular slices rather than triangles to maintain the authentic cafeteria feel. This recipe works perfectly for school night dinners, weekend lunches, or even as party food for kids birthdays or sports gatherings. The pizza tastes great at room temperature, making it ideal for packing in lunch boxes the next day.
 Pin it
This pizza will surely transport you back to the school cafeteria days with every bite.
Frequently Asked Questions
- → Can I make the dough ahead of time?
Yes! You can prepare the dough up to 24 hours in advance and store it in the refrigerator. Just place it in a greased bowl, cover tightly with plastic wrap, and refrigerate. Allow the dough to come to room temperature for about 30 minutes before rolling it out.
- → What makes this pizza 'cafeteria-style'?
The distinctive cafeteria-style comes from the rectangular shape, thicker crust, simple sauce, and generous layer of mozzarella cheese. For maximum authenticity, cut it into squares rather than triangular slices and serve it on a cafeteria tray!
- → Can I freeze this pizza?
Yes, you can freeze the pizza either before or after baking. To freeze before baking, prepare the pizza up to the point of adding toppings, then freeze on a baking sheet until solid. Wrap tightly and store for up to 3 months. Bake from frozen, adding a few extra minutes to the cooking time.
- → What can I add to make this pizza more flavorful?
While traditional cafeteria pizza was fairly simple, you can enhance the flavor with garlic powder in the dough, a sprinkle of parmesan cheese over the mozzarella, or a drizzle of honey on the crust edges before baking for a touch of sweetness.
- → Why is my pizza dough not rising properly?
If your dough isn't rising, the yeast may be old or the water temperature was wrong. The water should be warm (about 110°F) but not hot, as high temperatures can kill the yeast. Also ensure your rising environment is warm and draft-free. In colder kitchens, try placing the dough in a turned-off oven with just the light on.
- → What's the best cheese to use for authentic cafeteria pizza?
For the most authentic cafeteria experience, use part-skim mozzarella cheese. Many school cafeterias used a blend of mozzarella and mild cheddar, so you could mix in about 25% mild cheddar with your mozzarella for that classic cafeteria flavor profile.