
 Pin it
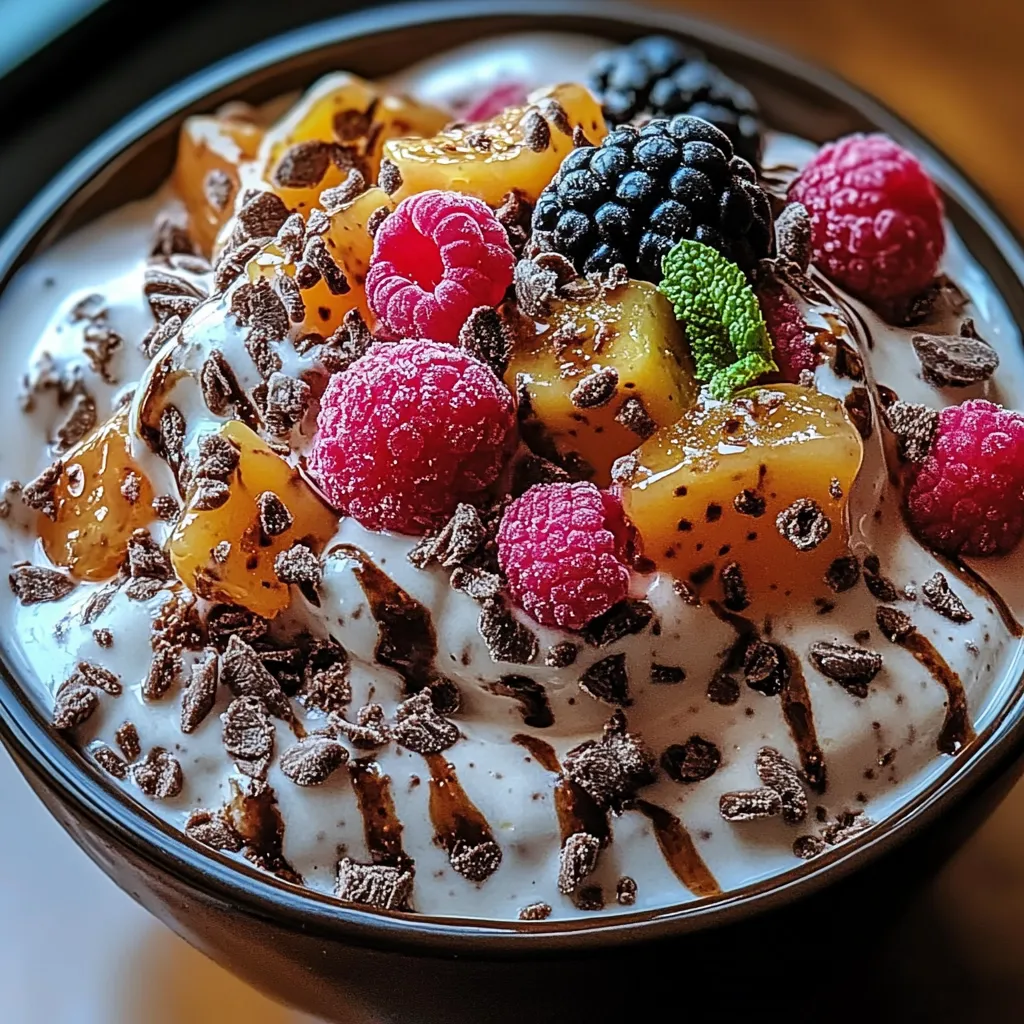
This ultimate homemade ice cream recipe transforms simple ingredients into a luxuriously creamy frozen treat that rivals any premium store-bought version. The base recipe provides endless possibilities for customization, making it perfect for satisfying any sweet tooth craving or impressing guests at your next gathering.
I developed this recipe after years of disappointment with commercial ice creams that never quite matched my childhood memories. After countless test batches, my family now refuses to eat anything else, claiming they can taste the difference blindfolded.
Ingredients
- Heavy cream: Provides the rich, luxurious mouthfeel essential for premium ice cream
- Whole milk: Balances the heaviness of the cream while maintaining creaminess
- Granulated sugar: Dissolves easily and provides the perfect level of sweetness
- Pure vanilla extract: Adds warmth and depth to the base flavor
- Salt: Enhances all other flavors and balances the sweetness
- Optional mix-ins: Allow for endless creativity and personalization
Step-by-Step Instructions
- Mix the Base:
- Combine heavy cream, whole milk, granulated sugar, vanilla extract, and salt in a large mixing bowl. Whisk thoroughly until the sugar completely dissolves, about 2-3 minutes. You should not feel any graininess when rubbing the mixture between your fingers. This thorough mixing ensures your ice cream has a smooth texture without sugar crystals.
- Chill the Mixture:
- Cover your bowl with plastic wrap, pressing it directly onto the surface of the cream mixture to prevent skin formation. Refrigerate for at least 1-2 hours, though overnight chilling produces the best results. A thoroughly chilled base freezes more efficiently during churning, creating smaller ice crystals and a smoother final texture.
- Churn the Ice Cream:
- Pour the chilled mixture into your ice cream maker and follow the manufacturer's instructions. Most home machines require 20-25 minutes of churning. Watch for the mixture to thicken substantially and reach a soft-serve consistency. The volume should increase by about 25% as air incorporates into the mixture. Do not overfill your machine as the mixture will expand during churning.
- Add Mix-ins:
- During the final 5 minutes of churning, gradually add your chosen mix-ins. Adding them too early can cause them to sink to the bottom or break down too much. For chocolate chips, use mini chips or chop regular chips for better distribution. For fruit, ensure it is very cold and patted dry to prevent ice crystal formation.
- Freeze the Ice Cream:
- Transfer the churned ice cream to an airtight container. Use a silicone spatula to smooth the top, then press parchment paper directly against the surface. This crucial step prevents air exposure that causes ice crystals. Seal tightly with a lid and freeze for at least 4 hours or until firm. Properly stored, homemade ice cream maintains premium texture for about 2 weeks.
 Pin it
My family has a tradition of making this ice cream for Sunday dinners. The pure vanilla version was initially created for my grandmother who believed simplicity showcased quality ingredients best. She would always insist on using farm-fresh cream, claiming you could taste the difference in each spoonful.
Perfect Texture Secrets
The key to perfectly smooth homemade ice cream lies in three crucial factors. First, ensure your base mixture is thoroughly chilled before churning. Room temperature mixtures form larger ice crystals during freezing, resulting in a grainy texture. Second, proper churning incorporates air gradually while freezing, creating the ideal consistency. Finally, storing your ice cream with parchment paper pressed against the surface prevents freezer burn and maintains that fresh-churned quality. Even after days in the freezer, your ice cream will scoop beautifully without developing that dreaded crystallized texture that plagues many homemade attempts.
Creative Flavor Variations
While the vanilla base provides endless possibilities, certain combinations have become family favorites. For chocolate lovers, whisk 1/4 cup of cocoa powder into the base mixture before chilling. Coffee enthusiasts will enjoy adding 2 tablespoons of instant espresso powder. Fruit-based variations work best when using purees rather than whole pieces, as they distribute more evenly throughout. Particularly successful combinations include raspberry white chocolate, roasted strawberry, or caramelized banana. For an adult dessert, try adding 2 tablespoons of bourbon or rum to enhance flavor depth while lowering the freezing point for a slightly softer texture.
Serving Suggestions
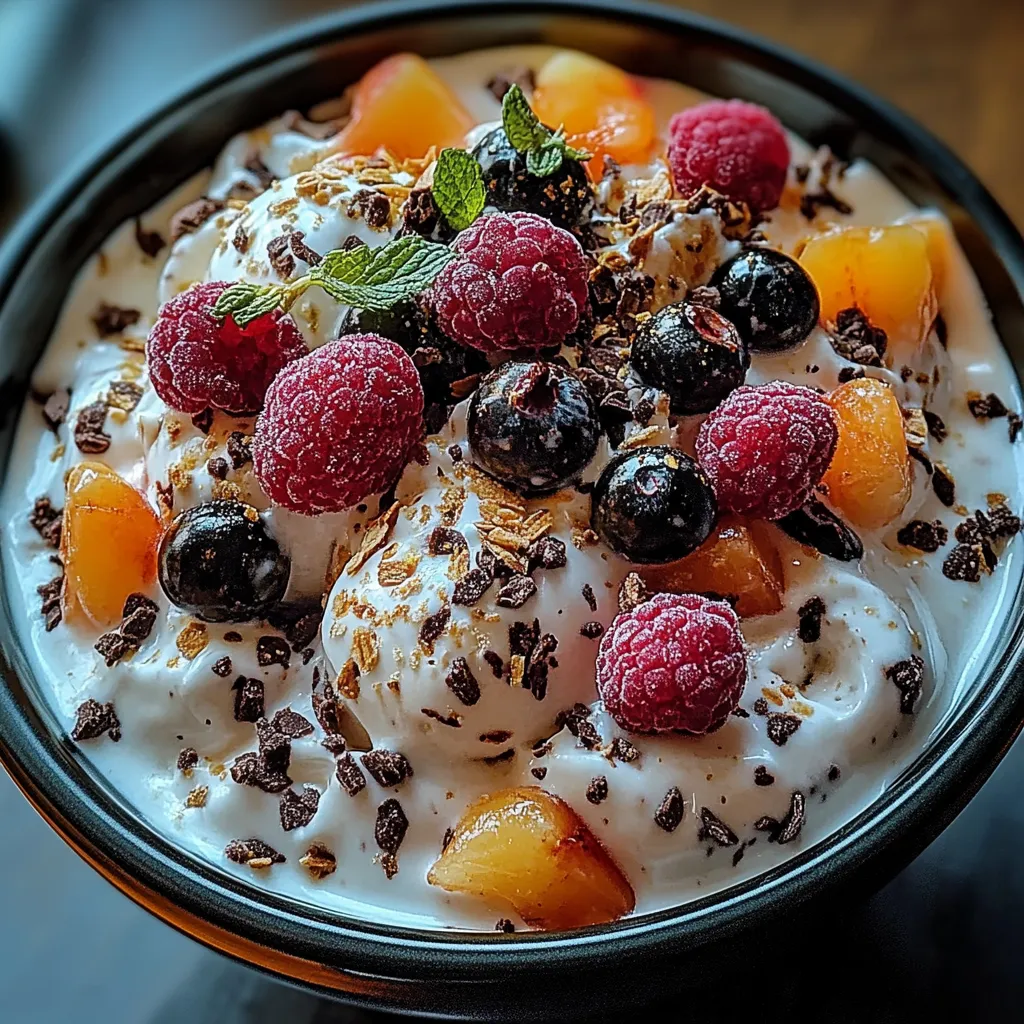
Homemade ice cream deserves thoughtful presentation. Warm your ice cream scoop in hot water between servings for perfectly round scoops. Allow the ice cream to soften at room temperature for 5-10 minutes before serving to enhance flavor perception. Traditional waffle cones provide delightful contrast, but for special occasions, serve in chilled bowls with complementary toppings like warm chocolate sauce, toasted nuts, or fresh seasonal fruit. The temperature contrast between warm toppings and cold ice cream creates a sensory experience that elevates this humble dessert to restaurant quality.
 Pin it
Homemade ice cream is a simple pleasure that combines creativity, tradition, and flavor with every scoop.
Frequently Asked Questions
- → Do I need an ice cream maker for this?
Yes, this method requires an ice cream maker for the churning process. The machine incorporates air while freezing, creating the smooth texture essential for quality ice cream. If you don't have an ice cream maker, consider no-churn alternatives that use whipped cream and condensed milk.
- → Can I use alternative dairy products?
Yes, you can experiment with alternatives, but expect different results. For non-dairy versions, full-fat coconut milk works well as a heavy cream substitute. Almond or oat milk can replace whole milk, though the final texture may be less creamy. You might need to adjust sweetness levels accordingly.
- → How long will homemade ice cream stay fresh?
When stored properly in an airtight container with parchment paper pressed against the surface, homemade ice cream will maintain optimal quality for about 1-2 weeks. After that, ice crystals may form and affect the texture, though it remains safe to eat for up to a month.
- → Why is my ice cream too hard when frozen?
Homemade ice cream often freezes harder than commercial varieties because it contains fewer stabilizers and less air. Let it sit at room temperature for 5-10 minutes before serving for the perfect scoopable consistency. Adding a tablespoon of alcohol or corn syrup to the base can also help keep it softer.
- → What causes ice cream to become grainy?
Graininess usually results from large ice crystals forming during freezing. Prevent this by ensuring your base is thoroughly chilled before churning, not over-churning, and properly storing with parchment paper pressed directly on the surface. The fat content in heavy cream also helps create smooth texture.
- → Can I use frozen fruit as mix-ins?
Yes, but thaw and drain frozen fruit first to remove excess moisture, which can disrupt freezing and create ice crystals. Alternatively, add frozen fruit in small pieces during the last minute of churning. For best results with berries, consider making a quick compote and cooling completely before adding.