
 Pin it
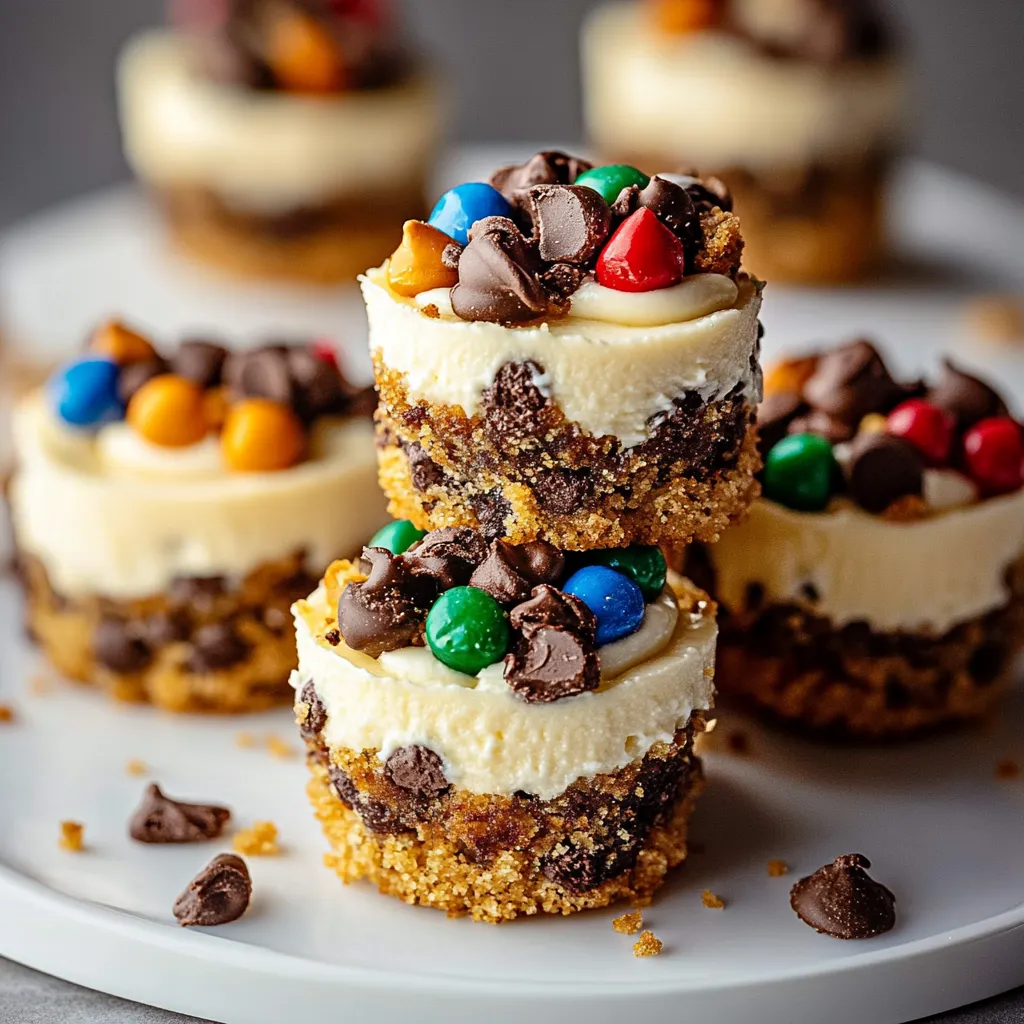
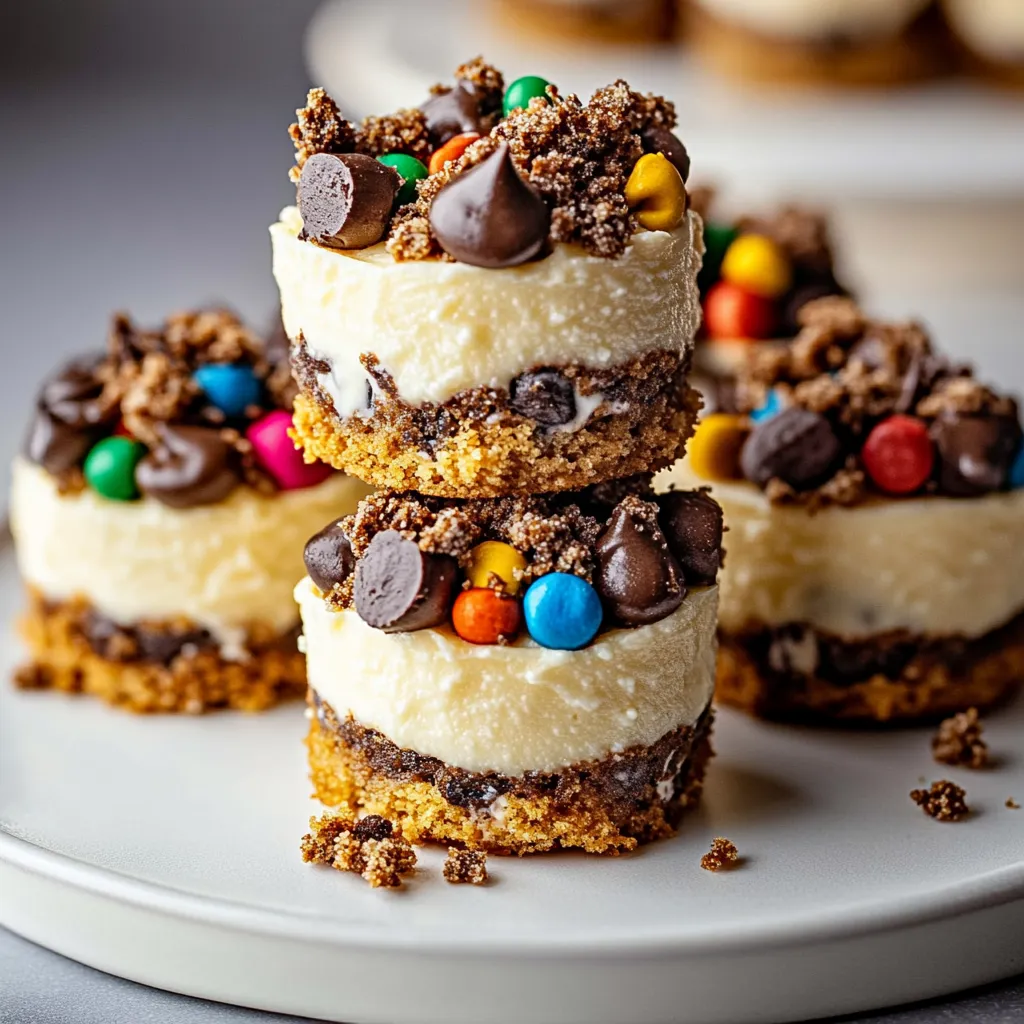
This delightful dessert combines two beloved treats – monster cookies and cheesecake – into one irresistible bite-sized indulgence. The classic monster cookie flavors of peanut butter, oats, chocolate chips, and colorful candies are transformed into a creamy cheesecake sitting atop a chocolate cookie base.
I created these mini cheesecakes for my daughter's birthday party last year, and they were such a hit that they've become our go-to dessert for celebrations. The colorful M&Ms always bring smiles to everyone's faces!
Ingredients
- Chocolate sandwich cookies: Provide the perfect crust with no additional ingredients needed
- Cream cheese: Creates the rich, tangy base of the cheesecake
- Creamy peanut butter: Adds that signature monster cookie flavor and helps create a velvety texture
- Granulated sugar: Balances the tanginess of the cream cheese
- Brown sugar: Enhances the cookie flavor profile with caramel notes
- Large eggs: Bind everything together and create that perfect cheesecake texture
- Vanilla extract: Adds warmth and depth to the flavor profile
- Quick oats: Bring authentic monster cookie texture to each bite
- Mini chocolate chips: Distribute evenly throughout for chocolate in every bite
- Mini M&Ms: Add colorful fun and a candy shell crunch
- Salt: Enhances all the flavors and balances the sweetness
Step-by-Step Instructions
- Prep the Pan:
- Preheat your oven to 325°F and line a standard 12-cup muffin tin with paper liners. This temperature is lower than for standard cakes because cheesecakes need gentle, even heat to prevent cracking. Place one whole chocolate sandwich cookie in the bottom of each liner to create an instant crust without any crushing or mixing required.
- Create the Cheesecake Base:
- In a large bowl, beat the cream cheese until completely smooth and free of lumps. This step is crucial for a silky-smooth cheesecake texture. Be sure your cream cheese is properly softened at room temperature for about 1 hour before beginning. Add the peanut butter, granulated sugar, and brown sugar, then mix until thoroughly combined and creamy.
- Add the Wet Ingredients:
- Beat in the eggs one at a time, allowing each to fully incorporate before adding the next. This method prevents overbeating, which can lead to cracks in your cheesecakes. Then stir in the vanilla extract and salt, which enhance all the flavors without being detectable themselves.
- Fold in the Mix-ins:
- Using a rubber spatula, gently fold in the oats, mini chocolate chips, and mini M&Ms until evenly distributed throughout the batter. Be careful not to overmix at this stage to maintain the light texture of your cheesecake batter. The folding motion preserves air in the batter for a perfect final texture.
- Fill and Bake:
- Divide the batter evenly among the prepared muffin cups, filling each about three-quarters full. The batter will rise slightly during baking but will settle as it cools. Bake for 20 to 22 minutes, or until the centers are just set but still slightly jiggly in the middle. They will continue to set as they cool.
- Cool and Chill:
- Allow the cheesecakes to cool in the pan for 10 minutes before transferring to a wire rack to cool completely. This gradual cooling helps prevent sudden temperature changes that could cause the tops to crack. Once cooled to room temperature, refrigerate for at least 2 hours or overnight for the best flavor and texture.
 Pin it
My favorite part of these mini monster cheesecakes is the perfect contrast between the crunchy cookie base, the creamy peanut butter cheesecake, and the colorful candy pieces throughout. Every time I make them, I'm reminded of childhood birthday parties, but with a sophisticated twist that makes them special enough for any celebration.
Customization Options
While these mini cheesecakes are perfect as written, you can easily customize them to suit your preferences or what you have on hand. For a different flavor profile, try using peanut butter sandwich cookies for the crust instead of chocolate ones. You can also swap the mini M&Ms for other small candies like Reese's Pieces or chopped peanut butter cups for an even more intense peanut butter experience.
Storage Instructions
These mini cheesecakes will keep beautifully in the refrigerator for up to 5 days when stored in an airtight container. They can also be frozen for longer storage. To freeze, place the completely chilled cheesecakes on a baking sheet until solid, then transfer to a freezer-safe container or bag with parchment paper between layers. They will keep for up to 3 months frozen. When ready to enjoy, thaw in the refrigerator overnight.
Serving Suggestions
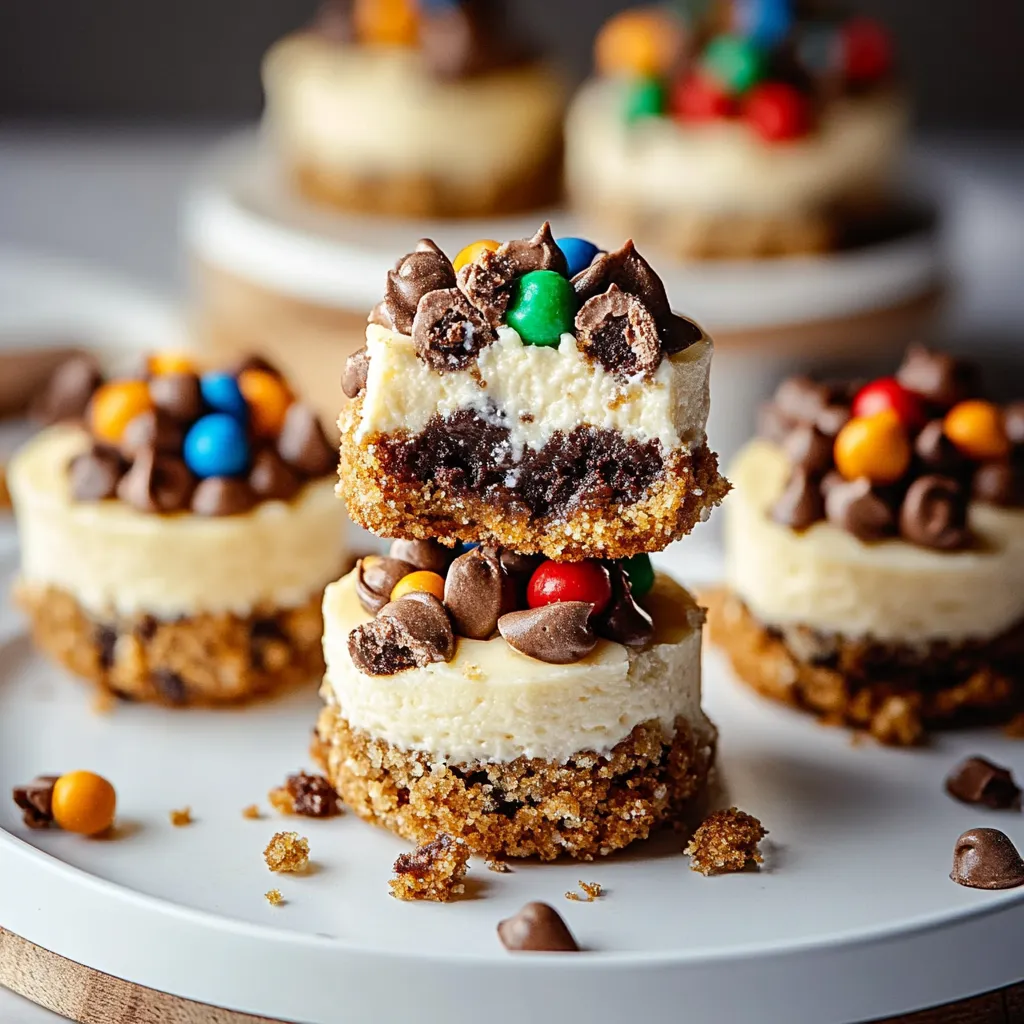
For an extra special presentation, top each mini cheesecake with a dollop of whipped cream and additional mini M&Ms or chocolate chips just before serving. These treats are perfect for birthday parties, holiday gatherings, or anytime you want to impress guests with minimal effort. They pair beautifully with coffee or milk for an afternoon treat or after-dinner dessert.
 Pin it
These mini monster cookie cheesecakes are the perfect sweet treat for any occasion. With their creamy texture and colorful flair, they are sure to delight everyone!
Frequently Asked Questions
- → Can I make these Mini Monster Cookie Cheesecakes ahead of time?
Yes, these mini cheesecakes are perfect for making ahead! They actually benefit from chilling overnight, which allows the flavors to develop fully. Store them in an airtight container in the refrigerator for up to 3 days, or freeze for up to 1 month.
- → What can I substitute for the peanut butter?
If you need a peanut-free option, you can substitute almond butter, cashew butter, or cookie butter (speculoos). Each will give a slightly different flavor profile but will work well with the other ingredients.
- → Why did my mini cheesecakes crack on top?
Cracks can form when cheesecakes are baked at too high a temperature or cooled too quickly. Ensure your oven is properly calibrated to 325°F and allow the cheesecakes to cool gradually in the pan before transferring to a wire rack.
- → Can I use regular-sized chocolate chips and M&Ms?
While mini versions work best in these small cheesecakes, you can chop regular-sized chocolate chips and M&Ms into smaller pieces if that's what you have on hand. This will help ensure even distribution throughout the batter.
- → How do I know when the mini cheesecakes are done baking?
The cheesecakes are done when the centers are mostly set but still have a slight jiggle when gently shaken. The tops should look slightly puffed and the edges may be starting to pull away from the sides of the pan. They will continue to set as they cool.
- → Can these be made without the Oreo crust?
Yes, you could substitute graham cracker crumbs mixed with butter for a more traditional cheesecake base. Press about 1 tablespoon of the mixture into each muffin cup before adding the filling.