
 Pin it
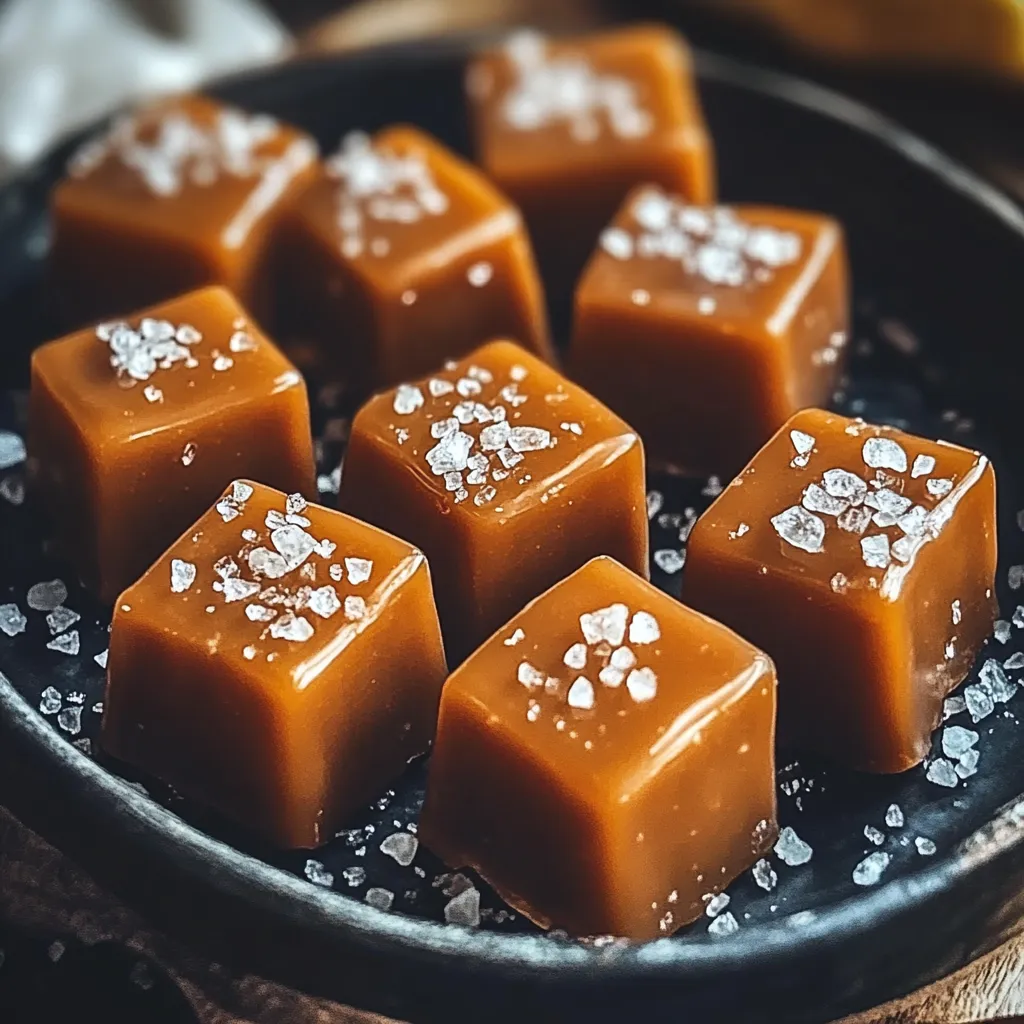
This decadent sea salt caramel recipe transforms simple ingredients into luxurious candy that balances sweet and salty perfectly. I developed this recipe after years of trial and error, finally achieving that elusive soft, chewy texture that melts in your mouth without sticking to your teeth.
I first made these caramels for holiday gift baskets when I was on a tight budget. What started as an economical present has become my most requested treat, with friends and family asking for them year-round.
Ingredients
- Granulated sugar: Creates the caramel base and provides that classic sweetness
- Water: Helps dissolve the sugar and prevents burning during the initial cooking stage
- Heavy cream: Gives the caramels their rich texture and mouthfeel
- Unsalted butter: Adds flavor and creates that velvety smooth consistency
- Vanilla extract: Brings warmth and depth to balance the sweetness
- Flaked sea salt: Provides the perfect contrast to the sweet caramel & use Maldon for best results
Step-by-Step Instructions
- Prepare Your Pan:
- Line an 8x8 inch baking dish with parchment paper leaving some overhang for easy removal later. Lightly grease the parchment with cooking spray or neutral oil. This preparation ensures your caramels will release cleanly without sticking.
- Cook the Sugar:
- In a heavy bottomed saucepan combine the granulated sugar and water. Cook over medium heat stirring gently until the sugar completely dissolves. Once dissolved stop stirring and allow the mixture to boil undisturbed until it turns a deep amber color about 10 12 minutes. Watch carefully as the color change happens rapidly at the end and can quickly go from perfect to burnt.
- Add Cream and Butter:
- Reduce the heat to low. Very carefully add the heavy cream and butter to the saucepan the mixture will bubble up vigorously. This is the most dramatic moment in candy making as the temperature difference causes an intense reaction. Stir constantly until the butter is completely melted and fully incorporated creating a smooth homogeneous mixture.
- Incorporate Vanilla and Salt:
- Remove the saucepan from heat and stir in the vanilla extract and 1 teaspoon of flaked sea salt. Mix thoroughly until smooth ensuring the salt distributes evenly throughout the caramel base.
- Pour and Cool:
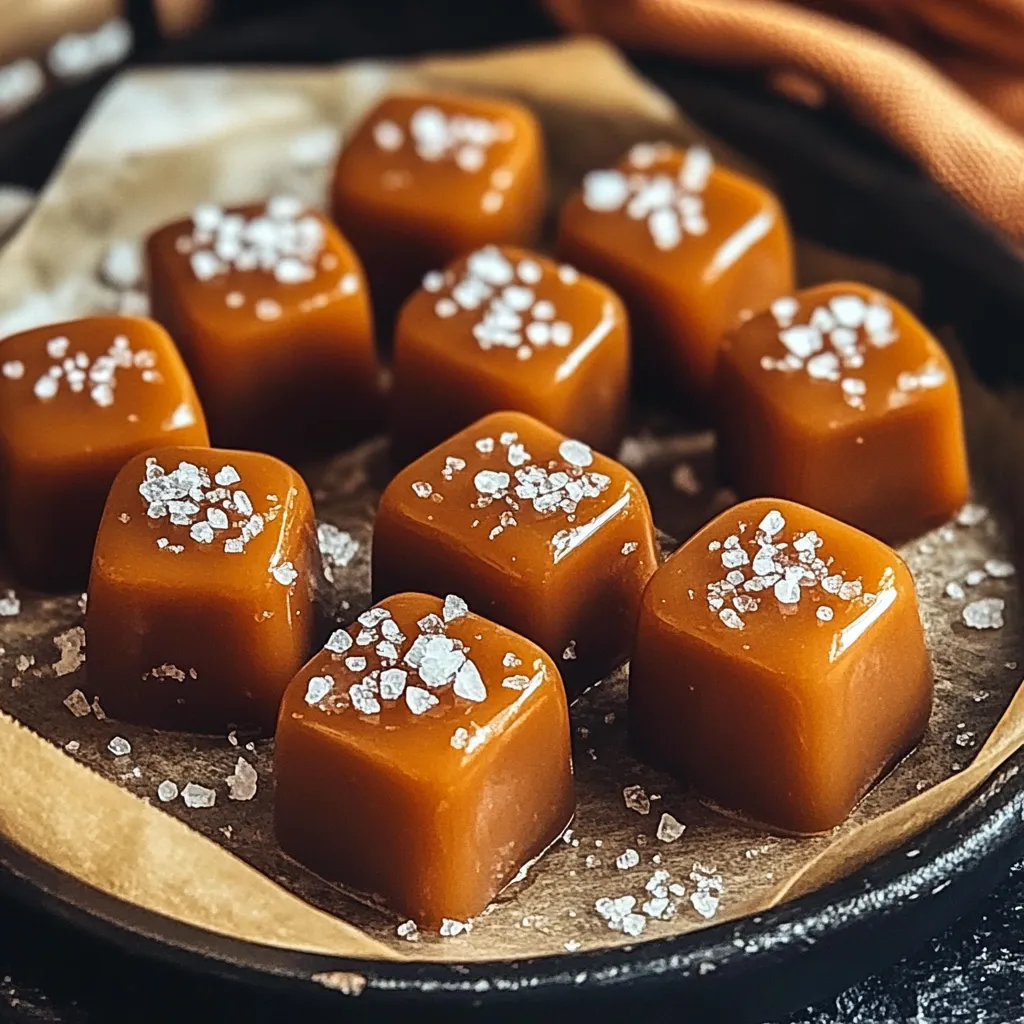
- Pour the hot caramel into the prepared baking dish. Sprinkle a little extra sea salt on top for added flavor and visual appeal. Allow the caramel to cool at room temperature for about 2 hours or until completely set.
- Cut and Store:
- Once the caramel is firm use the parchment paper to lift it out of the dish. With a sharp knife cut it into small squares or rectangles. For cleanest cuts warm your knife in hot water and wipe dry between cuts. You can wrap each piece in wax paper or store them in an airtight container separating layers with parchment paper.
 Pin it
My grandmother taught me to make caramels when I was just twelve years old. Her secret was always adding a pinch more salt than the recipe called for. She believed that little extra salt is what separated ordinary caramels from extraordinary ones. To this day, I follow her advice and have never had a complaint.
Troubleshooting Caramel Issues
Achieving perfect caramel can be challenging, even for experienced candy makers. If your caramel turns out too hard, you likely cooked the sugar mixture too long or at too high a temperature. For softer caramels, reduce cooking time by 1-2 minutes. Conversely, if your caramels are too soft and don't hold their shape at room temperature, you need to cook the mixture longer next time. Weather conditions can also affect your results. On humid days, caramel tends to be softer and may need additional cooking time.
Flavor Variations
These sea salt caramels serve as an excellent base recipe for countless variations. For chocolate lovers, dip the cooled caramels in tempered dark chocolate and sprinkle with additional sea salt. Create coffee caramels by adding 1 tablespoon of espresso powder when incorporating the vanilla. For a warming holiday version, add ½ teaspoon of ground cinnamon and a pinch of nutmeg. Bourbon caramels are another favorite substitute 1 tablespoon of bourbon for an equal amount of the cream and add it with the vanilla.
The Science Behind Perfect Caramels
Understanding the chemistry behind caramel making helps achieve consistent results. What happens in your pot is a series of chemical reactions called caramelization. As sugar heats, it breaks down and forms hundreds of new compounds, creating complex flavors and that beautiful amber color. The temperature matters tremendously in candy making. For soft, chewy caramels, the mixture should reach between 245°F and 250°F (firm ball stage). While this recipe works without a candy thermometer, investing in one gives you more control and consistency in your results.
 Pin it
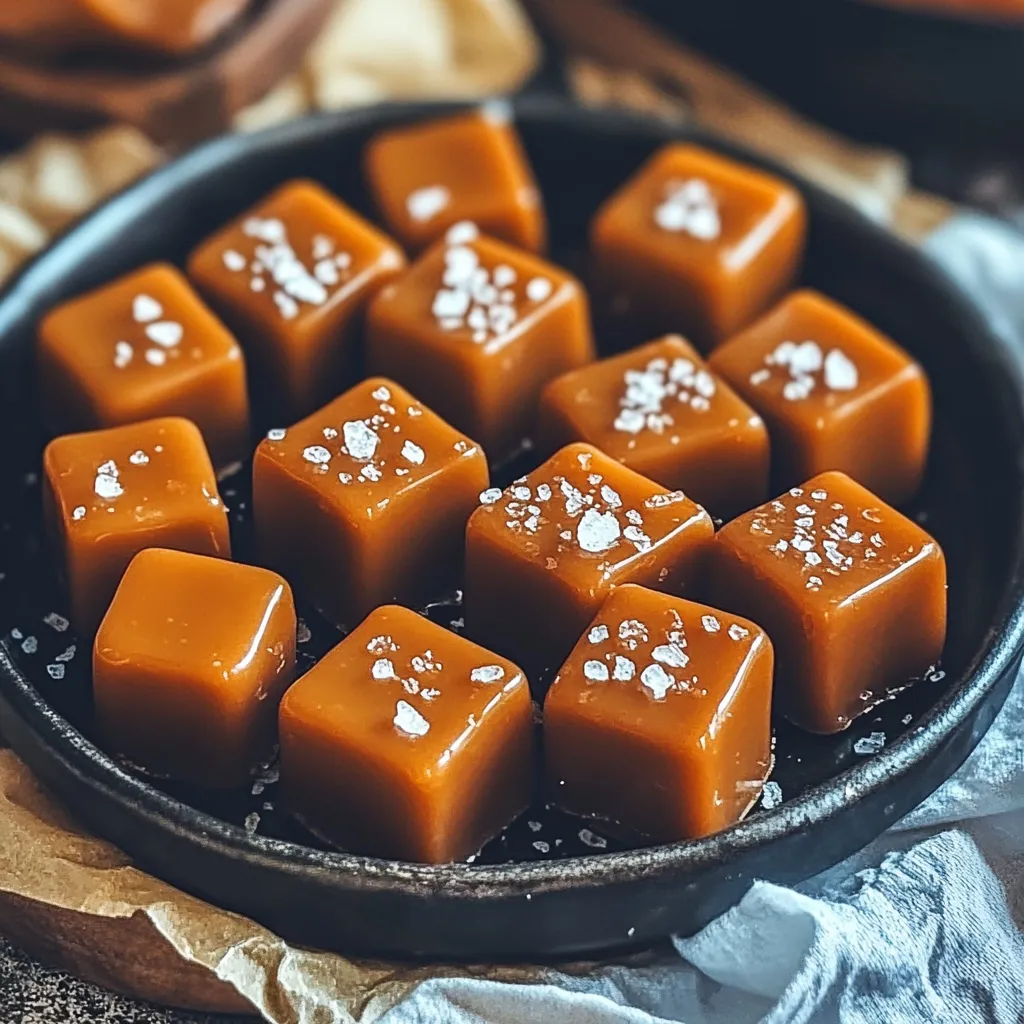
Enjoy your perfectly soft, chewy, and flavorful caramels for every special occasion!
Frequently Asked Questions
- → How do I know when my caramel has reached the right color?
The caramel should reach a deep amber color, similar to honey or maple syrup. If it's too light, the caramels will be soft and lack flavor; if too dark, they'll taste bitter. Use a candy thermometer for precision—around 350°F (175°C) is ideal for the amber stage.
- → Why did my caramels turn out too hard?
Hard caramels typically result from cooking the sugar mixture too long or at too high a temperature. For softer caramels, cook to a slightly lower temperature or add a touch more cream. A candy thermometer helps achieve consistent results.
- → What type of sea salt works best for this?
Flaked sea salt (like Maldon) is ideal because it provides texture and visual appeal. The thin, crunchy flakes dissolve pleasantly on the tongue and create a perfect contrast to the smooth caramel. Avoid using fine table salt as it will simply dissolve and make the caramels too salty.
- → How long do homemade caramels stay fresh?
When properly wrapped in wax paper and stored in an airtight container at room temperature, these caramels stay fresh for 2-3 weeks. For longer storage, you can refrigerate them for up to a month, though they might become slightly firmer.
- → Can I add other flavors to these caramels?
Absolutely! You can customize these caramels by adding extracts like almond or orange instead of vanilla, infusing the cream with spices like cinnamon or cardamom, or mixing in chopped nuts before setting. For a chocolate variation, drizzle or dip set caramels in melted chocolate.
- → Why does my caramel crystallize sometimes?
Crystallization happens when sugar molecules reattach after dissolving. To prevent this, avoid stirring after the sugar dissolves, wash down any sugar crystals on the sides of the pan with a wet pastry brush, and consider adding a tablespoon of corn syrup to the initial mixture to inhibit crystal formation.