
 Pin it
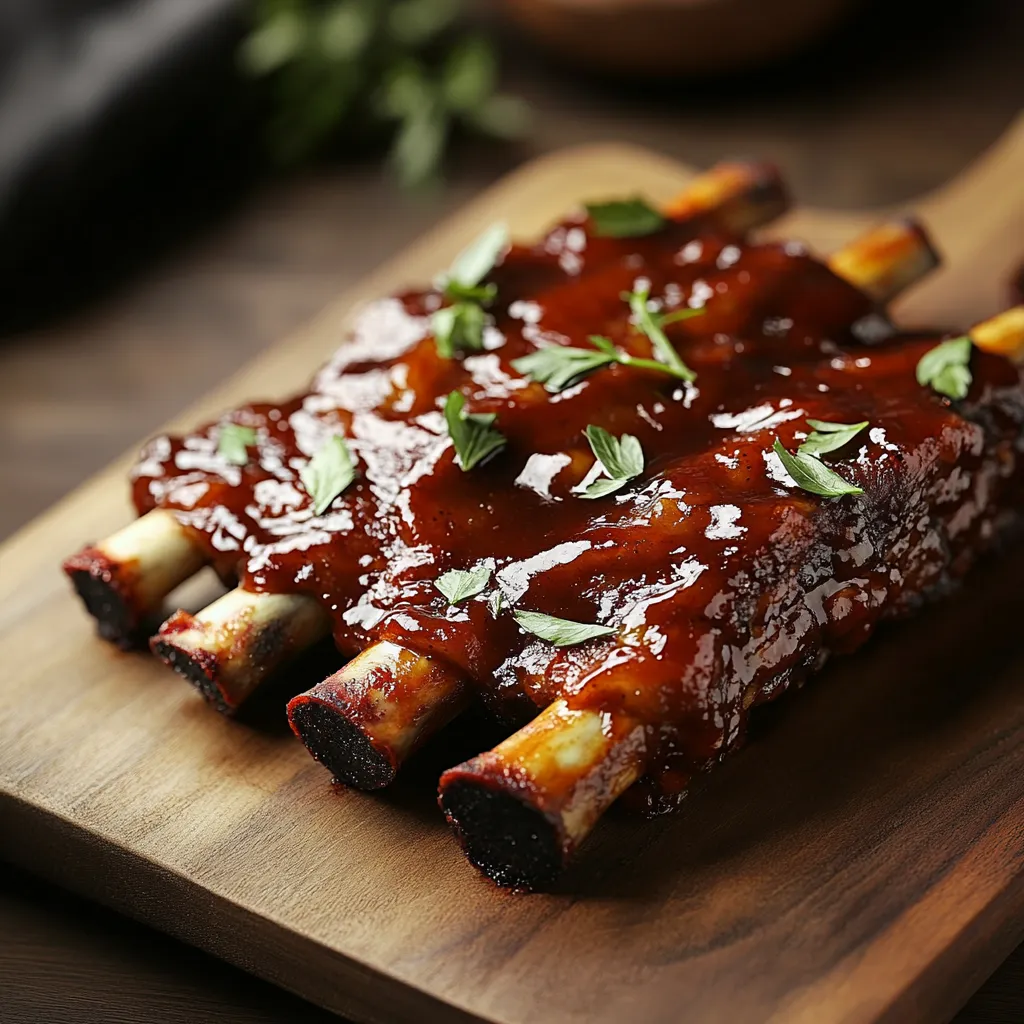
This hearty barbecue rib recipe transforms your crockpot into a Southern smokehouse, creating fall-off-the-bone tender ribs with minimal effort. The slow cooking process infuses every fiber with sweet and spicy flavors that will have your family gathering around the table before dinner is even announced.
I first made these ribs during a summer when our outdoor grill broke down just before a neighborhood gathering. What started as a backup plan became our most requested family meal. Even my mother-in-law who guards her rib recipe like a state secret asked for mine.
Ingredients
- Baby back pork ribs: These smaller ribs cook more evenly in a crockpot. Look for racks with good meat coverage and a pinkish-red color.
- Barbecue sauce: Forms the flavor foundation. Choose one with a balance of sweet and smoky notes or use your homemade version.
- Apple cider vinegar: Adds essential tanginess and helps tenderize the meat. Fresh, unfiltered varieties offer the most authentic flavor.
- Honey: Creates that signature sticky glaze and balances the acidity. Local honey brings subtle floral notes.
- Worcestershire sauce: Provides depth and umami. The aged varieties have more complex flavor profiles.
- Mustard: Acts as an emulsifier and adds pungent complexity. Dijon creates a more sophisticated flavor than yellow.
- Smoked paprika: Delivers essential smokiness without a grill. Spanish varieties offer the richest flavor.
- Garlic and onion powders: Provide aromatic base notes. Always check freshness as they lose potency over time.
- Cayenne pepper: Brings the heat. Adjust according to your family's spice tolerance.
Step-by-Step Instructions
- Membrane Removal:
- This often overlooked step makes the difference between good and great ribs. Slide a butter knife under the thin membrane on the bone side of the ribs and lift until you can grab with a paper towel. Pull firmly across the entire rack. Season both sides generously with salt and pepper, allowing it to sit for at least 15 minutes before cooking.
- Sauce Creation:
- Combine all sauce ingredients in a bowl large enough to allow vigorous whisking without splashing. The sauce should have a pourable consistency but still coat the back of a spoon. This balanced sauce builds layers of flavor that will intensify during the long cooking process. Reserve half for later use.
- Crockpot Arrangement:
- Position ribs in the crockpot standing on their sides and curving around the perimeter if possible, which allows for more even cooking. For larger racks, cut between bones to create smaller sections that fit better. Pour half the sauce mixture ensuring coverage on all surfaces, working sauce into meat with a spoon.
- Slow Cooking Magic:
- Set your crockpot to low for the full 8 hours if possible, as the longer cooking time breaks down connective tissues more completely. Avoid opening the lid during cooking as this releases accumulated heat and moisture, extending the cooking time. The ribs are done when you can easily twist a bone and it starts to pull away from the meat.
- Finishing Touch:
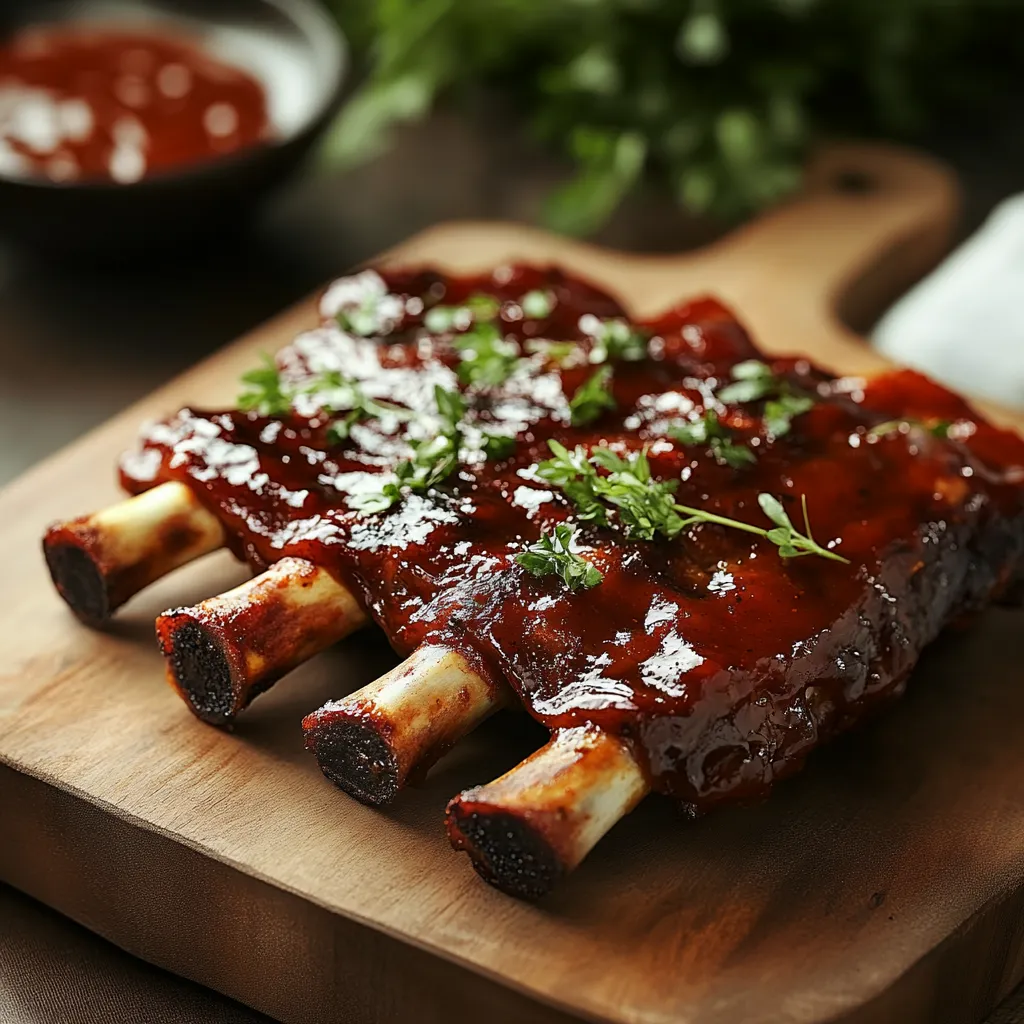
- Use wide tongs or spatulas to remove the fragile, tender ribs from the crockpot. Place on a foil-lined baking sheet for easier cleanup. Brush generously with reserved sauce, ensuring complete coverage. The broiler step creates the caramelized exterior that mimics traditional barbecue, but watch closely as the sugar in the sauce can burn quickly.
 Pin it
My grandmother from Memphis always insisted on adding a sprinkle of brown sugar to her rib sauce during the final glazing step. She claimed it was her secret to creating that perfect sticky exterior that barbecue enthusiasts crave. After years of making this recipe, I find myself doing the same thing, feeling connected to her barbecue wisdom with every batch.
Make-Ahead Options
These ribs actually improve with time, making them perfect for meal planning. You can complete all steps through the slow cooking phase up to 2 days before serving. Simply refrigerate the cooked ribs in their sauce, then reheat them covered in a 300°F oven for about 20 minutes before proceeding with the broiling step. The flavors meld and intensify during this resting period, creating an even more delicious final product.
Creating Your Signature Sauce
The beauty of this recipe lies in its adaptability. Start with the basic sauce formula, then customize to create your family's signature flavor. Add chipotle peppers for a smoky heat, orange juice and zest for a citrus twist, or a shot of bourbon for complexity. Keep notes on your modifications each time, learning what your family prefers. Some winning combinations include pineapple juice with ginger for a tropical profile, or coffee and cocoa powder for a deep, complex richness.
Serving Suggestions
Transform these ribs from a simple dinner into a complete experience with thoughtful sides. Classic pairings include creamy coleslaw, which provides cooling crunch against the rich meat, and cornbread to soak up the delicious sauce. For a more unexpected approach, try roasted sweet potato wedges with a hint of cinnamon or a bright cucumber and watermelon salad to cut through the richness. Always provide plenty of napkins and consider finger bowls with warm lemon water for the full barbecue experience.
 Pin it
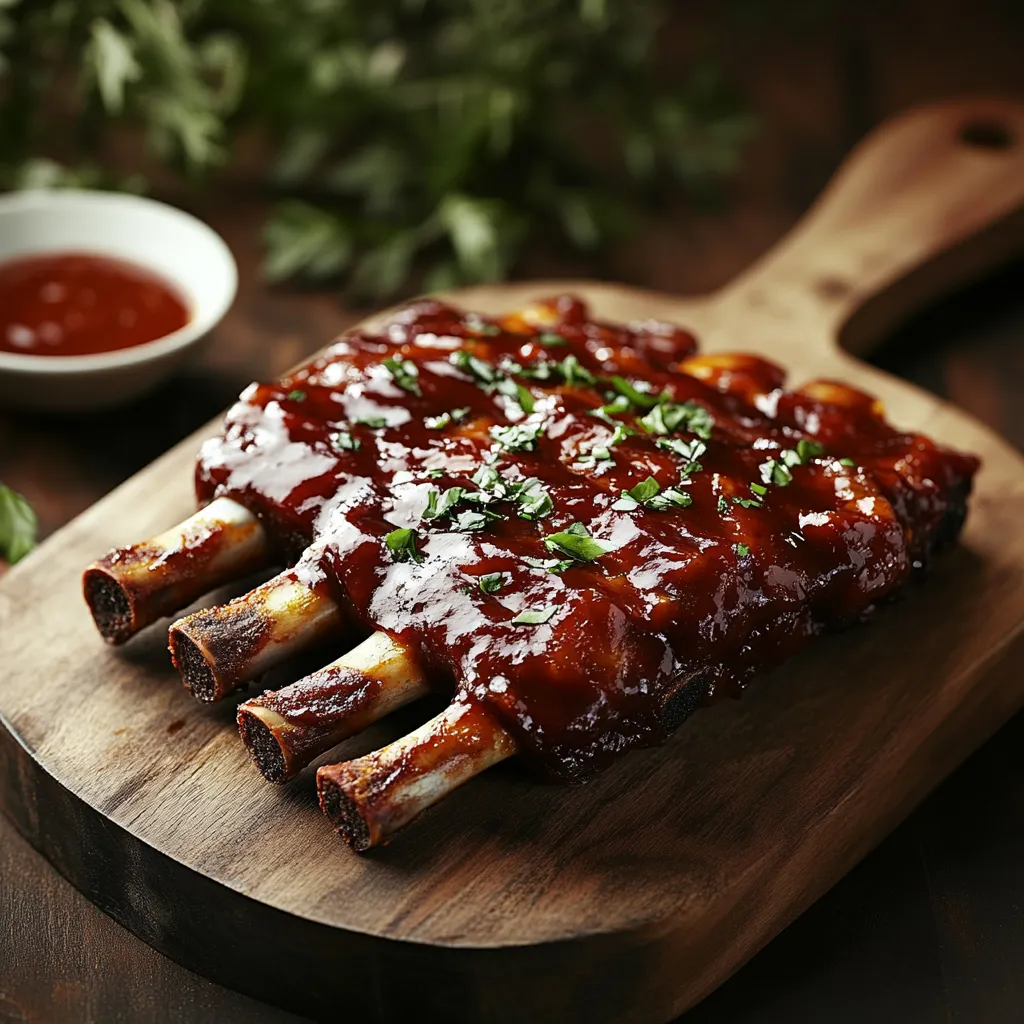
An easy, yet incredibly satisfying dish that connects generations and brings joy to any table!
Frequently Asked Questions
- → How do I know when the ribs are done cooking?
The ribs are done when the meat easily pulls away from the bone and appears to be shrinking back, exposing the ends of the bones. When you lift a section with tongs, it should bend easily and might start to break. For the most accurate results, the internal temperature should reach 190-205°F (88-96°C).
- → Why should I remove the membrane from the back of the ribs?
Removing the membrane allows the flavors and spices to penetrate both sides of the ribs. It also improves the texture, as the membrane can become tough and chewy when cooked. To remove it, slide a butter knife under the membrane at one end of the rack, then use a paper towel to grip and pull it off in one piece.
- → Can I make these ribs in advance?
Yes! These ribs can be fully cooked 1-2 days in advance and refrigerated. To reheat, place them in a 300°F (150°C) oven, covered with foil, for about 30 minutes until warmed through. Add a thin layer of fresh sauce before serving for the best flavor.
- → What sides pair well with these barbecue ribs?
Classic sides that complement these ribs include creamy coleslaw, baked beans, corn on the cob, mac and cheese, potato salad, or cornbread. For a lighter option, a fresh green salad with a vinaigrette dressing provides a nice contrast to the rich, savory ribs.
- → Can I use a different type of ribs?
Absolutely. While baby back ribs are specified in this preparation, you can substitute St. Louis-style ribs or spare ribs. Keep in mind that these alternate cuts are typically larger and meatier, so you may need to adjust the cooking time by adding 1-2 hours for the same tenderness.
- → Is it necessary to broil the ribs at the end?
While not strictly necessary, broiling creates a caramelized glaze and adds texture contrast to the tender meat. If you skip this step, the ribs will still be delicious but might lack that signature sticky, slightly charred exterior that many barbecue enthusiasts prize.