
 Pin it
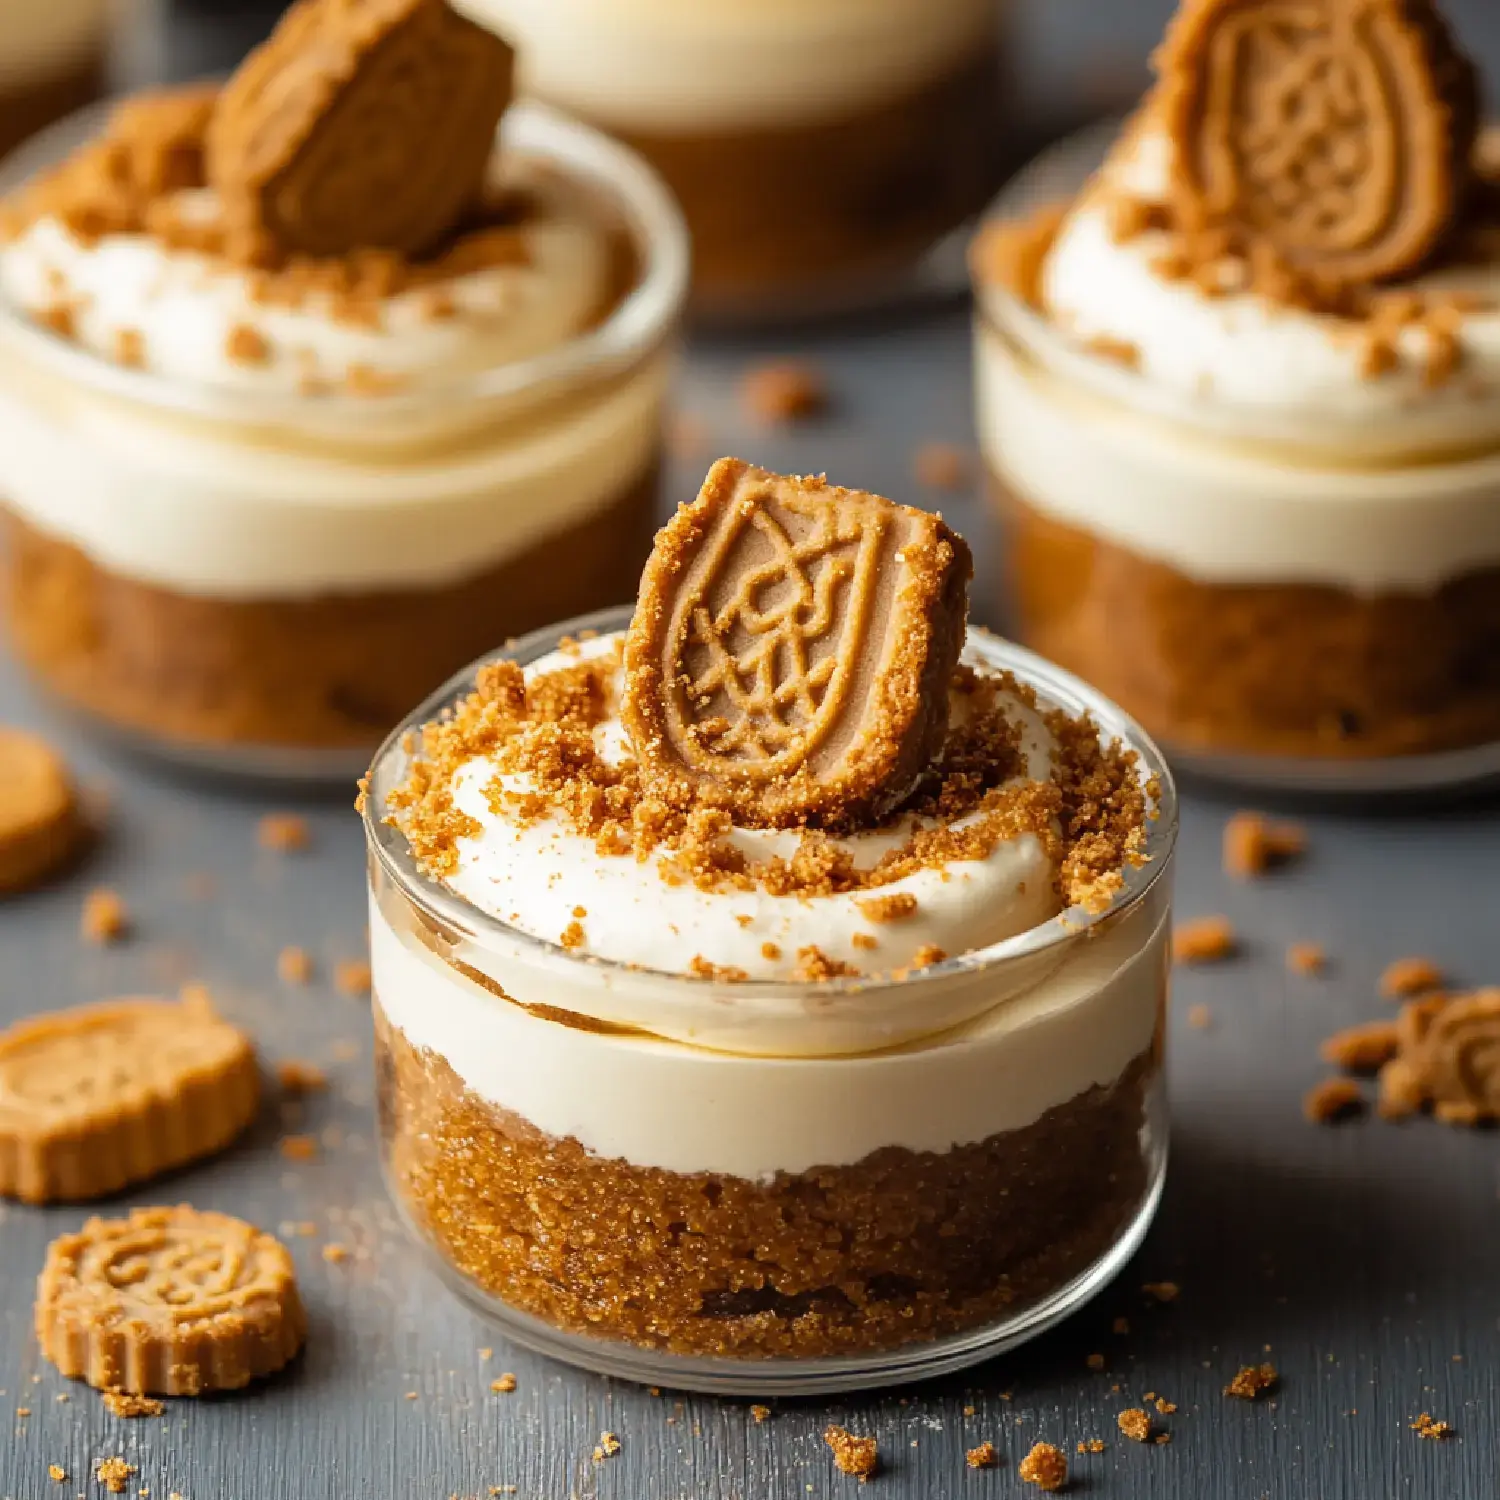
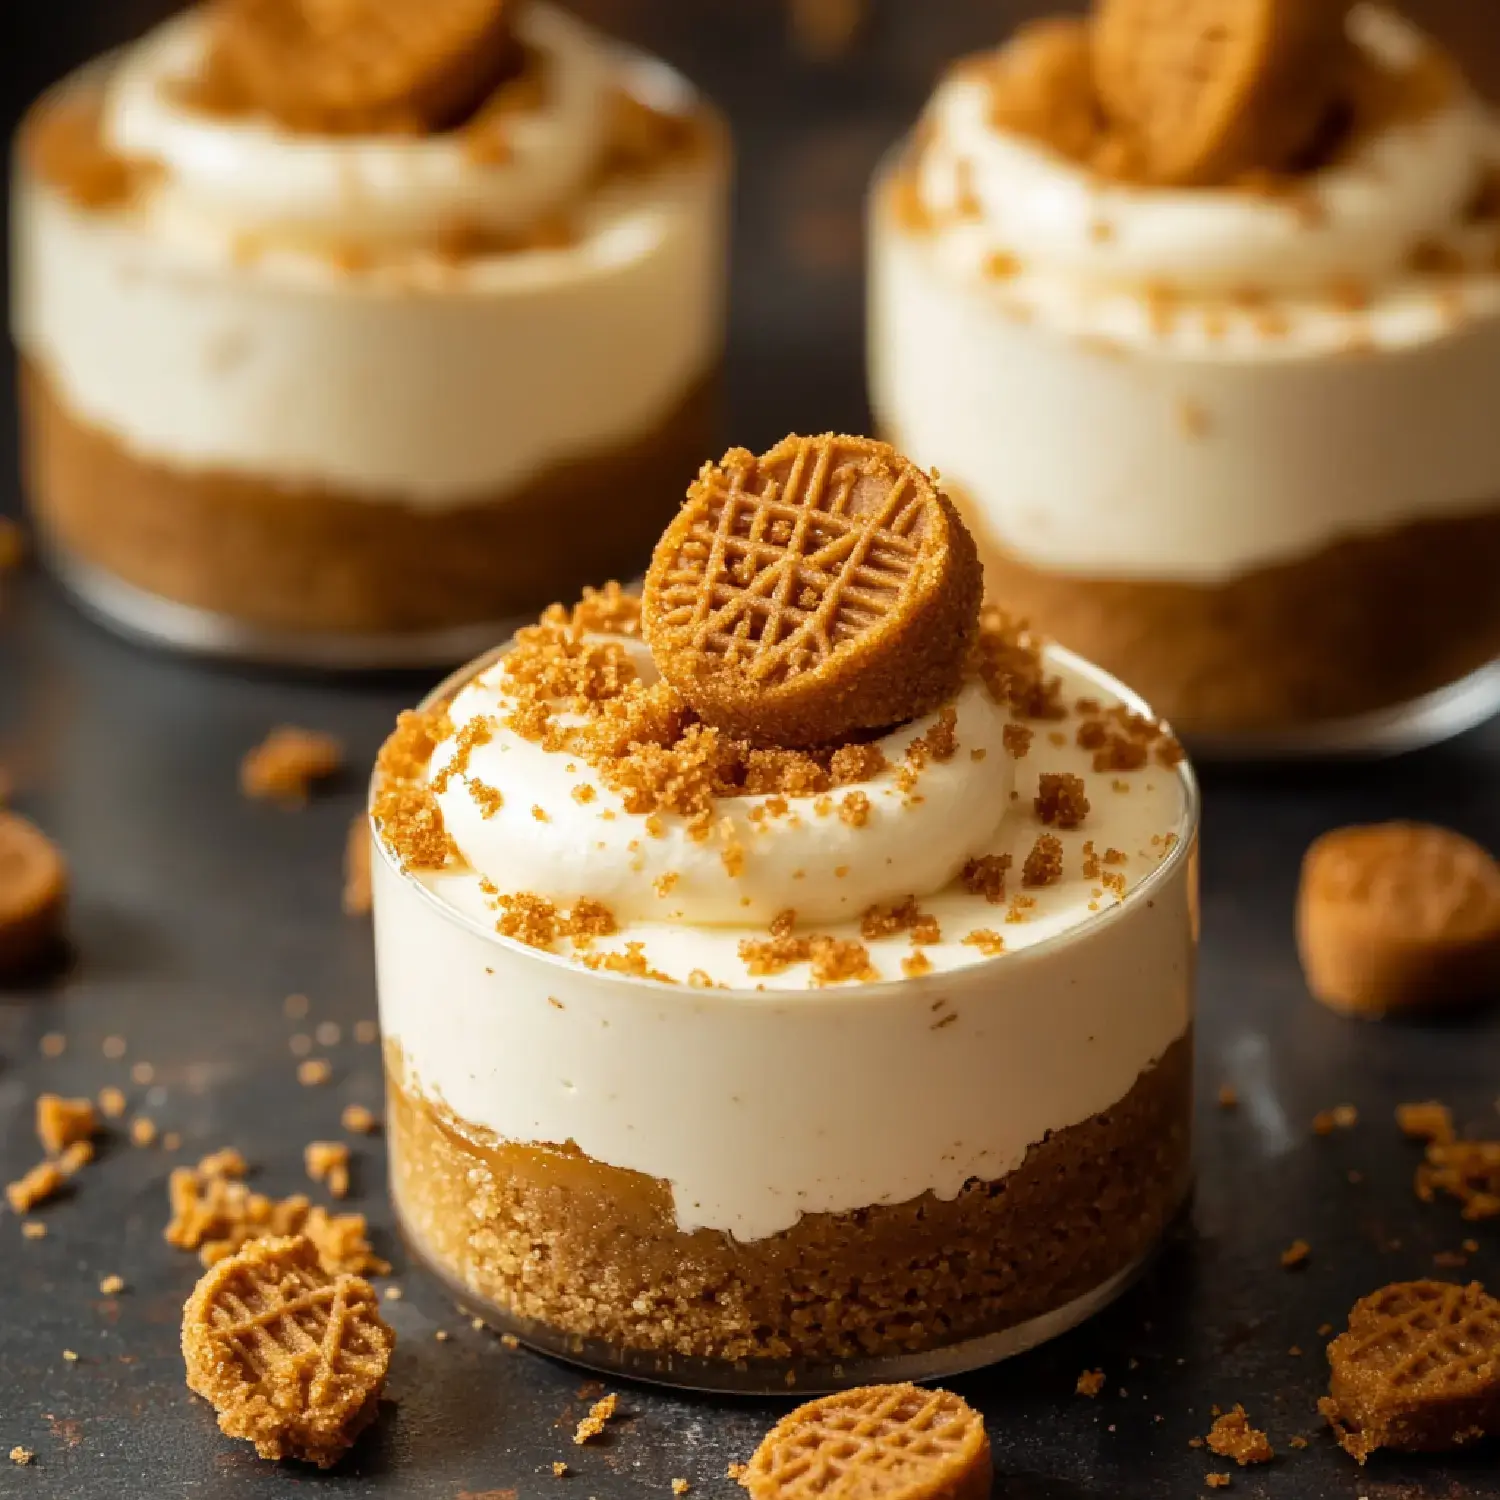
These Biscoff Cheesecake Dessert Cups became my favorite dessert recipe after a trip to Belgium. I couldn't get enough of those spiced cookies and knew I had to create something special with them. Now whenever I make these creamy little cups topped with that signature cookie crumb everyone asks for the recipe. The best part? No oven needed.
What Makes These Extra Special
I love how quickly these come together when I need a fancy dessert but don't have time for baking. The combination of that spiced cookie base and silky smooth cheesecake filling is pure magic. Perfect for those last-minute dinner invites or when you just need a little something sweet after dinner.
Everything You Need
- Biscoff Biscuits: Grab an extra pack for snacking while you work.
- Butter: Real butter makes all the difference in the base.
- Double Cream: The secret to that cloud-like texture.
- Cream Cheese: Leave it out to soften it makes mixing so much easier.
- Biscoff Spread: The star ingredient that makes everything taste amazing.
- Icing Sugar: Just enough to sweeten things up.
- Pretty Extras: Save some whole cookies and crumbs for the top.
Let's Make Some Magic
- The Perfect Base
- First crush those cookies into fine crumbs mix with melted butter until it feels like wet sand. Press into your cups making a cozy bed for the filling.
- Whip It Good
- Get your cream nice and fluffy with soft peaks it'll make the filling extra dreamy.
- The Filling Fun
- Mix your soft cream cheese icing sugar and that gorgeous Biscoff spread into the whipped cream. Go slow and steady for the smoothest result.
- Make It Pretty
- Pipe that creamy filling into your cups tap them gently to settle everything in.
- The Final Touch
- Pop them in the fridge to set then decorate with extra cookies and crumbs before serving.
A Little Cookie History
Ever wonder about these amazing cookies? They started in Belgium where they're called Speculoos. Made with this wonderful mix of spices and brown sugar they've become famous worldwide. When they turned them into a spread it was a total game changer for dessert lovers like me.
My Best Tips
Make sure your cream cheese is really soft otherwise you'll end up with little lumps. Don't get carried away with the whisking we want silky smooth not grainy. That four-hour chill time isn't just a suggestion it makes all the difference in how they set up and taste.
 Pin it
Mix It Up
These little cups work for any occasion from fancy dinner parties to casual family desserts. Sometimes I switch things up and make different flavors like chocolate or strawberry. They're perfect with a cup of coffee or tea after dinner or really anytime you need a sweet treat.
Keep Them Fresh
They'll stay good in the fridge for about three days if they last that long at your house. If you're planning ahead make the base and filling separately then put them together just before your guests arrive. The cookies stay crunchier that way.
Common Questions
- Other cookies work? Sure try graham crackers but nothing beats that Biscoff flavor.
- Can't find the spread? Cookie butter works too just check the international aisle.
- Make ahead okay? Absolutely perfect for next-day serving.
- Freezing a no-go? Skip it the texture gets weird when frozen.
- Want it vegan? Use plant-based alternatives it works great.
Why You'll Love These
These little cups of joy combine everything wonderful about dessert that spiced cookie sweetness with creamy cheesecake filling. They're perfect when you want to impress without spending hours in the kitchen. Once you try them you'll understand why they've become my signature dessert.
 Pin it
Frequently Asked Questions
- → Can I make these Biscoff cheesecake cups ahead of time?
- Yes, you can make these cups up to 24 hours ahead. For the best texture, add the cookie decorations just before serving to keep them crunchy.
- → Can I freeze these cheesecake cups?
- You can freeze the assembled cups without decorations for up to 1 month. Thaw them overnight in the fridge and add fresh cookie decorations before serving.
- → What if I can't find Biscoff spread?
- Cookie butter or speculoos spread are perfect alternatives to Biscoff spread. They have the same flavor profile and will work just as well in this recipe.
- → Why did my filling become runny?
- The filling can become runny if the cream isn't whipped to stiff peaks or if the mixture is overmixed after adding the Biscoff spread. Make sure to whip the cream properly and fold in other ingredients gently.
- → Can I make this as one large cheesecake?
- Yes, you can use the same recipe to make a 9-inch cheesecake. Press the base into a springform pan and follow the same process for the filling. It may need longer to set, about 4-6 hours.