
 Pin it
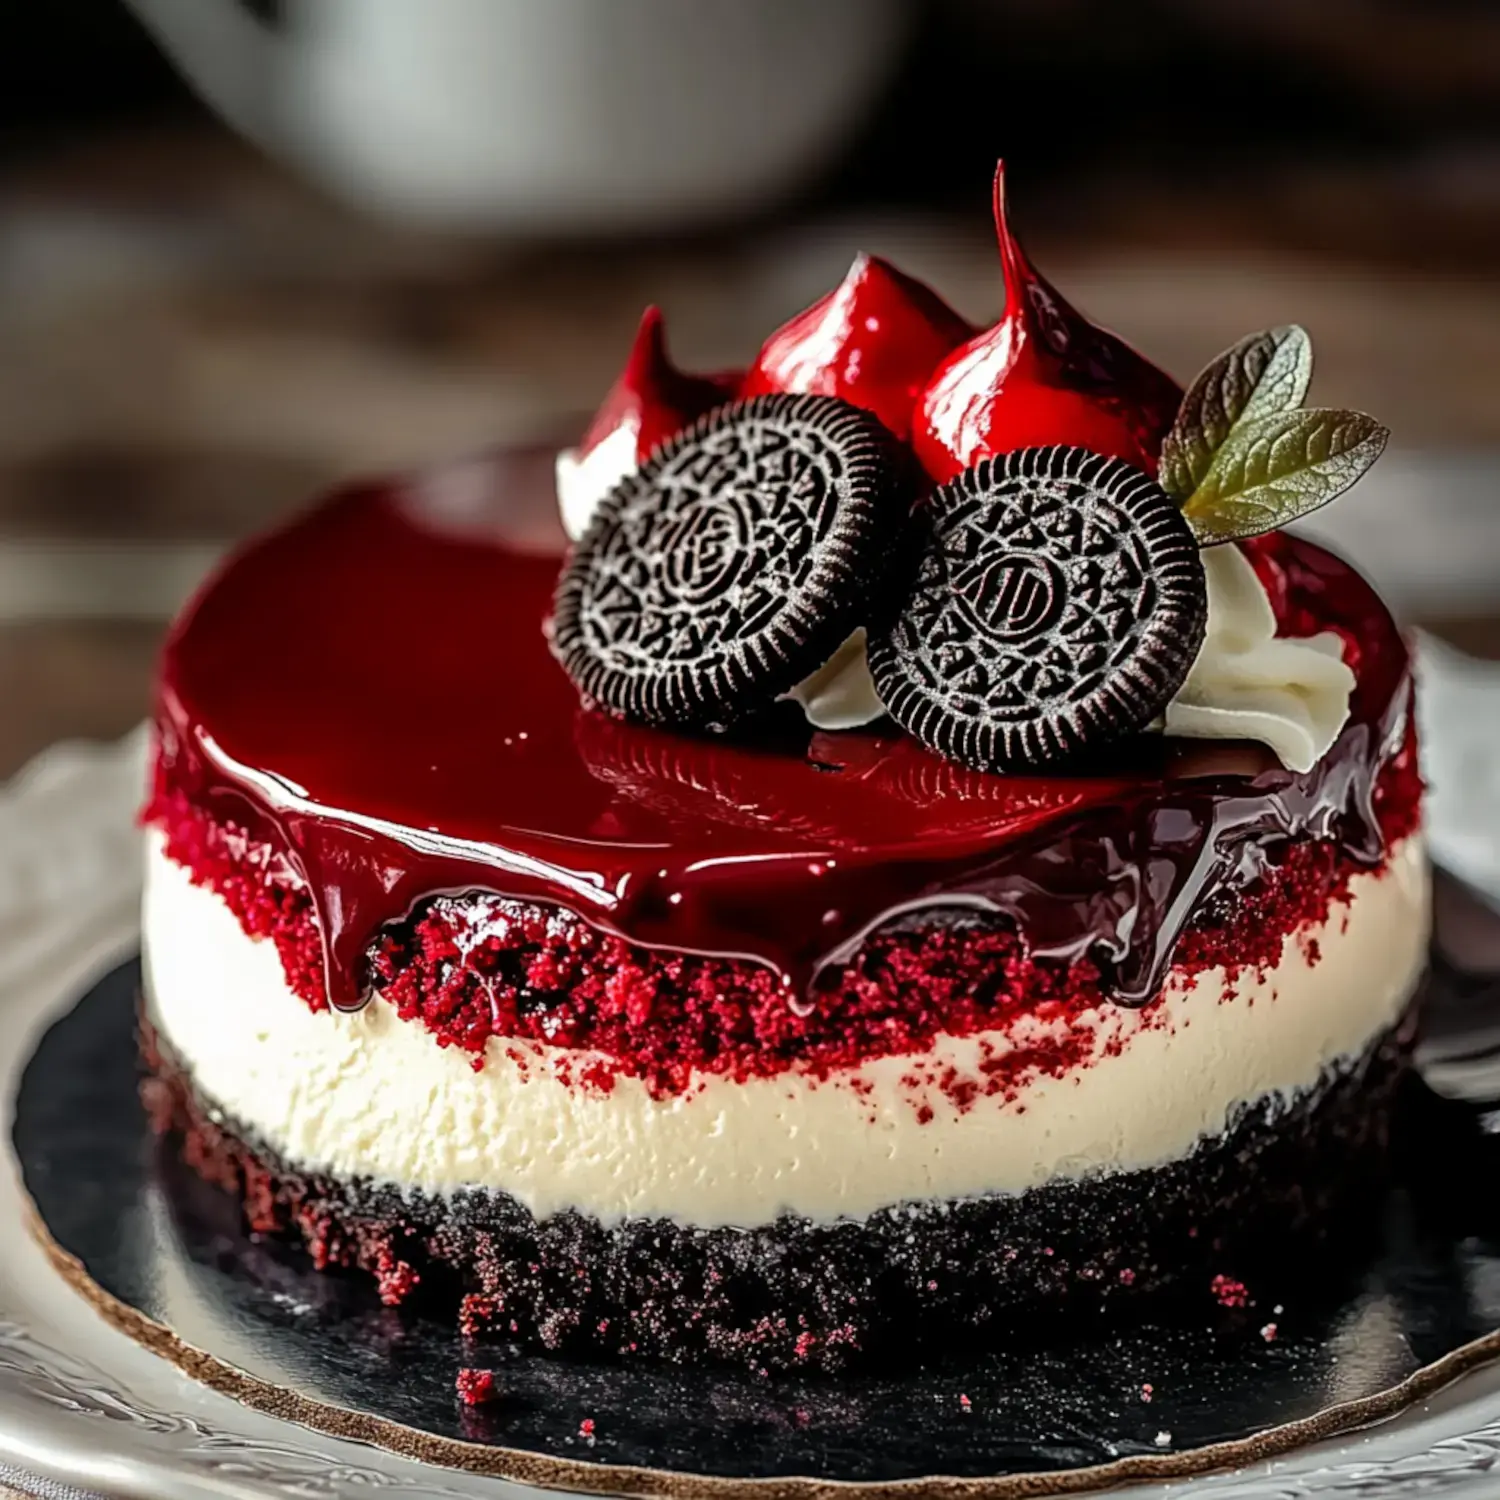
Let me share my show stopping Red Velvet Oreo Cheesecake recipe that never fails to wow a crowd. I created this beauty when I wanted something extra special for my daughter's birthday combining everything we love about red velvet cake Oreos and creamy cheesecake. With its gorgeous red filling chocolate drip and Oreo crust it's pure dessert heaven.
Why You Need to Try This
This isn't just any cheesecake it's a celebration in dessert form. The way the creamy filling plays with that crunchy Oreo crust is magic. Plus that deep red color against the chocolate drip makes it absolutely stunning. Every time I bring this to a party people literally gasp when they see it.
What You'll Need
- Oreo Crumbs: Two cups crushed fine for that perfect crust
- Cream Cheese: Make sure it's room temp and full fat
- Sour Cream: My secret for the creamiest texture
- Cocoa Powder: Just enough for that red velvet flavor
- Red Food Coloring: Gel works best here
- Crushed Oreos: Extra for the filling because more Oreos is always better
- Chocolate Chips: The good stuff for our ganache
- Heavy Cream: Makes everything silky smooth
- Whipped Cream: For those gorgeous swirls on top
- Mini Oreos and Sprinkles: Because we're going all out
Let's Make It Together
- Get Ready
- Crank that oven to 325°F and grab your springform pan.
- Crust Time
- Mix those Oreo crumbs with melted butter press them in and give them a quick bake.
- The Filling Magic
- Beat your cream cheese until it's silky smooth add everything else and fold in those extra Oreos.
- Baking Time
- Pour it all in and let it bake slow and steady then cool gradually right in the oven.
- Make It Pretty
- Whip up that ganache let it cool a bit then create those gorgeous drips.
- The Grand Finale
- Add your swirls of cream mini Oreos and sprinkles make it instagram worthy.
My Best Tips
After making this countless times I've learned a few tricks. Let it cool slowly in the oven that's your insurance against cracks. Use gel food coloring it gives you that perfect red without making things runny. And wait until your ganache is just right for those perfect drips.
Keeping It Fresh
This beauty actually gets better after a night in the fridge. The flavors have time to mingle and the texture becomes absolutely perfect. It'll keep for about 5 days but honestly it never lasts that long in my house.
Mix It Up
Sometimes I'll switch things up with a graham cracker crust or chocolate cookies. Don't feel like you have to use the red coloring it's still delicious without it. Want some crunch? Throw in some chopped nuts you really can't go wrong here.
What Makes It Special
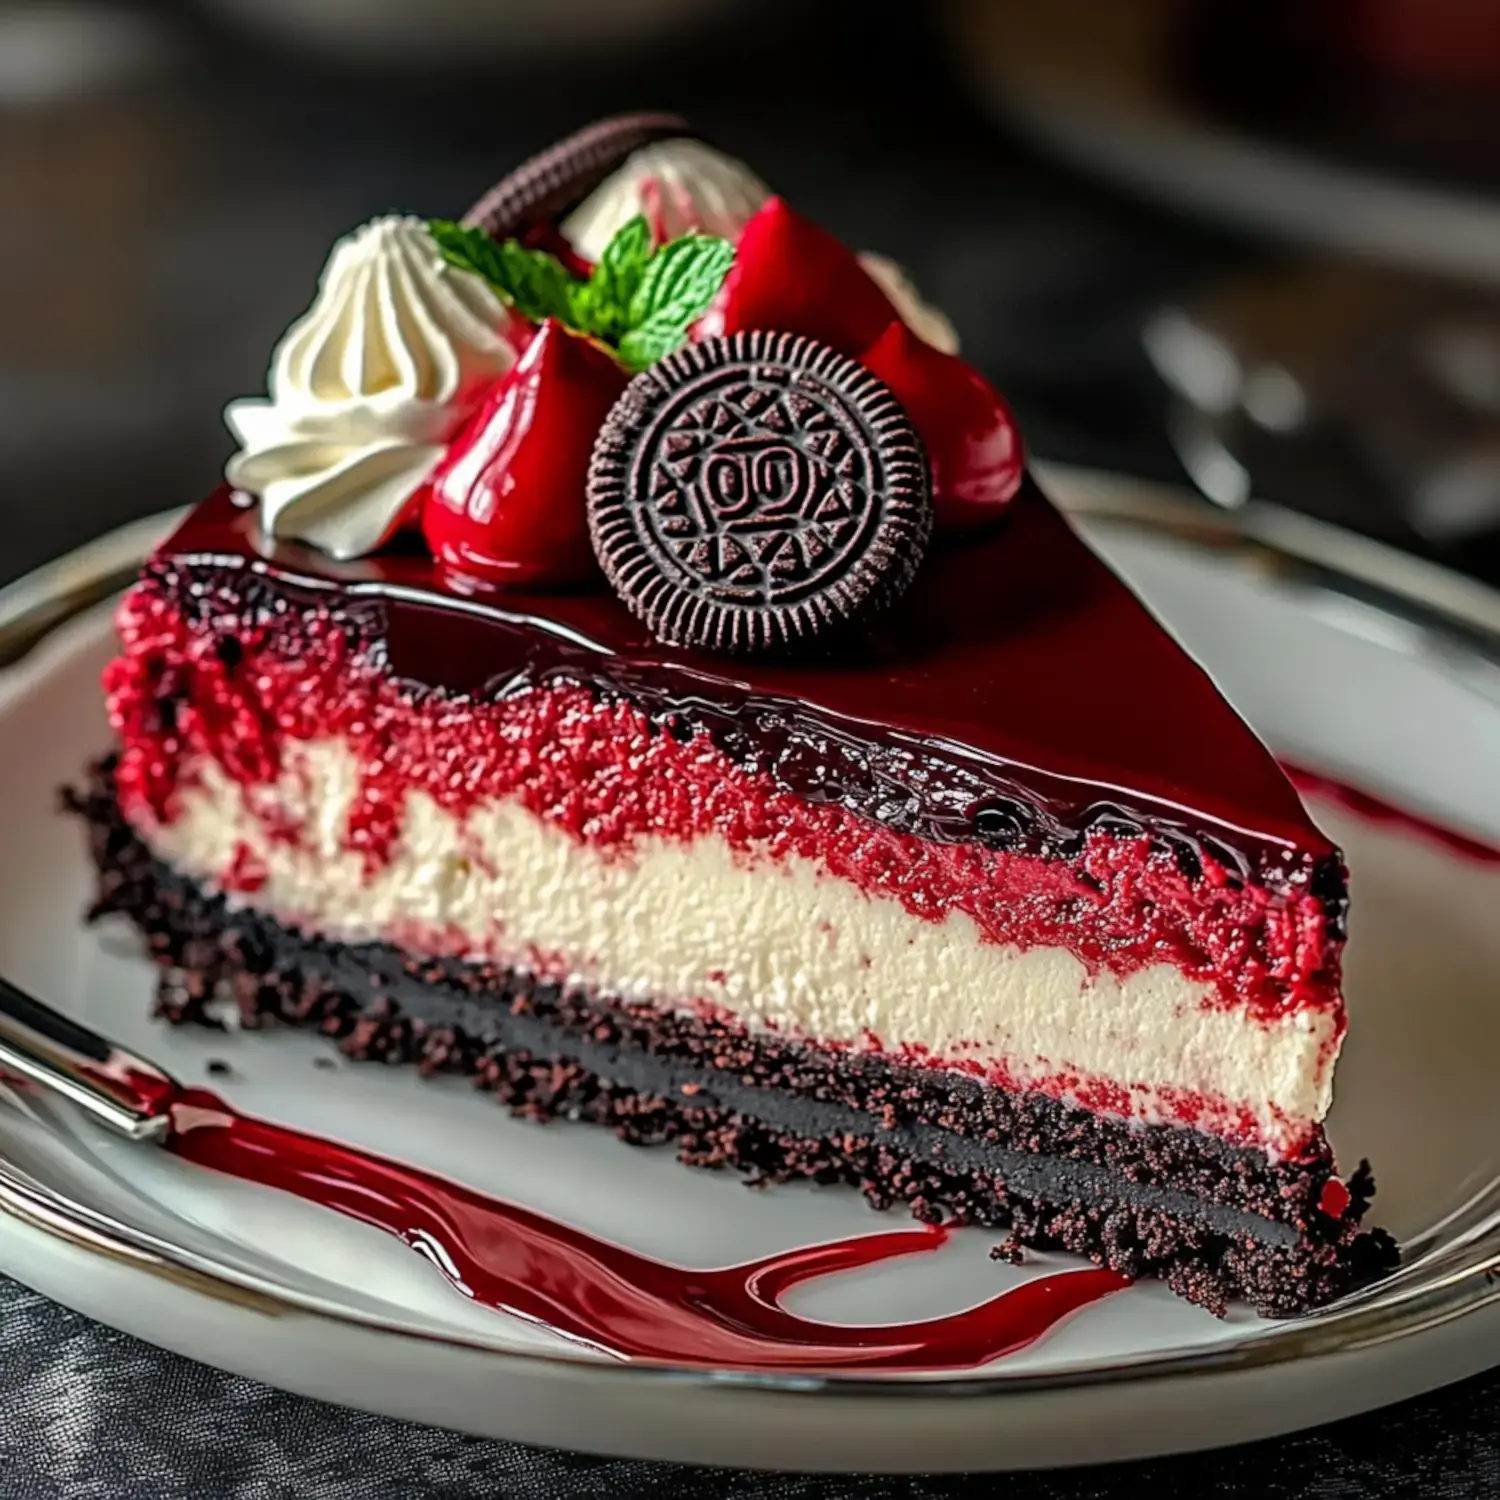
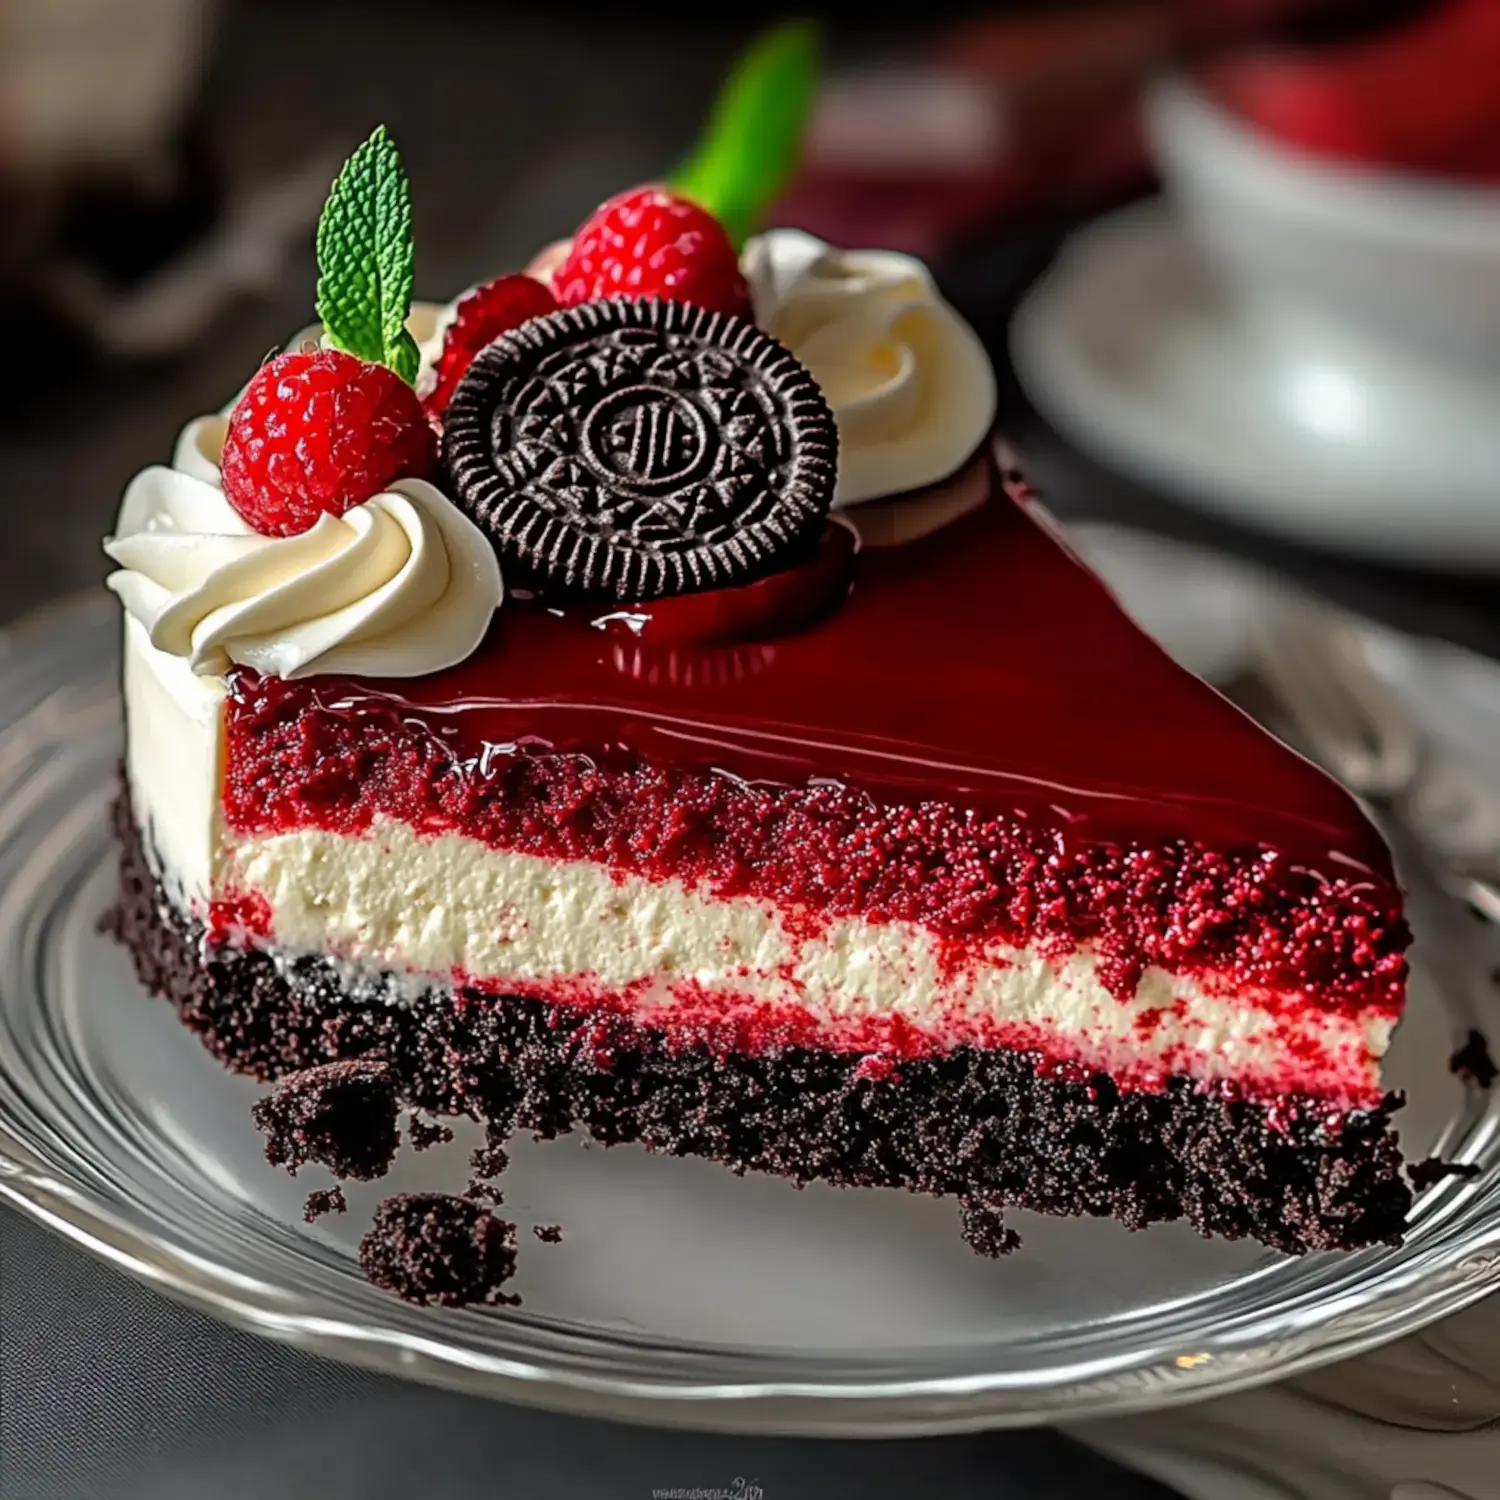
It's the way everything comes together that makes this cheesecake unforgettable. That creamy filling against the crunchy crust those pops of Oreo throughout and that gorgeous presentation it's truly a slice of heaven.
 Pin it
Perfect for Celebrations
This has become my go to for special occasions. Whether it's a birthday holiday gathering or just because you want something extraordinary this cheesecake never disappoints. It's one of those desserts people talk about long after the party's over.
Kitchen Secrets
Want to know my secrets for the perfect cheesecake? Everything must be room temperature before you start. Watch for that slight jiggle in the center when it's done. And never rush the cooling process your patience will be rewarded with the creamiest texture ever.
Drip Tips
Getting those perfect drips is easier than you think. Let your ganache cool until it's just warm not hot. I like to test a drip on the back of the pan first. Then work your way around letting each drip fall naturally before covering the top with that glossy chocolate blanket.
Quick Answers
Want to skip the Oreos? Any cookie crust works great here.
Worried about the food coloring? Leave it out the taste is still amazing.
How long to chill? Overnight if you can wait that long trust me it's worth it.
Lighter Options
Need to lighten things up? Try reduced fat cream cheese skip the ganache or go easy on the toppings. You can even use natural sweeteners. The cheesecake will still be delicious just a little less indulgent.
Holiday Star
This cheesecake is absolutely perfect for holidays. That red color makes it stunning for Christmas while the rich chocolate makes it perfect for Valentine's Day. I've even topped it with sparklers for New Year's Eve talk about making memories.
Why It's Worth Making
I promise this cheesecake is worth every minute you spend making it. It's one of those recipes that becomes part of your family's celebration traditions. The first time you bring it out and see everyone's faces light up you'll understand exactly what I mean.
 Pin it
Frequently Asked Questions
- → Why does the cheesecake need to cool in the oven?
- Cooling the cheesecake slowly in the oven prevents cracking and helps achieve the perfect texture. The gradual temperature change is key to a smooth top.
- → Can I make this ahead of time?
- Yes, this cheesecake is best made a day ahead. It needs at least 4 hours to chill, but overnight chilling gives the best flavor and texture.
- → How do I prevent the red color from being too intense?
- Start with a small amount of food coloring and add more gradually until you achieve your desired shade. Use gel food coloring for best results.
- → Can I freeze this cheesecake?
- Yes, freeze the cheesecake without toppings for up to 2 months. Thaw overnight in the fridge and add fresh decorations before serving.
- → Why are my Oreos floating to the top?
- Crush the Oreos into smaller pieces and gently fold them in at the end. This helps them stay suspended in the batter rather than floating up.