
 Pin it
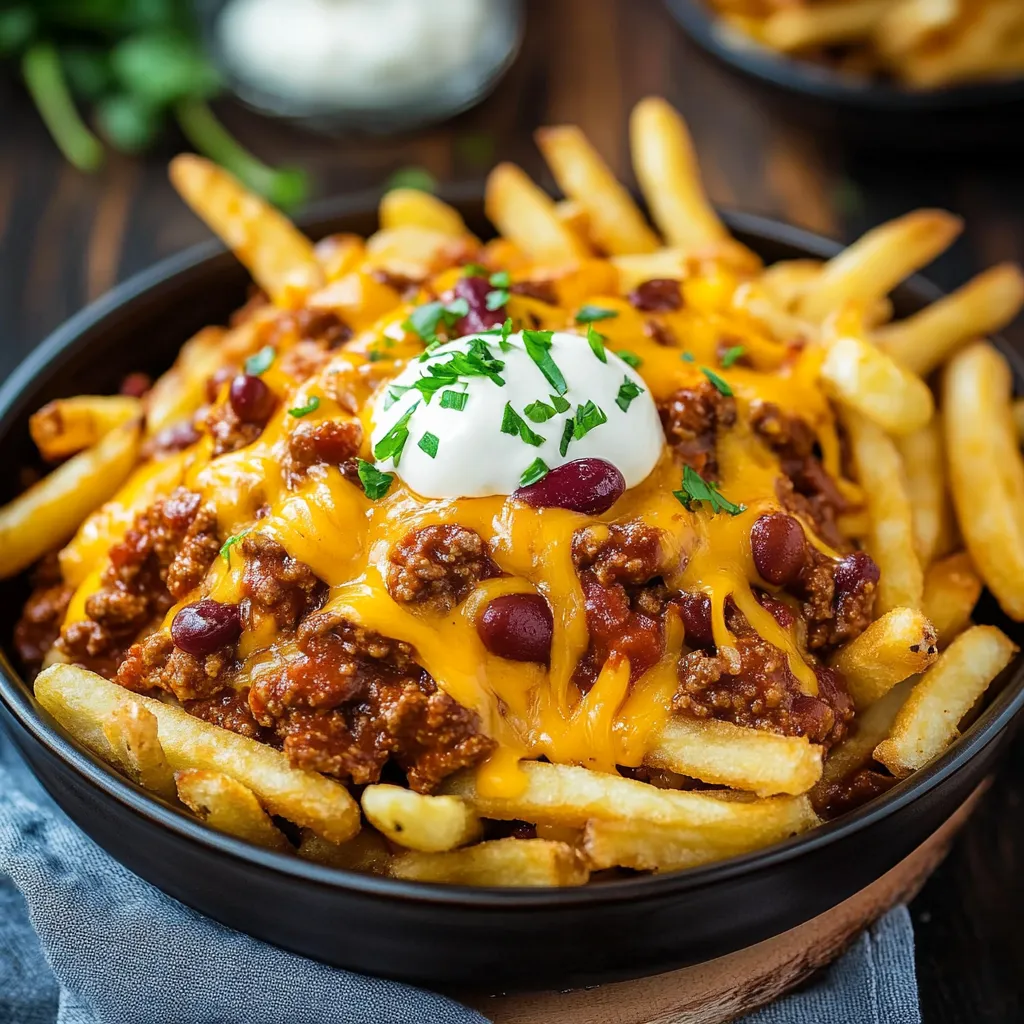
This ultimate chili cheese fries recipe transforms humble frozen fries into an indulgent comfort food masterpiece that satisfies even the most intense cravings. The homemade chili elevates the entire dish, creating layers of flavor that store-bought versions simply cannot match.
I first made these chili cheese fries for a Super Bowl party years ago, and they disappeared faster than any other dish on the table. Since then, they've become my signature crowd-pleaser that friends specifically request when they visit.
Ingredients
- Ground beef: Delivers rich flavor and hearty texture, opt for 90% lean for best flavor without excess grease
- Onion and garlic: Create an aromatic foundation that enhances every bite
- Diced tomatoes and tomato sauce: Provide the perfect balance of texture and thickness
- Beef broth: Adds depth and prevents the chili from becoming too thick
- Chili powder, cumin, and smoked paprika: Create the classic chili flavor profile
- Cocoa powder: Might sound unusual but adds remarkable complexity without tasting chocolatey
- Brown sugar: Balances acidity and enhances the natural flavors
- Kidney beans: Add texture, fiber, and make the chili more substantial
- Frozen french fries: Offer convenience without sacrificing quality
- Cheddar cheese: Creates that perfect gooey, stretchy topping
Step-by-Step Instructions
- Brown the Beef:
- Cook ground beef in a large pot over medium high heat with salt and pepper until no longer pink, about 3-4 minutes. This creates the protein foundation for your chili. Be sure to drain excess fat for a cleaner flavor profile.
- Build the Flavor Base:
- Add diced onions to the browned meat and cook until they become translucent and slightly soft, about 3-4 minutes. When onions are tender, stir in minced garlic and cook for just 30 seconds until fragrant. Cooking garlic briefly prevents it from burning and becoming bitter.
- Create the Chili Mixture:
- Pour in diced tomatoes with their juice, tomato sauce, beef broth, and all seasonings including chili powder, cumin, smoked paprika, cocoa powder, brown sugar and remaining salt. The liquid will initially seem abundant, but will reduce and thicken as it simmers.
- Simmer to Perfection:
- Let the chili simmer uncovered for 30-40 minutes, stirring occasionally to prevent sticking. During this time, the liquid reduces, flavors meld together, and the texture develops into a rich, thick chili. You'll know it's ready when it coats the back of a spoon.
- Add Beans and Finish:
- Stir in kidney beans and continue cooking for 10 more minutes to allow the beans to absorb the flavors. Taste and adjust seasonings if needed, adding more salt or pepper according to your preference.
- Prepare the Fries:
- Arrange frozen french fries in a single layer on a cooking spray-coated baking sheet. Bake according to package directions until crispy and golden. Good spacing allows for maximum crispiness.
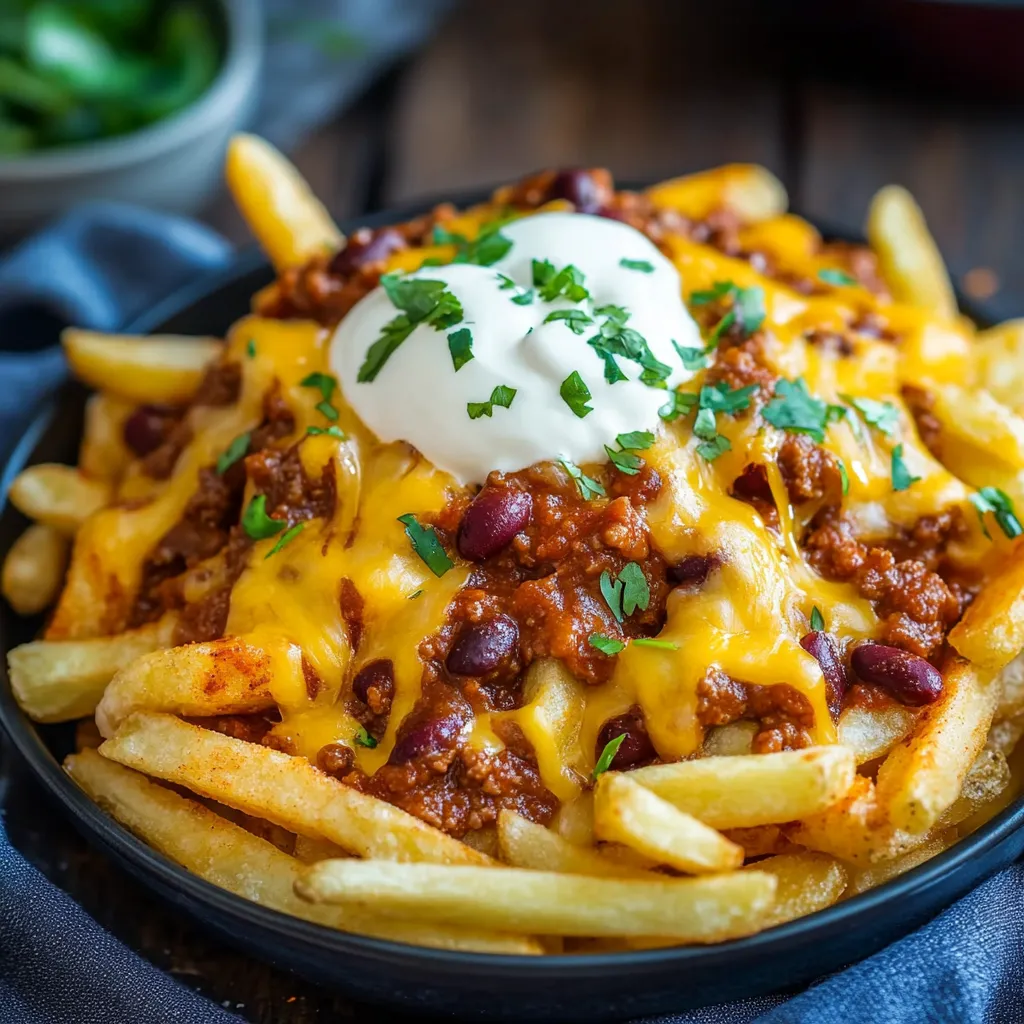
- Assemble and Melt:
- Layer 1½ cups of prepared chili over the hot fries, then sprinkle generously with shredded cheddar cheese. Return to a 400°F oven for 5 minutes until the cheese melts completely and begins to bubble around the edges.
 Pin it
One of my favorite aspects of this recipe is the addition of cocoa powder, a trick I learned from my grandmother. It adds remarkable depth to the chili without making it taste like chocolate, and everyone always asks for my secret ingredient.
Serving Suggestions
These chili cheese fries can be served as a hearty appetizer or transformed into a complete meal. For individual portions, consider using small cast iron skillets for each person. The presentation is impressive, and the skillets keep everything warm throughout the meal. Top with dollops of sour cream, sliced green onions, diced avocado, or even pickled jalapeños for those who enjoy some heat.
Make-Ahead Options
The chili component of this recipe actually improves with time as the flavors continue to develop. Make the chili up to three days ahead and store in the refrigerator, or freeze for up to three months. When ready to serve, simply reheat the chili while preparing the fries. This approach makes game day or party preparation much more manageable and stress-free.
Customization Ideas
While this recipe creates classic chili cheese fries, numerous variations can suit different dietary needs or flavor preferences. Try ground turkey instead of beef for a lighter option, or use black beans and vegetable broth for a vegetarian version. For extra indulgence, add a layer of bacon bits between the fries and chili. Spice lovers can increase the chili powder or add cayenne pepper for more heat.
 Pin it
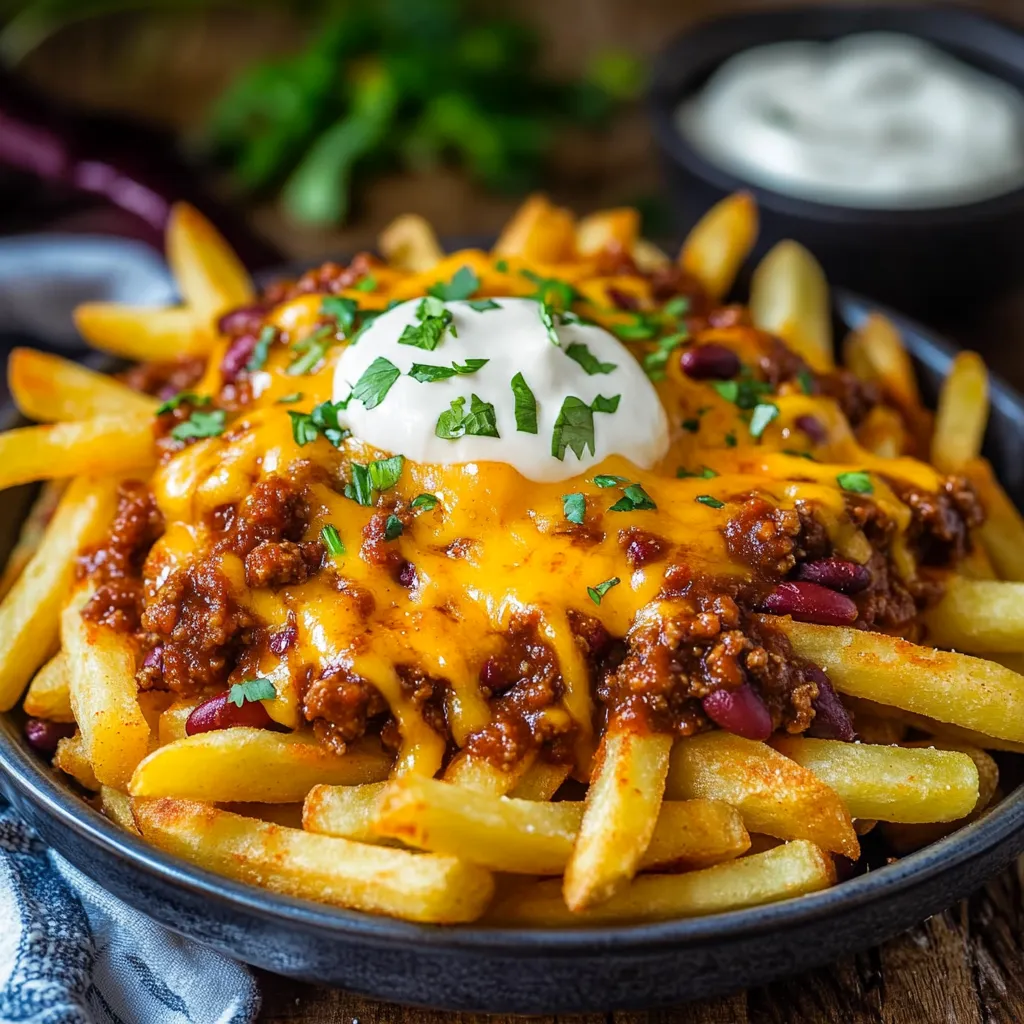
Enjoy these irresistible chili cheese fries while they're hot and gooey. Perfect for any occasion!
Frequently Asked Questions
- → Can I make the chili ahead of time?
Yes! The chili can be made up to 3 days in advance and stored in an airtight container in the refrigerator. You can also freeze it for up to 3 months. Just reheat thoroughly before adding to the fries.
- → What makes the chili taste so rich?
The secret is in the combination of spices and the addition of cocoa powder and brown sugar. These ingredients add depth and balance to the flavor profile without making the chili taste sweet.
- → Can I use homemade fries instead of frozen?
Absolutely! Homemade fries work wonderfully. Just make sure they're crispy before adding the toppings, as the chili will soften them slightly.
- → What other toppings work well with chili cheese fries?
Besides sour cream and green onions, try diced avocado, pickled jalapeños, diced tomatoes, crispy bacon bits, or a drizzle of hot sauce for extra flavor and texture.
- → How can I make this dish spicier?
To increase the heat, add a diced jalapeño or serrano pepper when cooking the onions, increase the chili powder, or add cayenne pepper to taste. You can also serve with hot sauce on the side.
- → Can I use a different type of cheese?
While cheddar is traditional, you can experiment with Monterey Jack, pepper jack for spice, or even a Mexican cheese blend. For an indulgent variation, try topping with cheese sauce instead of shredded cheese.