
 Pin it
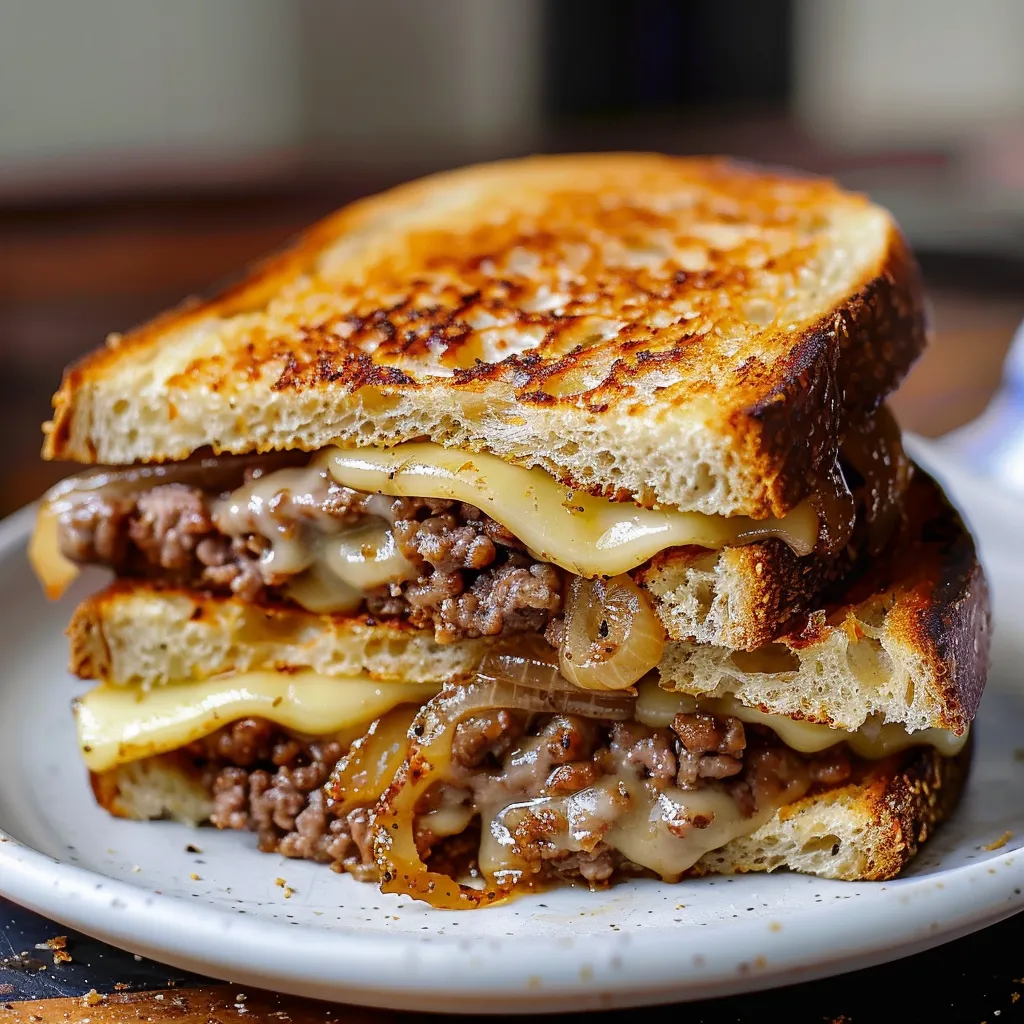
Picture the ultimate diner sandwich where a perfectly seasoned beef patty meets golden-brown caramelized onions and melty Swiss cheese, all embraced by crispy, butter-toasted bread. This Classic Patty Melt represents the perfect marriage between a grilled cheese and a hamburger, creating a symphony of textures and flavors that delivers pure comfort in every bite. Each element plays its crucial role - from the sweet, slowly caramelized onions to the perfectly seasoned beef and the way the cheese melts into every crevice.
My journey with patty melts began in my grandfather's diner, where I watched him lovingly prepare each component. The patience he showed while caramelizing onions and the care he took in building each sandwich taught me that true comfort food is about both technique and heart.
Essential Ingredients Guide
- Ground beef: Choose 80/20 for the juiciest patties - the fat content creates flavor and prevents dryness
- Sweet onions: Vidalia or Walla Walla varieties caramelize beautifully and provide natural sweetness
- Swiss cheese: Traditional deli-sliced Swiss melts perfectly while adding nutty flavor
- Sturdy bread: Choose bread that can withstand grilling without becoming soggy
- European butter: Its higher fat content creates the perfect golden crust
Creating Patty Melt Perfection
- Onion Preparation:
- Slice your onions paper-thin and consistently - this ensures even caramelization. Start them in a cold pan with melted butter, allowing them to slowly develop their rich, golden color over medium-low heat.
- Patty Formation:
- Shape your beef gently into thin patties slightly larger than your bread, as they'll shrink during cooking. Make a slight dimple in the center to prevent puffing.
- Seasoning Balance:
- Salt your patties just before cooking to prevent moisture loss. Add freshly ground black pepper to create a simple but perfect seasoning that lets the beef shine.
- Cheese Placement:
- Layer cheese both below and above the patty - this creates the perfect cheese-to-meat ratio and helps hold everything together.
- Assembly Strategy:
- Build your sandwich in the pan, starting with buttered bread and adding components in the right order for optimal melting.
- Grilling Technique:
- Cook over medium-low heat to achieve that perfect golden crust while allowing the cheese to melt completely.
 Pin it
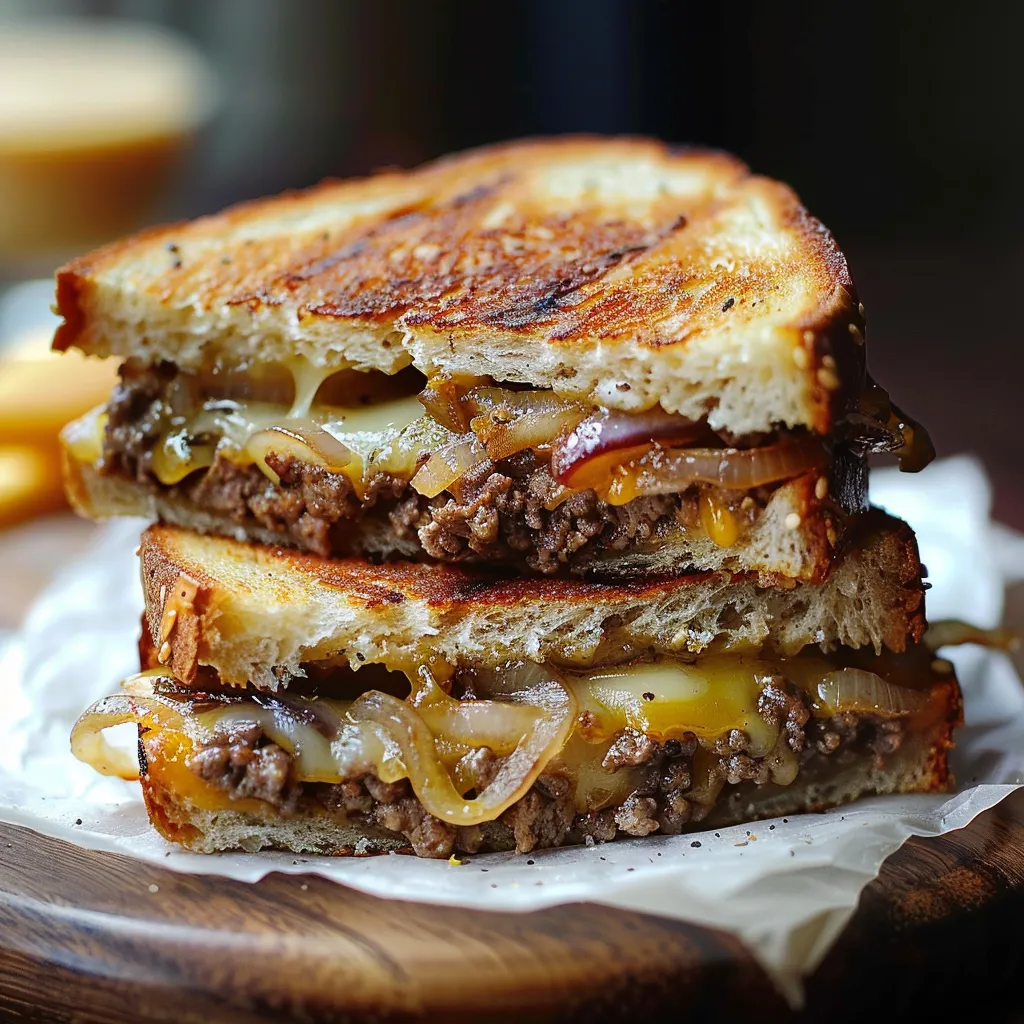
Through years of perfecting this diner classic, I've discovered that timing is everything. That magical moment when the bread reaches golden-brown perfection exactly as the cheese melts completely and the warm patty heats everything through - it's a symphony of temperature and texture that requires attention to every detail. My grandfather would say, "You can hear when it's ready," referring to the subtle change in sizzle that signals perfection.
Temperature Mastery
Maintaining consistent heat throughout the cooking process is crucial for the perfect patty melt. Start with a heavy-bottomed skillet or well-seasoned cast iron pan preheated over medium-low heat for at least five minutes before beginning. The pan should be hot enough that a drop of water dances across the surface but not so hot that butter browns immediately. This sweet spot - around 325°F - allows your sandwich to develop that coveted golden crust while the cheese melts into every crevice.
Make-Ahead Possibilities
While the final sandwich must be prepared just before serving, several components can be prepared in advance. Caramelize your onions up to three days ahead, storing them in an airtight container in the refrigerator. Shape your patties and separate them with parchment paper up to 24 hours before cooking. Just remember to bring refrigerated components to room temperature before final assembly - cold ingredients won't heat evenly and can lead to spotty cheese melting.
Serving Strategies
Transform your patty melt into a complete diner experience by considering every element of presentation and accompaniment. Serve on a warmed plate to maintain temperature, cutting diagonally to showcase the perfectly melted layers. Position crispy dill pickle spears at a jaunty angle, adding both visual appeal and that essential acidic contrast to cut through the richness. Consider serving with a mix of crispy fries and onion rings, arranged in alternating sections around the sandwich for both visual impact and textural variety. A small ramekin of additional caramelized onions on the side allows diners to add more of that sweet, savory goodness as desired.
Storage Solutions
While patty melts are best enjoyed fresh from the griddle, life sometimes requires planning ahead. If you must store a fully assembled sandwich, let it cool completely before wrapping in parchment paper, then foil, creating a tight seal that prevents the bread from becoming soggy. When ready to reheat, unwrap completely and place in a dry skillet over medium-low heat, pressing gently with a spatula to ensure even warming. The key is patient reheating - about 3-4 minutes per side - allowing the cheese to re-melt while the bread regains its crispiness.
Customization Canvas
Transform the classic into your own signature version while maintaining the essential elements that make a patty melt great. Consider aged cheddar for sharper flavor, or experiment with caramelized shallots instead of onions for a more delicate sweetness. Add a layer of sautéed mushrooms for earthiness, or introduce paper-thin slices of jalapeño for heat. The possibilities are endless, but remember the golden rule: every addition should complement, not overwhelm, the core components.
 Pin it
Frequently Asked Questions
- → Why do you add apple cider vinegar to the onions?
- The vinegar adds depth and balances the sweetness of the caramelized onions while helping to deglaze any flavorful browned bits from the pan.
- → Can I use different cheese?
- While Swiss is traditional, you can use other melting cheeses like American or Gruyere. Just ensure it melts well.
- → Why make thin patties?
- Thin patties cook quickly and evenly, and their shape ensures proper cheese melting and easy eating in sandwich form.
- → Can I caramelize the onions ahead of time?
- Yes, you can caramelize onions up to 3 days ahead and store in the refrigerator. Reheat before using.
- → What's the best bread to use?
- Use sturdy sandwich bread that can hold up to grilling. Rye is traditional, but any firm white or whole wheat bread works well.