
 Pin it
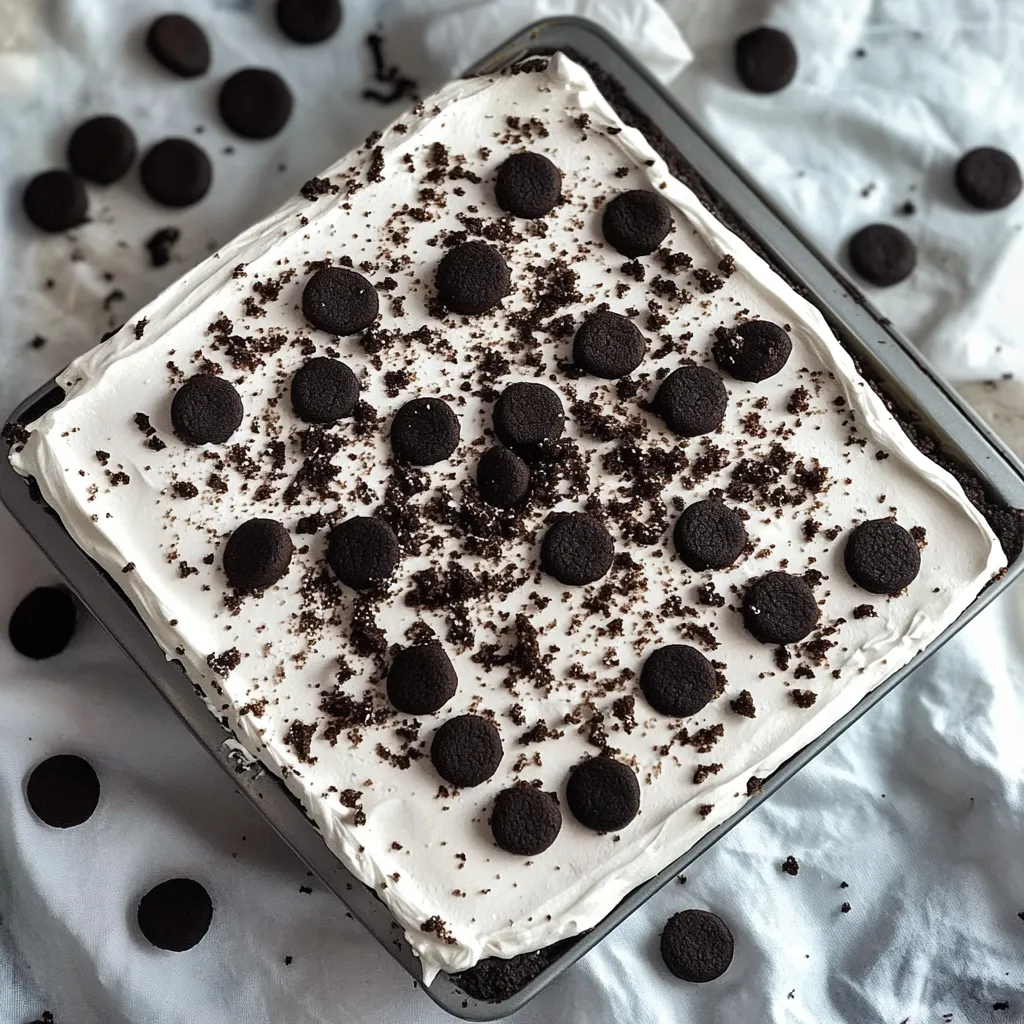
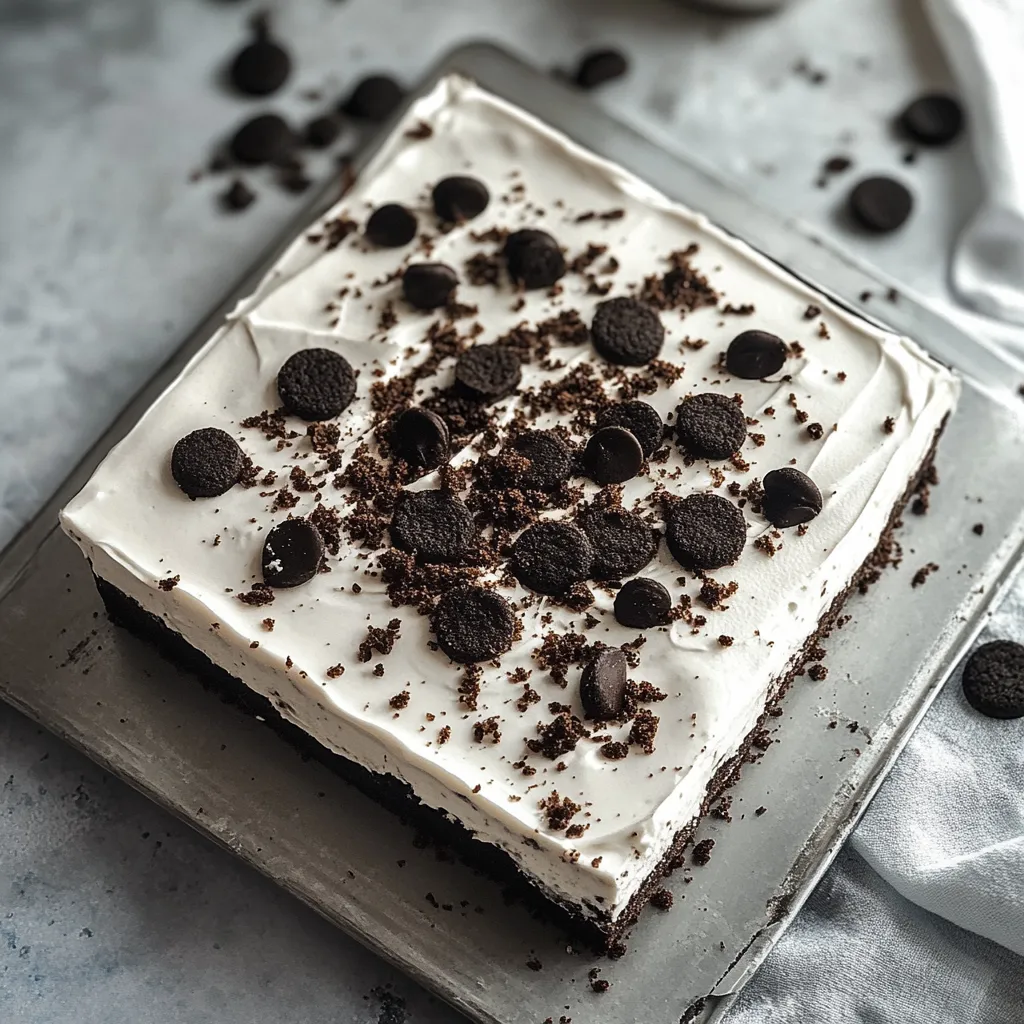
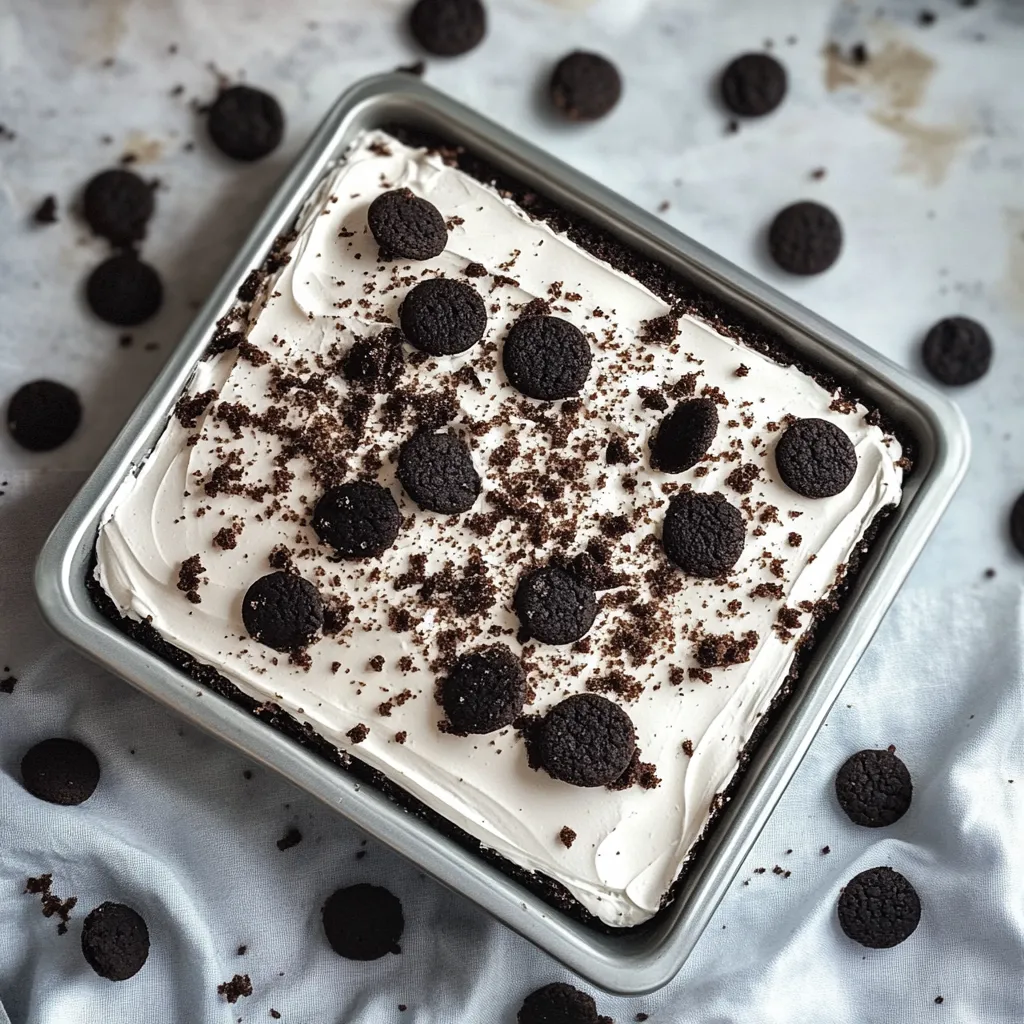
Creating this No-Bake Cookies and Cream Mousse Cake brings together everyone's favorite sandwich cookies in a luxuriously creamy dessert that's impossible to resist. Each velvety layer combines the perfect balance of chocolate and vanilla, creating a dessert that's both nostalgic and sophisticated. After countless requests from family gatherings, I've perfected this recipe to achieve that ideal balance between rich chocolate and creamy filling that makes everyone reach for seconds.
Last summer, during a particularly hot week, I discovered this recipe's true value. When my niece requested a birthday cake but our AC was struggling, this no-bake wonder saved the day. The look of pure joy on her face when she saw those perfect layers made it an instant family favorite.
Essential Ingredients with Purpose
- Chocolate cream cookies: Choose classic sandwich cookies with real cream filling - they provide the perfect balance of chocolate and vanilla
- Room temperature cream cheese: Essential for achieving that silky-smooth texture without lumps. Take it out at least 2 hours before starting
- Heavy cream: Look for cream with at least 36% fat content for the most stable whipped texture and richest taste
- Quality chocolate: Select a semi-sweet variety around 55-60% cocoa for the perfect balance of sweetness in the ganache
- Unsalted butter: Gives us complete control over the salt content while providing that perfect crisp crust
Detailed Step-by-Step Instructions
- Step 1: Creating the Perfect Crust
- Crush cookies until they're fine, but still have some slightly larger pieces for texture. Press mixture firmly using the bottom of a measuring cup, working from the center outward. Freeze between steps to ensure clean, defined layers. Check corners and edges are well-packed to prevent crumbling when serving.
- Step 2: Mastering the Mousse
- Start with cream cheese at proper room temperature - it should yield easily when pressed. Beat until completely smooth before adding any other ingredients. Add cream in a slow, steady stream while beating to prevent splashing. Watch carefully as you approach stiff peaks - overbeating will make the mousse grainy. Fold in crushed cookies with a light hand to maintain the airy texture.
- Step 3: Perfecting the Ganache
- Chop chocolate into uniform pieces for even melting. Heat cream just until bubbles form around the edges. Let sit undisturbed to allow chocolate to melt gently. Stir from center outward until completely smooth and glossy.
- Step 4: Layer Assembly
- Work quickly but carefully with each layer. Use an offset spatula for the smoothest possible mousse layers. Tap pan gently on counter to remove air bubbles. Clean edges with a paper towel between layers for professional-looking sides.
 Pin it
Growing up, sandwich cookies were always my favorite after-school snack. Now, transforming them into this sophisticated dessert brings back those cherished memories while creating new ones. My daughter particularly loves helping crush the cookies - though I've learned to account for quite a few 'disappearing' during the process!
 Pin it
Creative Variations and Serving Suggestions
- Seasonal Adaptations: Add peppermint extract to the mousse for a winter twist, swirl in strawberry puree for spring, or try a coffee-flavored variation for summer refreshment.
- Serving Suggestions: Enhance presentation with a dollop of lightly whipped cream, a scattering of cookie crumbs, and fresh berries or a dusting of cocoa powder for contrast.
Frequently Asked Questions
- → How long does this cake need to chill?
- The cake needs at least 4 hours to set, but overnight chilling gives the best results.
- → Can I make this cake in advance?
- Yes, you can make it up to 2 days ahead and keep it stored in the fridge.
- → What type of chocolate cookies work best?
- Oreo-style chocolate cream cookies work perfectly for this recipe.
- → Can I make this in a different pan size?
- Yes, you can use a springform pan or make individual portions in dessert cups.
- → Why isn't my ganache setting properly?
- Make sure to use the correct ratio of cream to chocolate and allow enough time in the freezer between layers.