
 Pin it
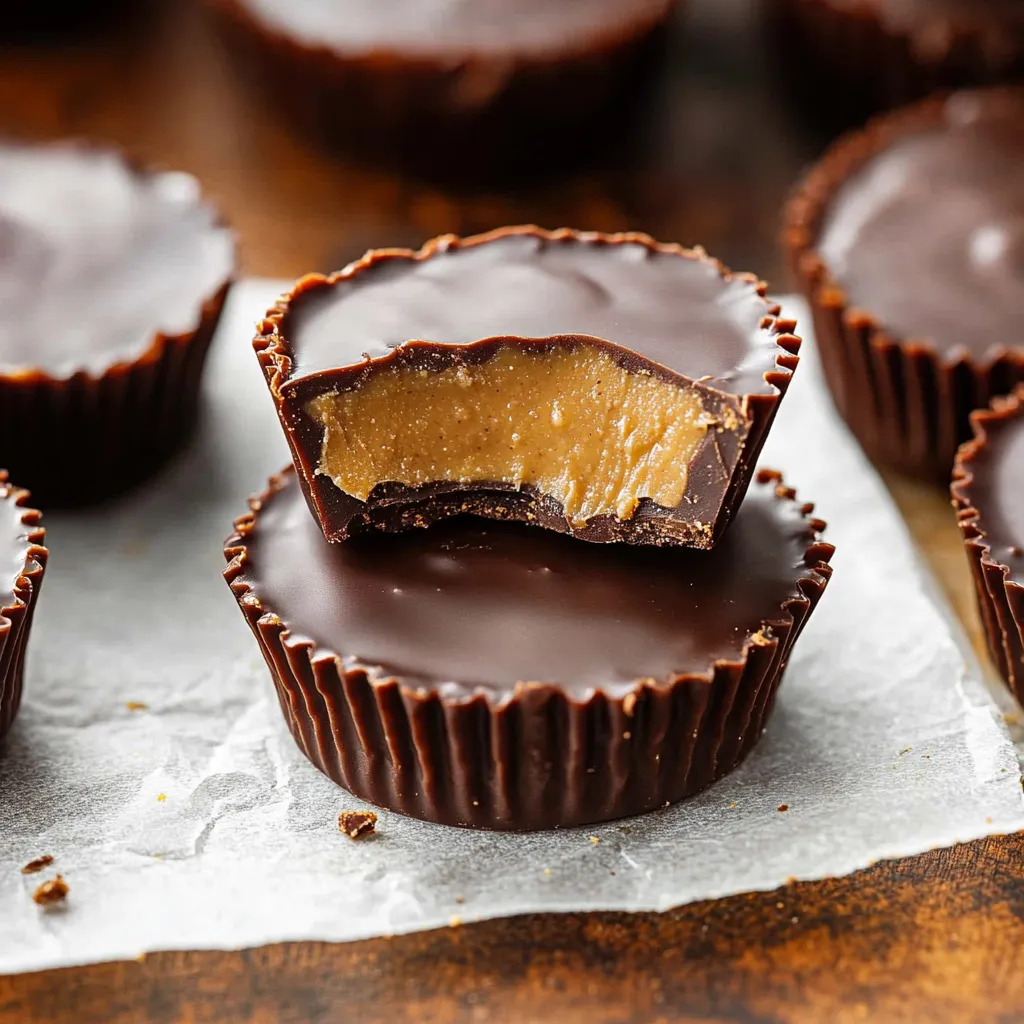
Homemade peanut butter cups elevate the classic candy into a gourmet treat, offering a perfect balance of rich chocolate shell and creamy peanut butter filling. This recipe creates irresistible candies that surpass store-bought versions with their freshness, quality ingredients, and customizable sweetness levels.
I started making these when my daughter developed a sensitivity to certain food additives. What began as a necessity became a beloved family tradition, with everyone gathering in the kitchen to help swirl the chocolate and taste-test the filling.
Essential Ingredients
- Dark Chocolate: Choose high-quality couverture chocolate with at least 60% cocoa content for the best melting properties and shine.
- Peanut Butter: Natural, fresh-ground peanut butter provides the richest flavor. Avoid brands with added oils that can affect texture.
- Honey: Raw honey adds complexity to the filling while helping achieve the perfect consistency.
- Powdered Sugar: Use fresh, lump-free powdered sugar to ensure smooth filling. The amount needed varies based on your peanut butter's natural sweetness.
Instructions
- Step 1: Chocolate Selection
- Begin by properly tempering your chocolate. Break it into small, even pieces to ensure uniform melting. If using a microwave, use 50% power to prevent scorching. The chocolate should feel warm, not hot, to touch at around 88-90°F (31-32°C).
- Step 2: Base Formation
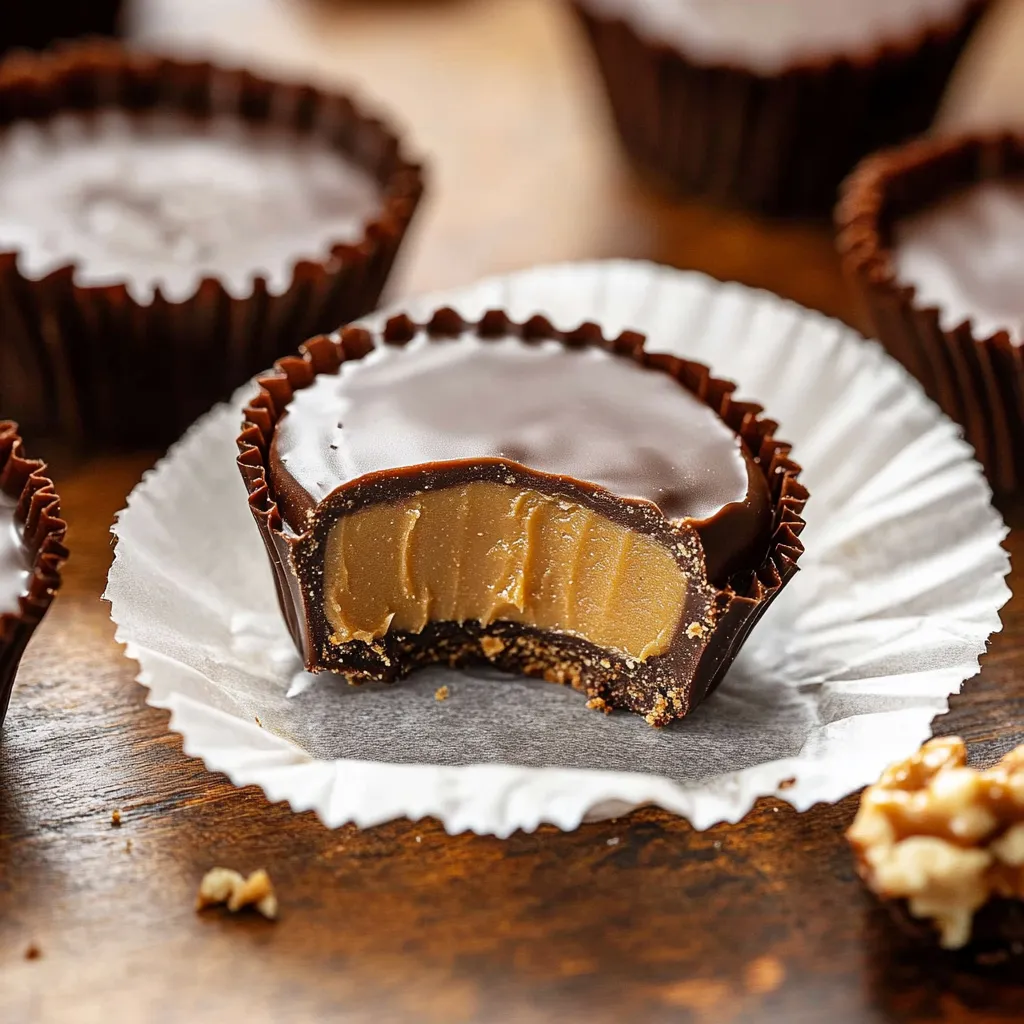
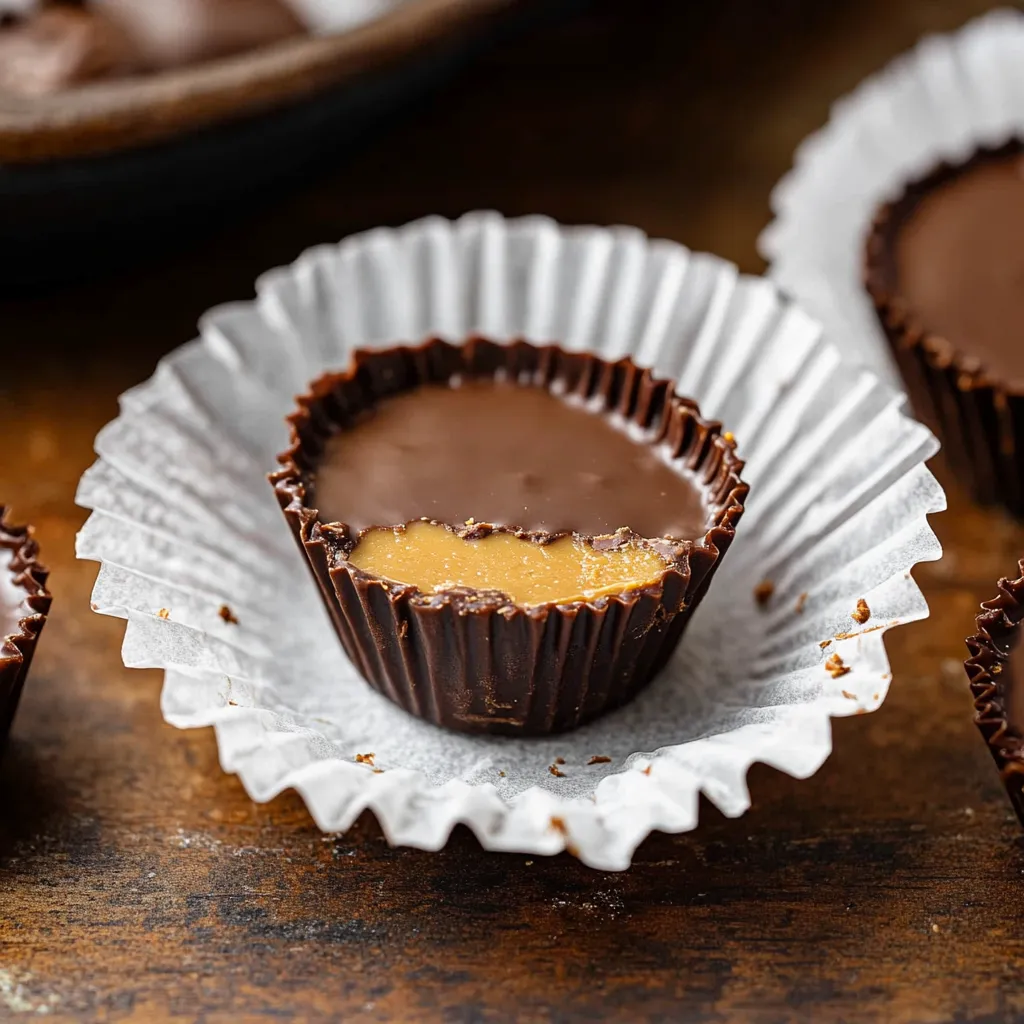
- When coating the paper liners, use gentle circular motions to create an even layer. Pay special attention to the sides - they should be thick enough to hold the filling but thin enough to bite through easily. The chocolate should look glossy and smooth.
- Step 3: Filling Preparation
- Mix your filling ingredients gradually, starting with peanut butter and honey. Add powdered sugar one tablespoon at a time until the mixture holds its shape but remains creamy. It should be firm enough to roll into small balls without sticking to your hands.
- Step 4: Final Assembly
- When adding the top chocolate layer, start from the center and work outward to prevent air pockets. Tap the muffin tin gently on the counter to help the chocolate settle and create a smooth surface.
 Pin it
My family discovered that letting the cups sit at room temperature for 5 minutes before eating creates the perfect texture - the filling becomes slightly softer while the chocolate maintains its snap.
 Pin it
After years of making these peanut butter cups, I've found that success lies in patience and attention to detail. While they're relatively simple to make, taking time with each step results in professional-looking candies that rival any artisanal chocolate shop. The joy of creating these treats from scratch and sharing them with loved ones makes them taste even sweeter.
Frequently Asked Questions
- → Can I use milk chocolate instead of dark chocolate?
- Yes, any chocolate coating or baking chocolate works well in this recipe.
- → Why do you need to add oil to the chocolate?
- Oil helps thin the chocolate for easier coating and gives a smoother finish to the cups.
- → Can I make these without paper liners?
- While possible in a silicone mold, paper liners make it much easier to remove and handle the cups.
- → Why do they need to be stored in the fridge?
- The chocolate can soften at room temperature. Refrigeration keeps them firm and fresh longer.
- → Can I use natural peanut butter?
- Yes, but make sure to stir it well first so the oil is fully incorporated.