
 Pin it
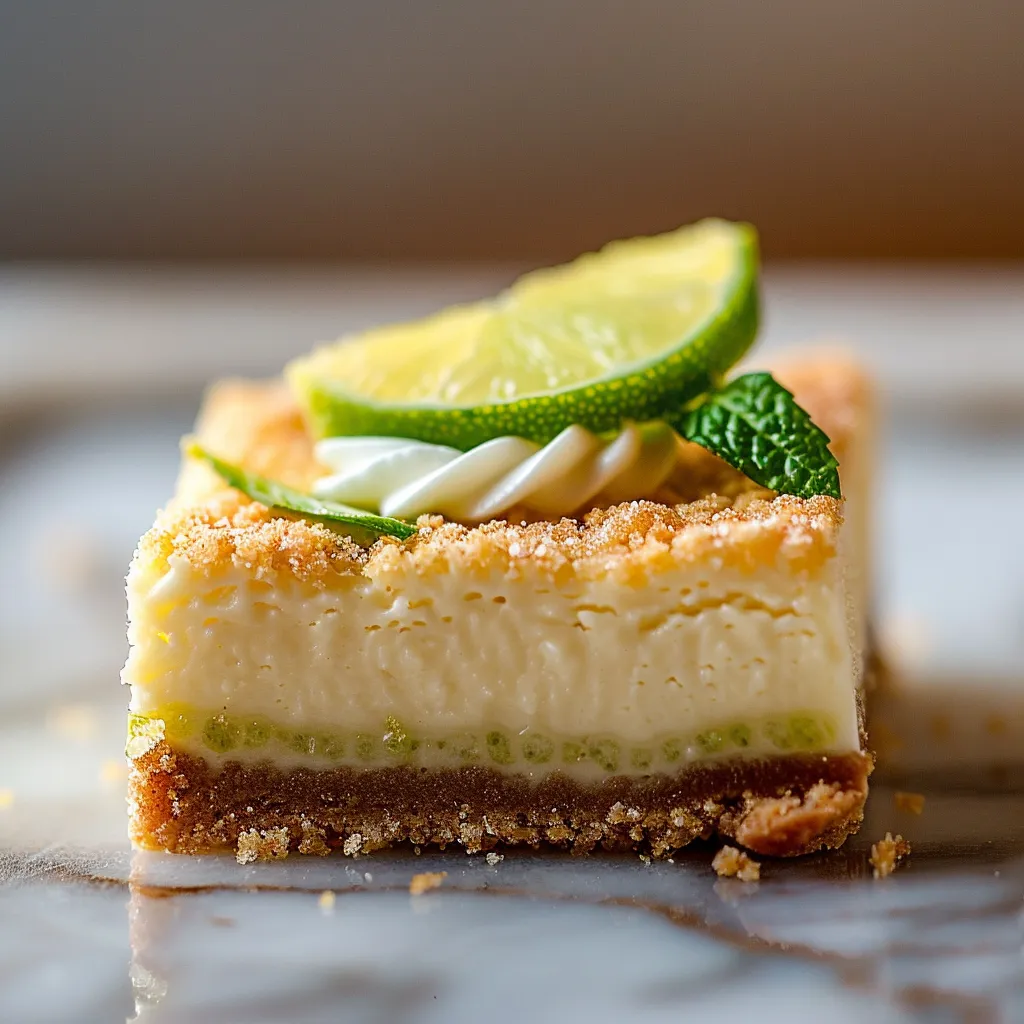
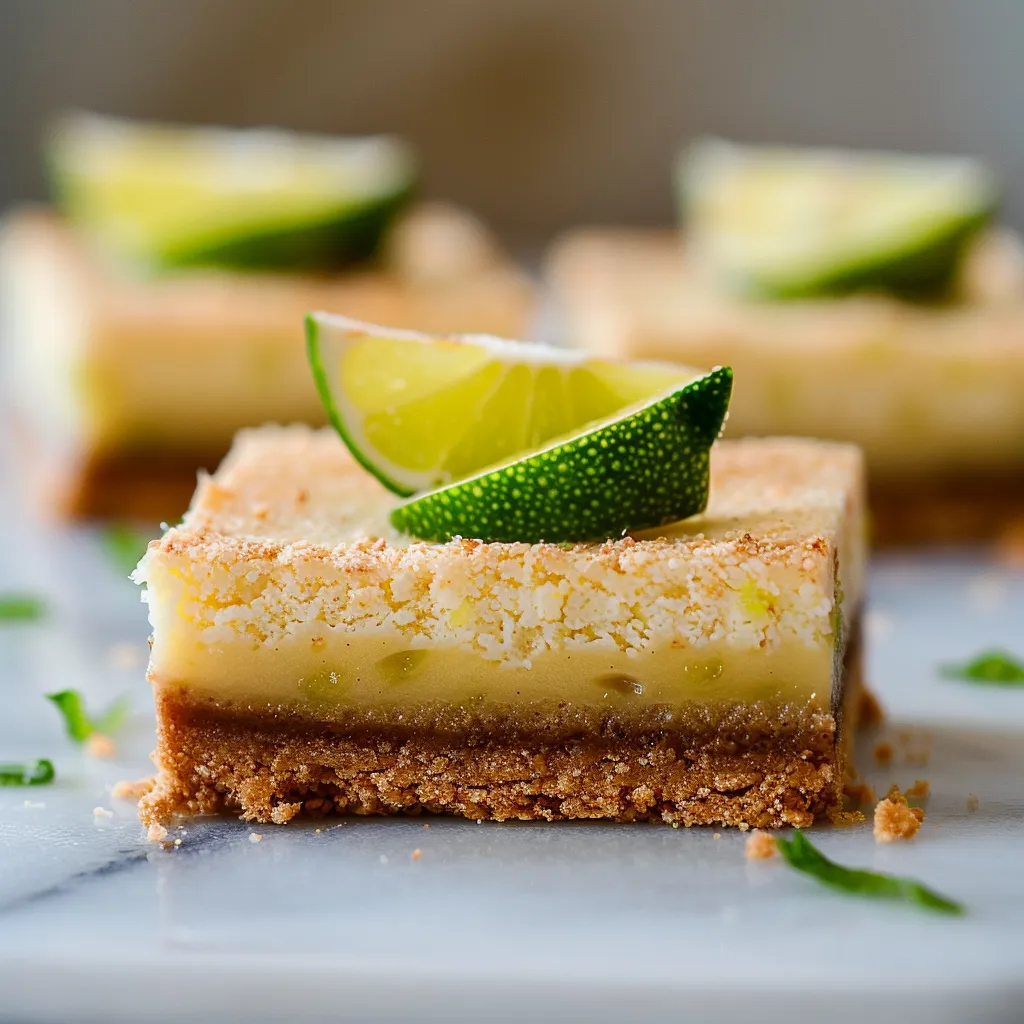
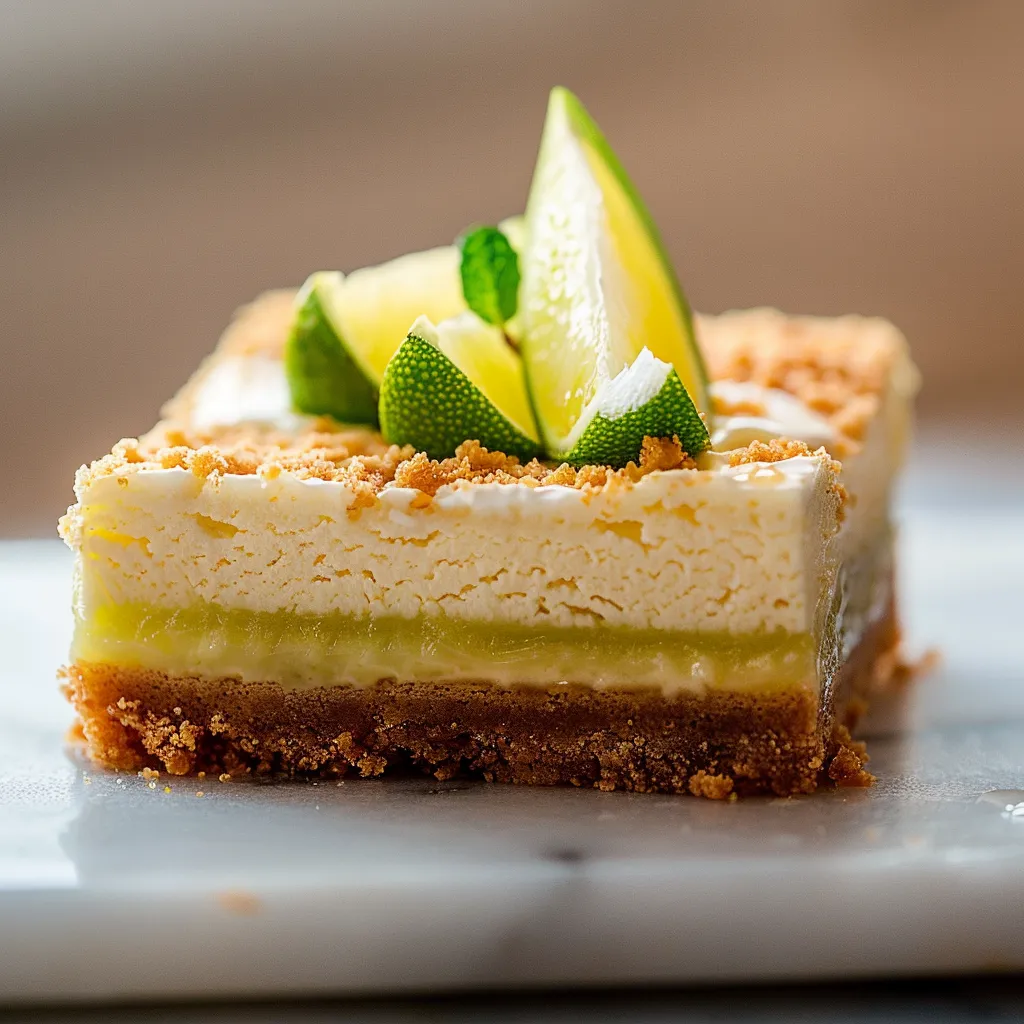
Key lime pie bars deliver all the tangy citrus flavor of traditional key lime pie in a convenient, portable format that's perfect for picnics and gatherings. The buttery graham cracker crust gets an unexpected upgrade with pecans and cinnamon, creating a warm foundation that beautifully balances the bright, zesty filling. These refreshing squares strike the perfect balance between tart and sweet with a silky smooth texture that melts in your mouth.
I first made these bars for a summer garden party last year, and they disappeared within minutes. Three different guests asked for the recipe before leaving, and my neighbor confessed to taking an extra piece home wrapped in a napkin. There's something magical about the intense citrus flavor combined with the sweet condensed milk that makes these irresistible even to people who normally skip dessert.
Crust Crafting Components
- Graham cracker crumbs: Provide classic flavor foundation
- Ground pecans: Add subtle nutty complexity
- Granulated sugar: Ensures perfect sweetness level
- Ground cinnamon: Introduces warm aromatic notes
- Unsalted butter: Binds everything while adding richness
Fantastic Filling Ingredients
- Fresh egg yolks: Create silky texture and proper setting
- Sweetened condensed milk: Provides essential creamy sweetness
- Fresh lime zest: Contains essential citrus oils for flavor
- Key lime juice: Delivers signature tangy brightness
- Room temperature ingredients: Ensure proper incorporation
Baking Excellence
- Crust Creation:
- Preheat your oven to a moderate temperature while preparing an eight inch square baking pan with parchment paper. This crucial step allows easy removal of the finished bars. Combine graham cracker crumbs with finely ground pecans, sugar, and cinnamon in a mixing bowl, stirring thoroughly to distribute spices evenly.
- Perfect Binding:
- Pour melted butter over the crumb mixture and stir until every particle is moistened. The texture should resemble wet sand and hold together when pressed between your fingers. Transfer mixture to prepared pan and press firmly using the bottom of a measuring cup to create an even, compact layer.
- Initial Baking:
- Place the crust in preheated oven and bake until lightly golden and fragrant. This short baking time sets the crust and develops flavor through slight caramelization of the sugars. Remove from oven but maintain oven temperature for the filling stage.
- Filling Development:
- In a large bowl, whisk room temperature egg yolks vigorously until they become slightly thickened and lighter in color. This aerates the yolks properly for the best texture. Add sweetened condensed milk and continue whisking until the mixture becomes noticeably thicker.
- Citrus Infusion:
- Stir freshly grated lime zest into the mixture to distribute the essential oils throughout. Gradually add lime juice while stirring constantly. The mixture will thicken slightly as the acidity reacts with the condensed milk, beginning the setting process even before baking.
- Final Baking:
- Pour the filling carefully over the partially baked crust, using a spatula to spread it into an even layer. Return the pan to the oven and bake just until the filling is set but still has a slight jiggle in the center. Overbaking will destroy the silky texture.
- Cooling Process:
- Allow the bars to cool completely at room temperature before transferring to the refrigerator. Chill thoroughly for several hours or preferably overnight. This resting period allows flavors to develop fully and ensures proper texture formation.
- Precision Cutting:
- Use the parchment paper overhang as handles to lift the entire dessert from the pan. With a sharp knife wiped clean between cuts, slice into squares of desired size. Clean, decisive cuts create the most attractive presentation.
 Pin it
My favorite part of these bars is the contrast between the crisp, nutty crust and the smooth, tangy filling. The pecan addition was inspired by my grandmother who always said nuts improve any dessert. She was right, as they add wonderful depth to the traditional graham cracker base. My children now request these instead of birthday cake every summer, claiming they taste like sunshine.
Beautiful Serving Suggestions
Present these vibrant squares on a white platter garnished with thin lime slices and fresh mint leaves for a stunning visual contrast. For elegant dinner parties, serve individual bars topped with a dollop of lightly sweetened whipped cream and a tiny lime wedge. During summer gatherings, arrange on a tiered stand alongside fresh berries for a refreshing dessert station.
Creative Adaptations
Transform these classic bars by substituting lemon juice and zest for a traditional lemon square variation. For tropical flair, replace half the lime juice with passion fruit puree and garnish with toasted coconut. During holiday seasons, add a splash of cranberry juice to the filling for beautiful color and complementary tartness that pairs wonderfully with the lime.
Perfect Preservation
Store bars covered tightly in the refrigerator for up to five days, though they rarely last that long in my household. For longer storage, freeze individual squares placed on a baking sheet until solid, then transfer to freezer bags with parchment between layers. Thaw in refrigerator overnight before serving for best texture.
 Pin it
These key lime bars represent the perfect balance between sophisticated flavor and approachable technique. Their bright citrus notes provide a welcome contrast to richer desserts, making them ideal for ending a meal on a refreshing note. Whether shared at a backyard barbecue or presented at an elegant dinner party, they never fail to impress with their perfect balance of tangy and sweet in every silky smooth bite.
Frequently Asked Questions
- → Can I use regular limes instead of key limes?
- Absolutely! While key limes have a more intense, aromatic flavor, regular Persian limes work wonderfully too. The recipe already notes this substitution is fine, and many home bakers actually prefer regular limes because they're easier to juice and zest.
- → Do I need to refrigerate these bars?
- Yes, these Key Lime Pie Bars should be refrigerated. After cooling completely at room temperature, refrigerate for at least 2 hours (ideally overnight) to allow the filling to set properly. Store any leftovers in the refrigerator for up to 4 days.
- → Can I make these bars ahead of time?
- These bars are perfect for making ahead! In fact, they benefit from chilling overnight, which allows the flavors to develop fully. You can make them 1-2 days before serving, keep refrigerated, and slice just before serving.
- → What if I don't have pecans or have a nut allergy?
- You can simply omit the ground pecans and add an extra 2 tablespoons of graham cracker crumbs instead. The crust will still be delicious, just without the subtle nutty flavor that the pecans provide.
- → Can I freeze these Key Lime Pie Bars?
- Yes! These bars freeze beautifully for up to 3 months. Cut them into individual squares, place in an airtight container with parchment paper between layers, and freeze. Thaw overnight in the refrigerator before serving.