
 Pin it
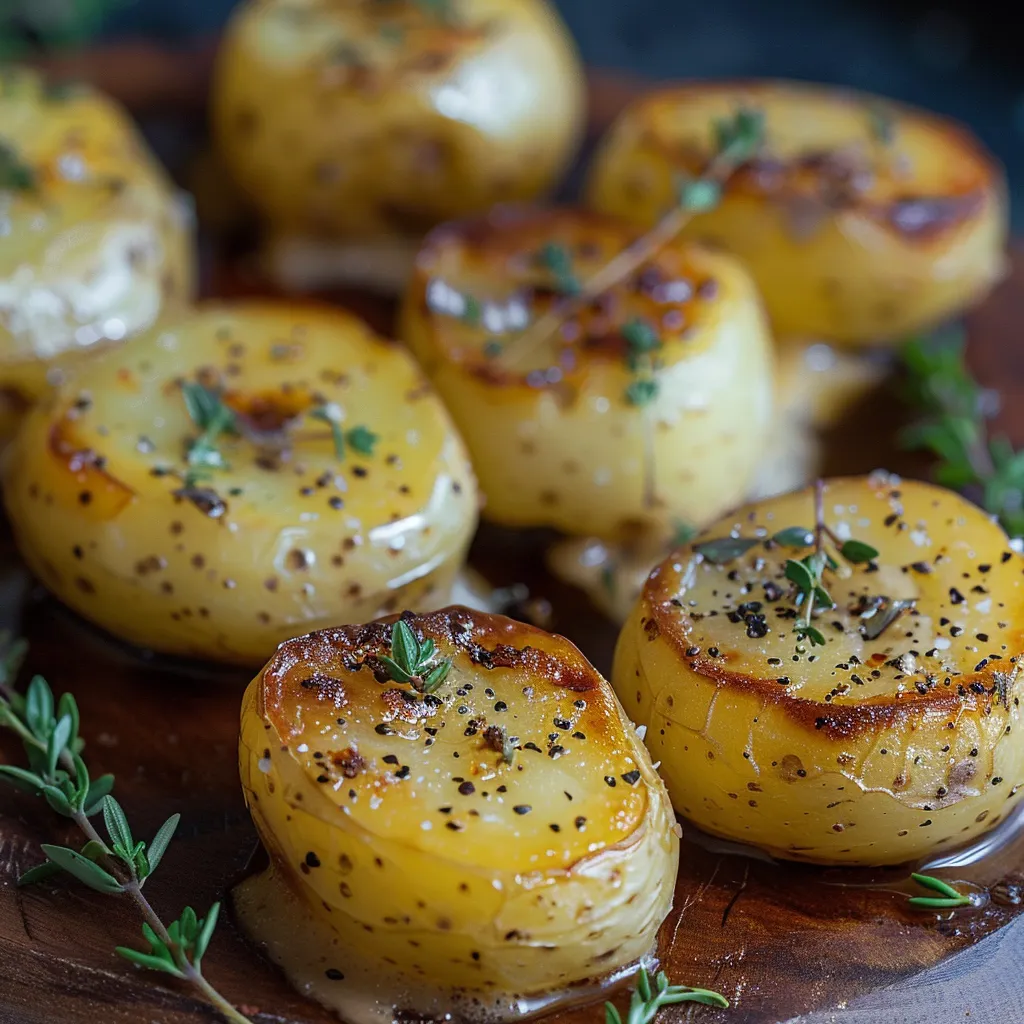
This hearty melting potatoes recipe transforms ordinary spuds into an extraordinary side dish with crispy exteriors and tender, velvety centers. The magic lies in the slow roasting process which allows the potatoes to absorb a rich garlic herb butter sauce, creating an irresistible flavor that will have everyone asking for seconds.
I discovered this technique years ago when looking for a potato dish beyond the usual mashed or roasted options. Now these melting potatoes make an appearance at nearly every holiday gathering by popular demand, and guests always ask for the recipe.
Ingredients
- Yukon gold potatoes: Chosen specifically for their buttery flavor and creamy texture that creates the perfect melt in your mouth consistency
- Butter: Provides richness and helps create the golden exterior
- Oil: Avocado or olive oil raises the smoke point to achieve better browning without burning
- Fresh rosemary: Adds woody, aromatic flavor that stands up to long cooking
- Fresh thyme: Contributes earthy notes and delicate herbaceous flavor
- Garlic: Minced fresh for maximum aromatic impact and flavor depth
- Salt: Enhances all flavors and helps create the perfect crust
- Black pepper: Adds subtle heat and complexity
- Chicken broth: Creates steam in the oven and transforms into a delicious sauce as it mingles with the butter and potato starches
Step-by-Step Instructions
- Preheat Oven:
- Heat your oven to a consistent 400°F. This specific temperature is crucial for achieving the perfect contrast between the crispy exterior and soft interior of the potatoes.
- Prepare the Potatoes:
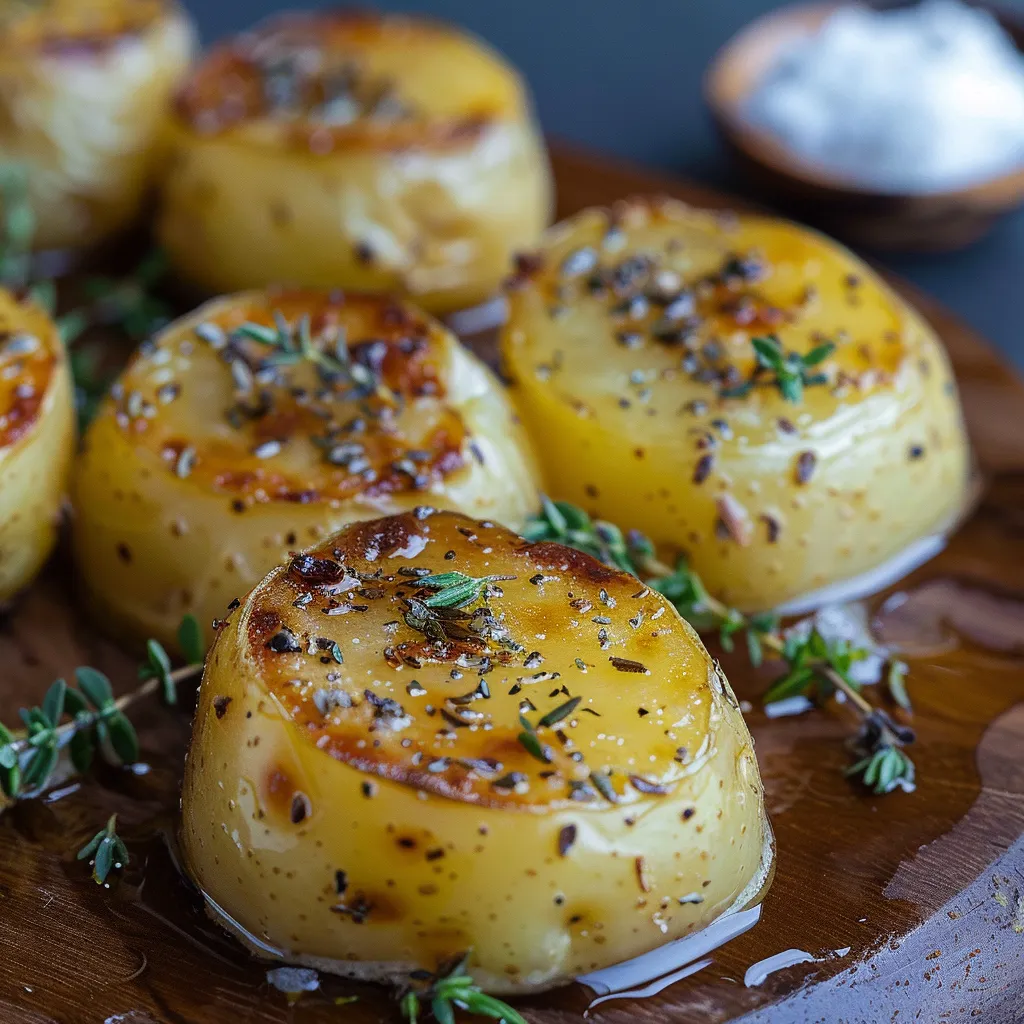
- Trim half an inch from the rounded ends of each potato to create flat surfaces that will brown evenly. Cut each potato in half to create 1 inch thick rounds. The uniform thickness ensures even cooking and the perfect texture throughout.
- Create the Flavor Base:
- In a large bowl whisk together melted butter, oil, chopped fresh rosemary, thyme, minced garlic, salt, and black pepper until well combined. The warm butter helps extract the aromatic compounds from the herbs and garlic, intensifying their flavors before they even hit the oven.
- Coat the Potatoes:
- Add the potato halves to the herb butter mixture and toss thoroughly until each piece is completely covered on all sides. This coating not only adds flavor but helps create the caramelized exterior.
- Initial Baking:
- Arrange the coated potatoes in a single layer in a 13x9 inch baking dish coated with nonstick spray. Pour any remaining sauce over the potatoes. Bake for 30 minutes, flipping halfway through to ensure even browning on both cut sides.
- Add Broth and Finish:
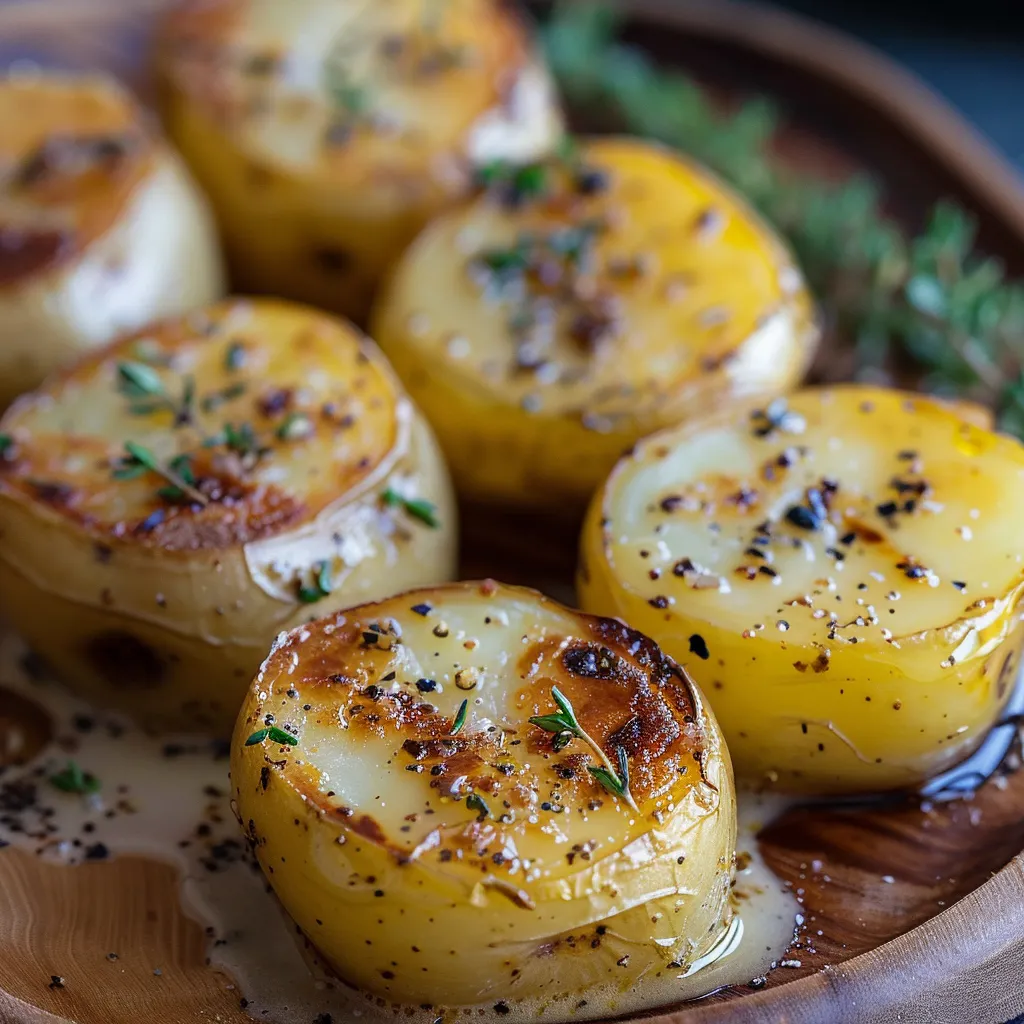
- Pour chicken broth into the baking dish around the potatoes and return to the oven for another 20 to 25 minutes. During this time the potatoes absorb the liquid while the broth reduces and melds with the butter and potato starch to create a luscious sauce.
- Serve with Style:
- Transfer the finished potatoes to a serving dish and drizzle with the sauce from the baking dish. Garnish with additional fresh herbs for a restaurant quality presentation and flavor boost.
 Pin it
The fresh herbs truly make this dish special. I learned from my grandmother that fresh herbs should never be an afterthought, especially with potatoes. One Christmas, I almost skipped the herbs and used dried instead, but my grandmother insisted on sending my uncle to the store in a snowstorm for fresh rosemary and thyme. Everyone agreed it was worth the extra effort.
Choosing the Right Potatoes
Waxy varieties like Yukon Gold are essential for this recipe. Their high moisture and medium starch content allows them to hold their shape while still becoming tender. Russets would fall apart and become too mealy, while red potatoes might not develop the same creamy interior. Look for medium sized potatoes with smooth, unblemished skin, as these will yield the most consistent results.
Make Ahead Options
This dish offers surprising flexibility for entertaining. You can slice the potatoes up to two days ahead and store them in cold, lightly salted water in the refrigerator to prevent browning. Just be sure to thoroughly dry them before coating with the herb butter mixture. You can also fully prepare the dish up to the point of adding the broth, then refrigerate for up to 24 hours. When ready to serve, add the broth and continue with the final baking step, adding an extra 5 minutes to account for the cold start.
Perfect Pairings
These melting potatoes pair beautifully with almost any protein. Serve alongside a perfectly roasted chicken or beef tenderloin for a memorable dinner. The sauce is particularly wonderful with roasted meats, as it mingles with meat juices on the plate. For a complete meal, add a simple green vegetable like roasted asparagus or sautéed green beans that can benefit from a bit of the garlic herb sauce. This dish also works wonderfully for brunch alongside eggs and a simple salad.
Sauce Variations
While the classic herb combination creates a timeless flavor profile, you can customize the sauce to complement different meals. For a holiday feast, add a pinch of nutmeg and sage. For Mediterranean flair, include lemon zest and oregano. The broth can also be switched for white wine or a blend of wine and broth for a more sophisticated flavor. Just ensure whatever liquid you use has enough salt to properly season the potatoes as they absorb it during the final cooking stage.
 Pin it
Frequently Asked Questions
- → What type of potatoes are best for this dish?
Yukon gold potatoes are ideal because of their creamy texture and ability to hold their shape while cooking.
- → Can I make this dish vegan?
Yes, you can substitute vegetable broth for chicken broth and use vegan butter for a plant-based version.
- → How can I prepare these in advance?
You can slice the potatoes and store them in water with a bit of salt in the refrigerator for 1 to 2 days ahead.
- → Can I freeze these potatoes?
While freezing is possible, it can affect their texture. It's best to enjoy them fresh or store in the fridge for up to 4 to 5 days.
- → How do I reheat melting potatoes?
Reheat in a 350℉ oven for 10 to 15 minutes for the best results. A microwave works in a pinch, but the texture won't be as crisp.