
 Pin it
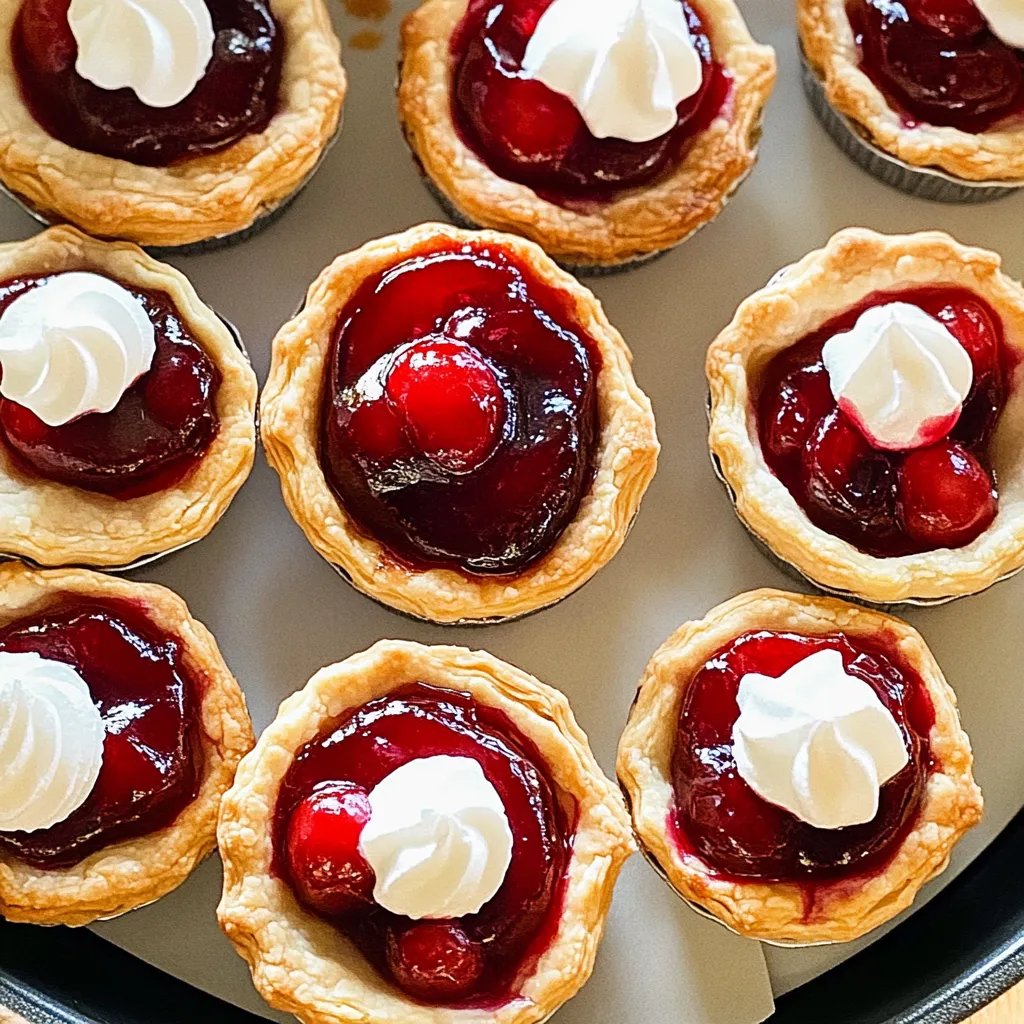
This adorable mini cherry pie recipe transforms a classic dessert into portable, single-serving treats perfect for gatherings or when you want just a small sweet indulgence without baking an entire pie. The individual portions bake perfectly in a standard muffin tin, creating delightful handheld desserts with the perfect crust-to-filling ratio.
I first made these for a summer picnic when I didn't want to deal with slicing a full pie outdoors. They were such a hit that they've become my signature dessert for casual gatherings. There's something magical about having your own personal pie that brings out the child in everyone.
Ingredients
- Store-bought pie crust: Package containing two 9-inch crusts. These save tremendous time while still providing a buttery, flaky base. Look for all-butter varieties for best flavor.
- Cherry pie filling: 2 cups. The sweet-tart balance of cherry is classic, but any fruit filling works beautifully. Choose a quality brand with visible fruit pieces.
- Egg white: Slightly beaten. This creates that professional bakery shine on top. Make sure it's just the white for a clearer glaze.
- Sugar: For sprinkling. Regular granulated works well, but coarse sugar provides extra crunch and sparkle if you have it.
Step-by-Step Instructions
- Prepare Your Workspace:
- Preheat your oven to 350°F and lightly grease a standard 12-cup muffin tin. The light greasing is crucial even with the buttery crust, as it ensures your mini pies release cleanly without breaking. Let your pie crusts sit at room temperature for about 15 minutes to become pliable.
- Create Perfect Circles:
- Unroll the pie crusts on a clean surface and use a 3½ to 4-inch round cutter or drinking glass to cut circles. Press firmly and twist slightly to get clean edges. You should get about 12 circles from the two crusts. Gather and re-roll scraps if needed for extra circles or to create decorative lattice toppings.
- Form Mini Pie Shells:
- Gently press each dough circle into a muffin cup, carefully pushing it into the corners and up the sides. Take your time with this step to avoid tears or holes. The edges should slightly overhang the cup. If the dough feels too soft, refrigerate the tin for 10 minutes to firm up.
- Fill With Cherry Goodness:
- Spoon about 1½ to 2 tablespoons of cherry filling into each crust. Be careful not to overfill or the filling will bubble over during baking. Leave about ¼ inch space from the top of the crust. Use the back of your spoon to spread the filling evenly.
- Create Decorative Toppings:
- With remaining dough, create lattice strips or decorative cutouts for the tops. For lattice, cut thin strips and weave them over each pie. For a simpler approach, use tiny cookie cutters to create shapes to place on top. Press edges gently to seal where they meet the bottom crust.
- Apply The Finishing Touches:
- Using a pastry brush, gently brush the tops and exposed crust with beaten egg white for a golden shine. Sprinkle each pie with a pinch of sugar. This dual finish creates both visual appeal and a delightful sweet crunch to the crust.
- Bake To Golden Perfection:
- Bake in your preheated oven for 25 to 30 minutes. Look for a deeply golden crust and slight bubbling of the filling. If the edges brown too quickly, cover them loosely with small pieces of foil. Allow a few extra minutes if your oven runs cool.
- Cool Before Serving:
- Let the pies cool in the tin for at least 20 minutes. This cooling period allows the filling to set and makes removal easier. Run a thin knife around each pie to loosen, then gently lift out. Cool completely on a wire rack for best texture.
 Pin it
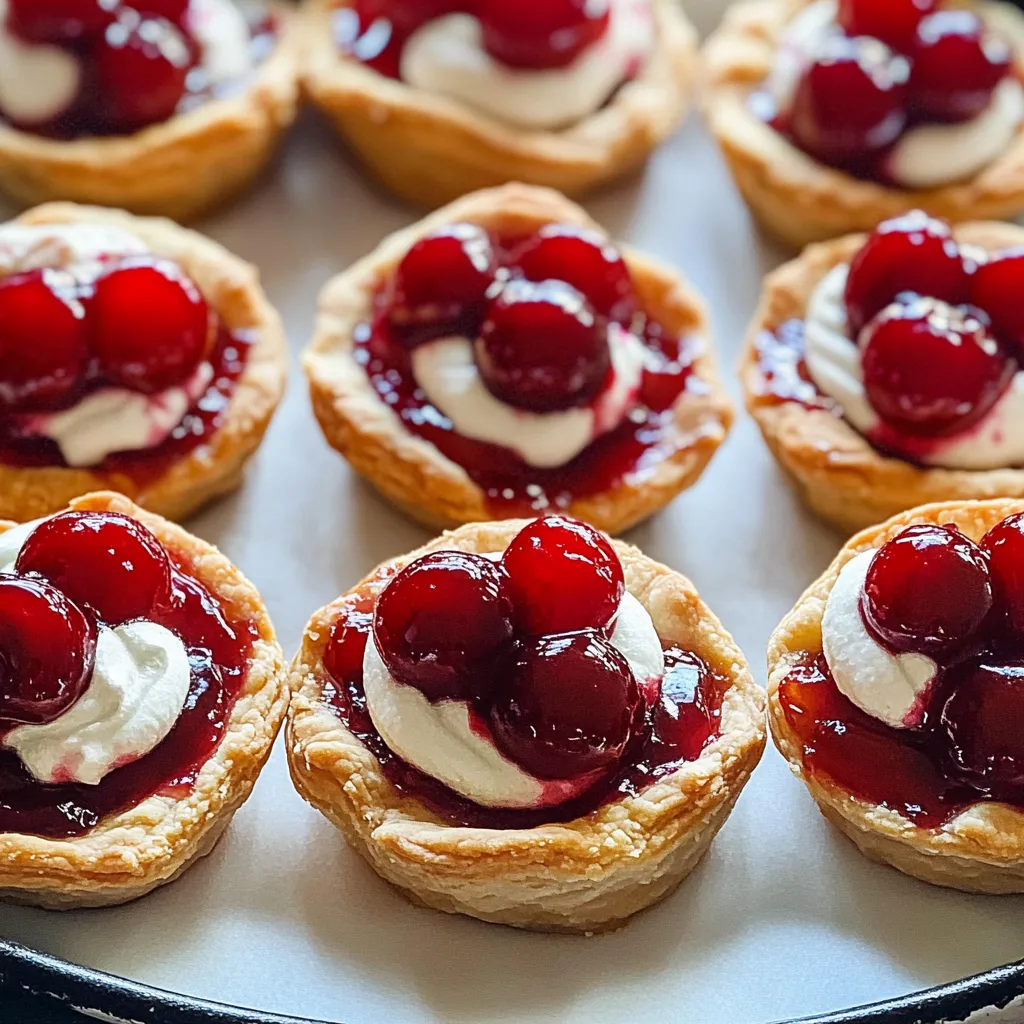
The secret to these pies is in the ratio of filling to crust. Unlike a traditional slice where the filling might overwhelm, these mini versions give you the perfect balance in each bite. My grandmother always said good pie was about the marriage of filling and crust, not just piling in sweet filling. These little pies honor her wisdom perfectly.
Storing Your Mini Pies
These adorable treats stay fresh at room temperature in an airtight container for up to 2 days. For longer storage, refrigerate them for up to 5 days. When ready to serve, you can enjoy them cold, at room temperature, or warm them slightly in a 300°F oven for 5 minutes. The crust will regain its crispness with gentle reheating. If you freeze them, thaw overnight in the refrigerator before warming for best texture.
Creative Variations
While cherry filling is classic and festive, these mini pies welcome endless variations. Try apple filling with a sprinkle of cinnamon in the fall, blueberry for summer gatherings, or chocolate pudding topped with whipped cream for a decadent twist. You can also add flavor extracts like almond or vanilla to the cherry filling for more dimension. For holiday versions, incorporate seasonal spices like nutmeg or cardamom, or try mixing cherry with chocolate chips for a black forest inspiration.
Serving Suggestions
These mini pies shine on their own, but become even more special with thoughtful accompaniments. Serve warm with a small scoop of vanilla ice cream on top, or add a dollop of lightly sweetened whipped cream. For brunch settings, pair with coffee or tea. At dinner parties, arrange on a tiered serving platter interspersed with fresh cherries or mint sprigs for visual appeal. A light dusting of powdered sugar just before serving adds elegant simplicity.
 Pin it
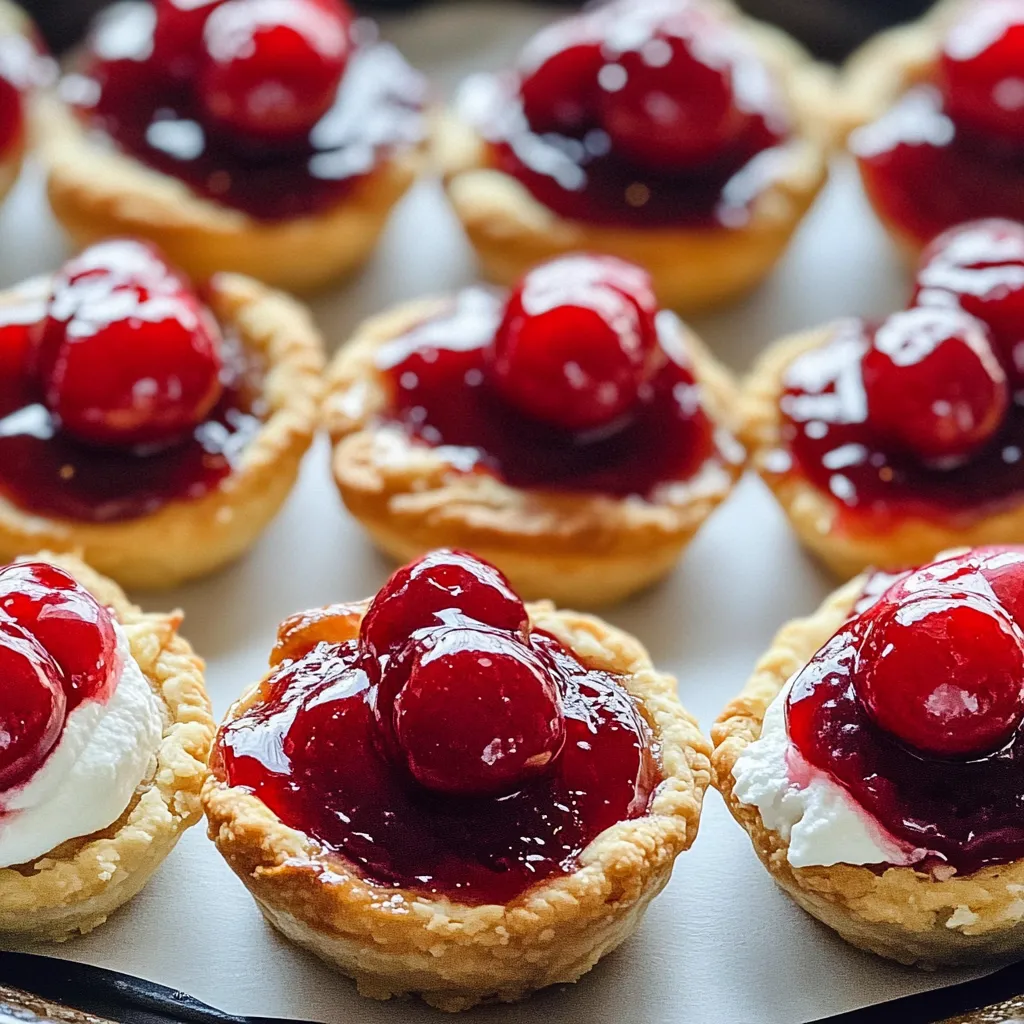
With just a few ingredients and a little effort, these mini cherry pies are sure to impress at any occasion. Enjoy creating delicious memories!
Frequently Asked Questions
- → Can I use homemade pie dough instead of store-bought?
Absolutely! While store-bought crust makes this recipe quick and easy, homemade pie dough works wonderfully too. Just roll it to about 1/8-inch thickness before cutting your circles.
- → What other fruit fillings work well in these mini pies?
Almost any pie filling works great! Try apple, blueberry, peach, or strawberry for delicious variations. You can use store-bought fillings or make your own from fresh or frozen fruit.
- → How do I store leftover mini cherry pies?
Store cooled pies in an airtight container at room temperature for 1-2 days, or refrigerate for up to 4 days. For longer storage, freeze the pies for up to 3 months and thaw at room temperature before serving.
- → Can I make these mini pies ahead of time?
Yes! You can prepare these a day ahead. For best results, store them covered at room temperature and give them a quick 5-minute reheat in a 350°F oven before serving to restore the crust's crispness.
- → Is the lattice topping necessary?
The lattice topping is completely optional. You can simply leave the pies open-faced, create a full top crust with slits for venting, or make creative cutouts from the extra dough for decoration.
- → How do I prevent the filling from bubbling over during baking?
To prevent overflow, fill each crust only about 2/3 full and place the muffin tin on a baking sheet to catch any potential drips. Allowing adequate venting in the top crust also helps control bubbling.