
 Pin it
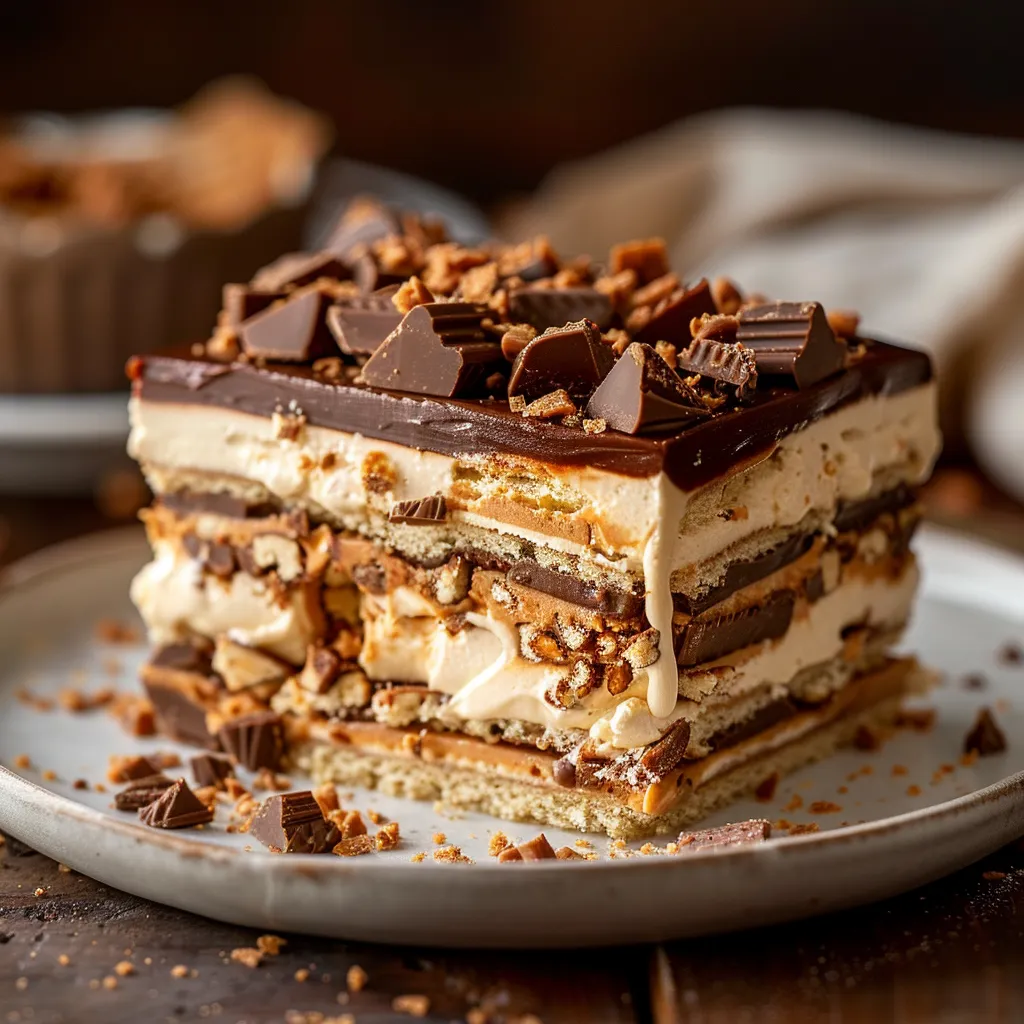
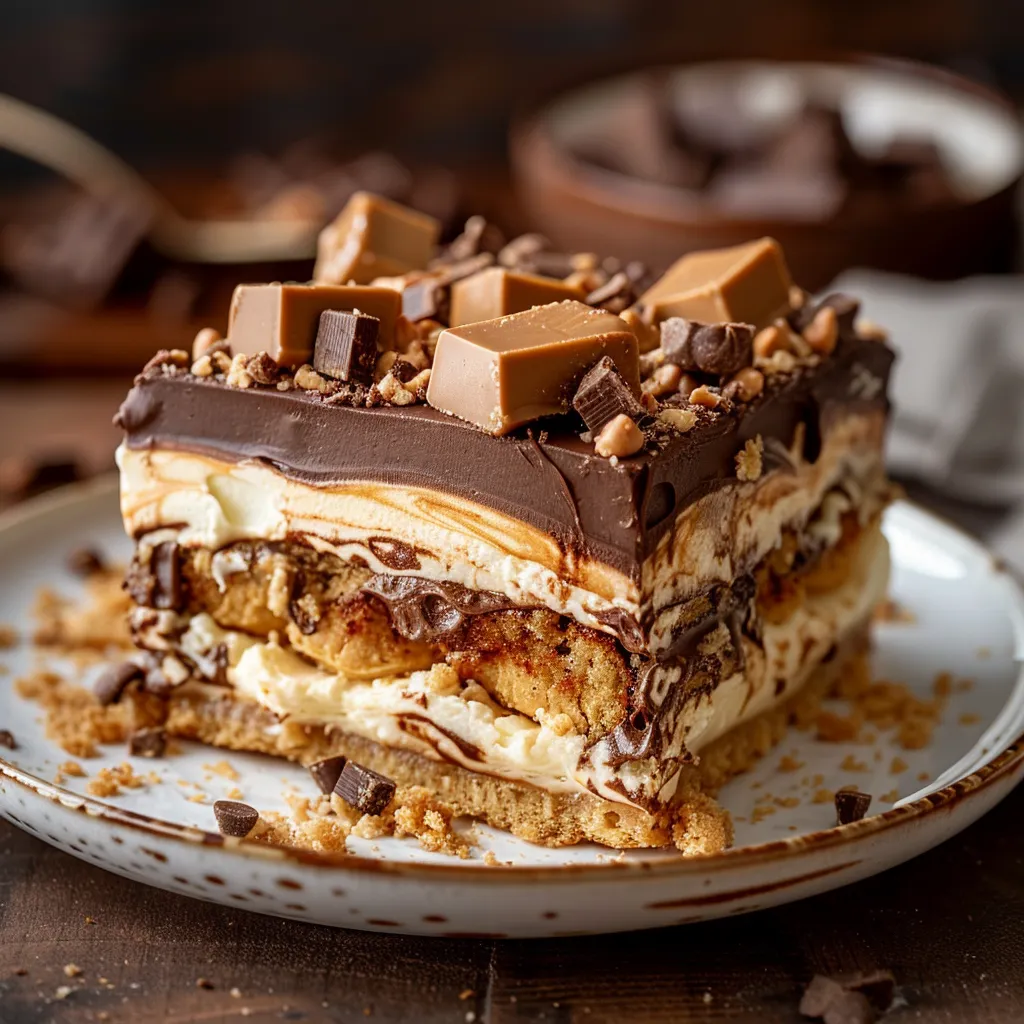
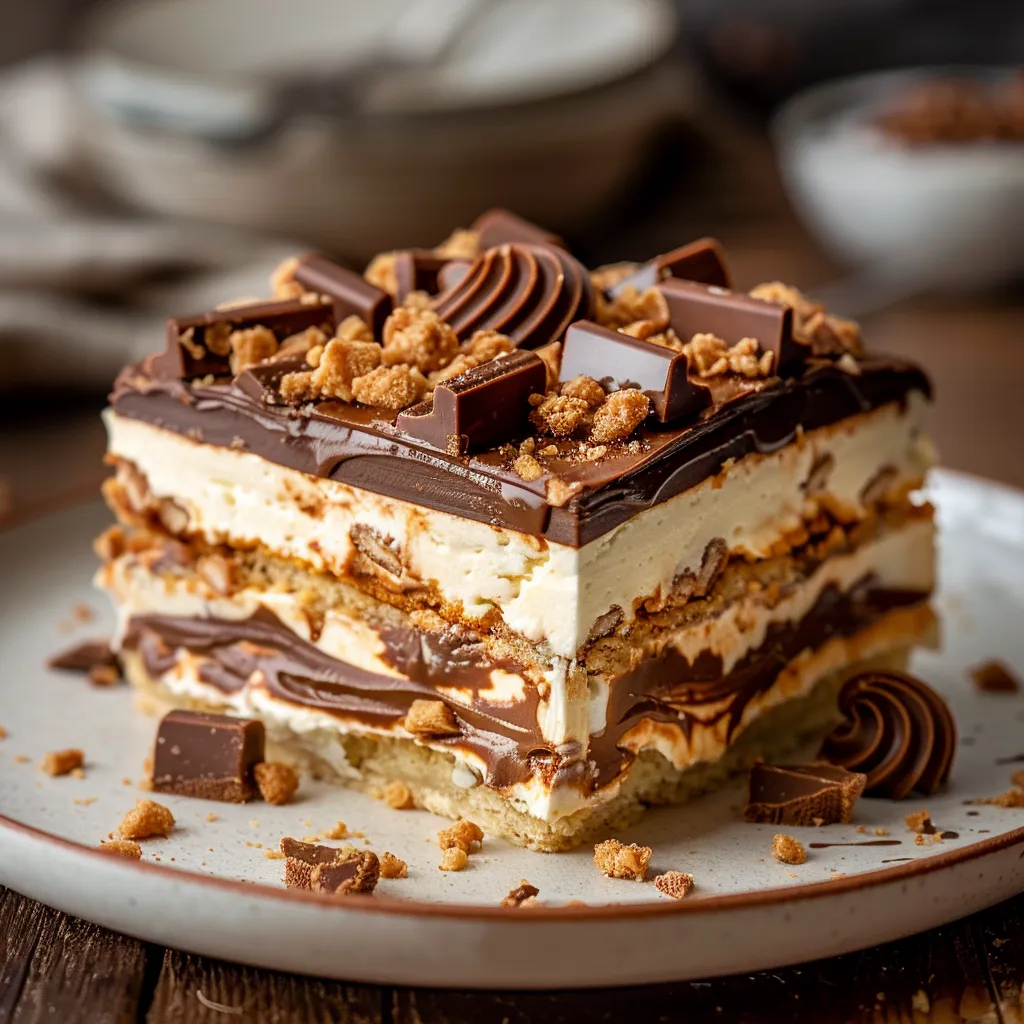
This no-bake peanut butter cup eclair cake has become my go-to summer dessert when I need something impressive without turning on the oven. The layers of chocolate graham crackers soften between creamy peanut butter pudding, creating a dessert that tastes like you spent hours in the kitchen.
I first made this for my nephew's birthday when it was too hot to bake, and now it's requested at every family gathering. The combination of chocolate and peanut butter never disappoints, especially when it's this effortless.
Ingredients
- Jello Instant Vanilla Pudding Mix: provides the perfect base for our peanut butter layer and sets up without cooking
- Whole milk: creates the richest pudding texture avoid using reduced fat versions
- Creamy peanut butter: choose a commercial brand like Jif or Skippy for the smoothest texture
- Frozen whipped topping: lightens the filling and creates that mousse like consistency
- Chocolate graham crackers: these soften into cake like layers as the dessert chills
- Mini peanut butter cups: add delightful peanut butter chocolate surprises throughout the cake
- Prepared chocolate frosting: creates an easy glossy topping that sets this apart from regular icebox cakes
Step-by-Step Instructions
- Prepare the Peanut Butter Filling:
- Beat the pudding mixes and milk with an electric mixer for a full 3 minutes until thickened. The mixture will seem thin at first but will gradually thicken as you beat. Next incorporate the peanut butter completely until no streaks remain. This creates your flavor base. Finally fold in the thawed whipped topping using gentle strokes to maintain the airiness.
- Create the First Layer:
- Arrange a single layer of chocolate graham crackers covering the bottom of your 9x13 pan completely. Break crackers as needed to fill gaps. Spread exactly half of your peanut butter pudding mixture evenly over the crackers. Use an offset spatula to create a smooth layer reaching all corners. Sprinkle 3/4 cup of halved peanut butter cups over this layer and gently press them into the pudding.
- Build the Middle Layer:
- Place another complete layer of graham crackers over the peanut butter cup layer. Apply firm but gentle pressure to secure them. Spread the remaining pudding mixture evenly over this second graham cracker layer ensuring it reaches the edges.
- Complete the Top Layer:
- Add the final layer of graham crackers pressing gently to adhere to the pudding below. Microwave the chocolate frosting for exactly 25 seconds until just pourable but not hot. Quickly spread the melted frosting across the entire top creating a smooth glossy finish. Before the frosting sets sprinkle the remaining peanut butter cups over the top.
- Chill and Serve:
- Cover the entire dessert with plastic wrap without touching the surface. Refrigerate for at least 8 hours or overnight. This resting time is crucial as it allows the crackers to soften and the flavors to meld perfectly.
 Pin it
My favorite part of this dessert is watching guests try to figure out how I transformed simple graham crackers into what tastes like layers of chocolate cake. My daughter always claims the corner pieces because she loves the extra frosting that collects there.
Serving Suggestions
This eclair cake is rich and satisfying on its own but can be elevated further with a scoop of vanilla ice cream on the side. The temperature contrast between the cold cake and melting ice cream creates a wonderful sensory experience. For special occasions drizzle individual servings with warm chocolate sauce or add a dollop of freshly whipped cream. I find this dessert pairs beautifully with coffee after dinner or with cold milk for an indulgent afternoon treat.
Storing Your Eclair Cake
The beauty of this dessert is that it actually improves over time in the refrigerator. Store covered with plastic wrap for up to 5 days though it rarely lasts that long in my house. The graham crackers continue to soften giving the most cakelike texture after about 24 hours. This cake does not freeze well as the texture of the whipped topping changes upon thawing resulting in a less desirable consistency. For best results enjoy it fresh from the refrigerator within the 5 day window.
Customization Options
While the classic recipe is perfect as is you can easily adapt it to suit different preferences or what you have on hand. Try using regular graham crackers with a tablespoon of cocoa added to the pudding mixture. Substitute almond butter or cookie butter for the peanut butter for those with peanut allergies. For extra indulgence mix in 1/2 cup of chocolate chips to the pudding mixture or sprinkle toffee bits between layers. During the holidays I sometimes add a teaspoon of peppermint extract to the pudding for a festive twist.
Kid Friendly Fun
This is the perfect recipe to make with children as it requires no hot oven or stovetop. Let kids help arrange the graham crackers or sprinkle the peanut butter cups on top. For birthday parties consider making individual servings in clear cups layering the ingredients in the same order for a beautiful presentation that requires no cutting. Children love seeing the layers through the cup and the individual portions make serving a breeze.
 Pin it
Frequently Asked Questions
- → Can I use a different type of graham cracker?
Yes, you can substitute regular graham crackers, chocolate wafers, or even digestive biscuits if desired. The flavor will vary slightly but still complement the other ingredients.
- → What can I use instead of Cool Whip?
If you prefer, you can use whipped cream as a substitute for Cool Whip. Simply whip heavy cream with a bit of sugar until stiff peaks form and use it in the recipe.
- → How long should I refrigerate before serving?
The cake needs to chill for at least 8 hours to allow the layers to set properly and the flavors to blend together.
- → Can I make this dessert ahead of time?
Absolutely! This dessert can be prepared a day in advance, making it a great make-ahead option for gatherings or special occasions.
- → Can I freeze leftovers?
Yes, you can freeze leftovers in an airtight container. Thaw in the refrigerator for a few hours before serving for the best texture and flavor.
- → How do I melt the frosting evenly?
To melt the frosting, microwave it for 20-25 seconds and stir until smooth. Be sure not to overheat to avoid separating or burning.