
 Pin it
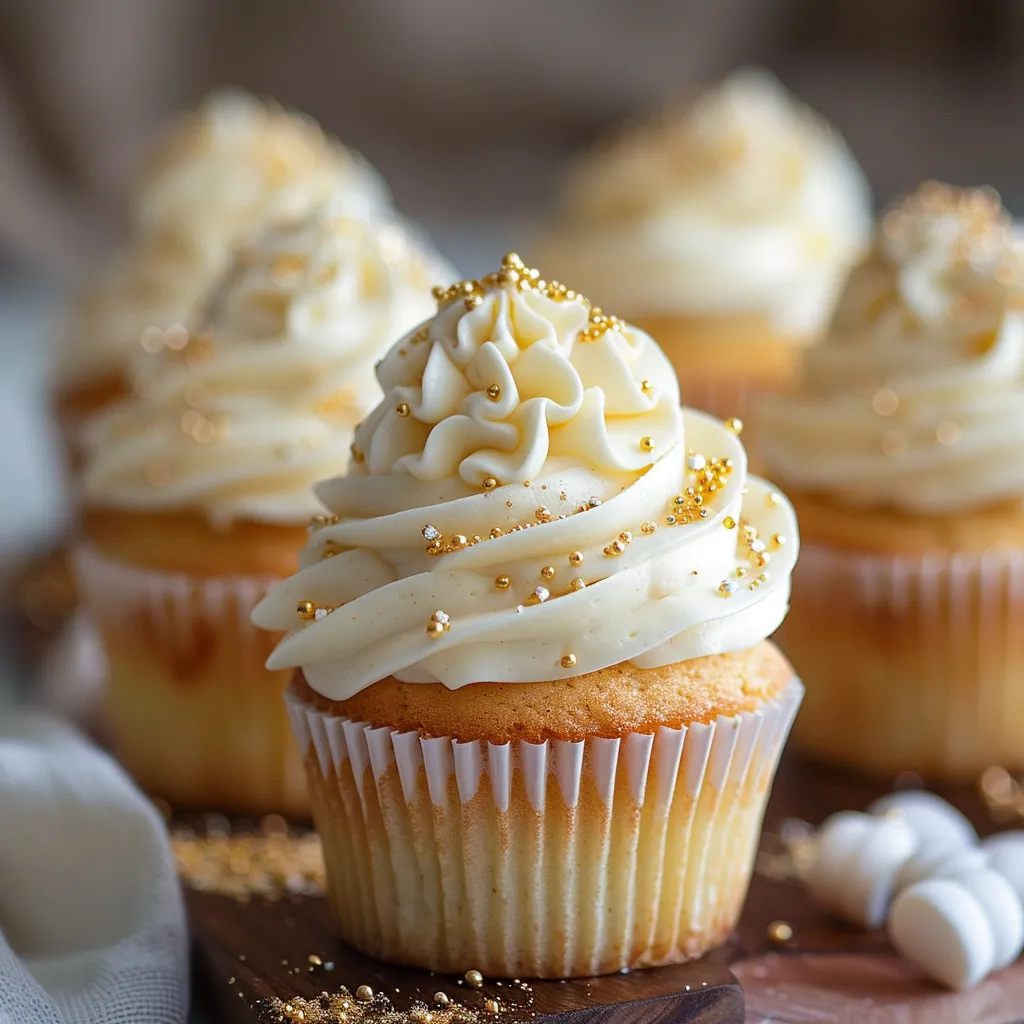
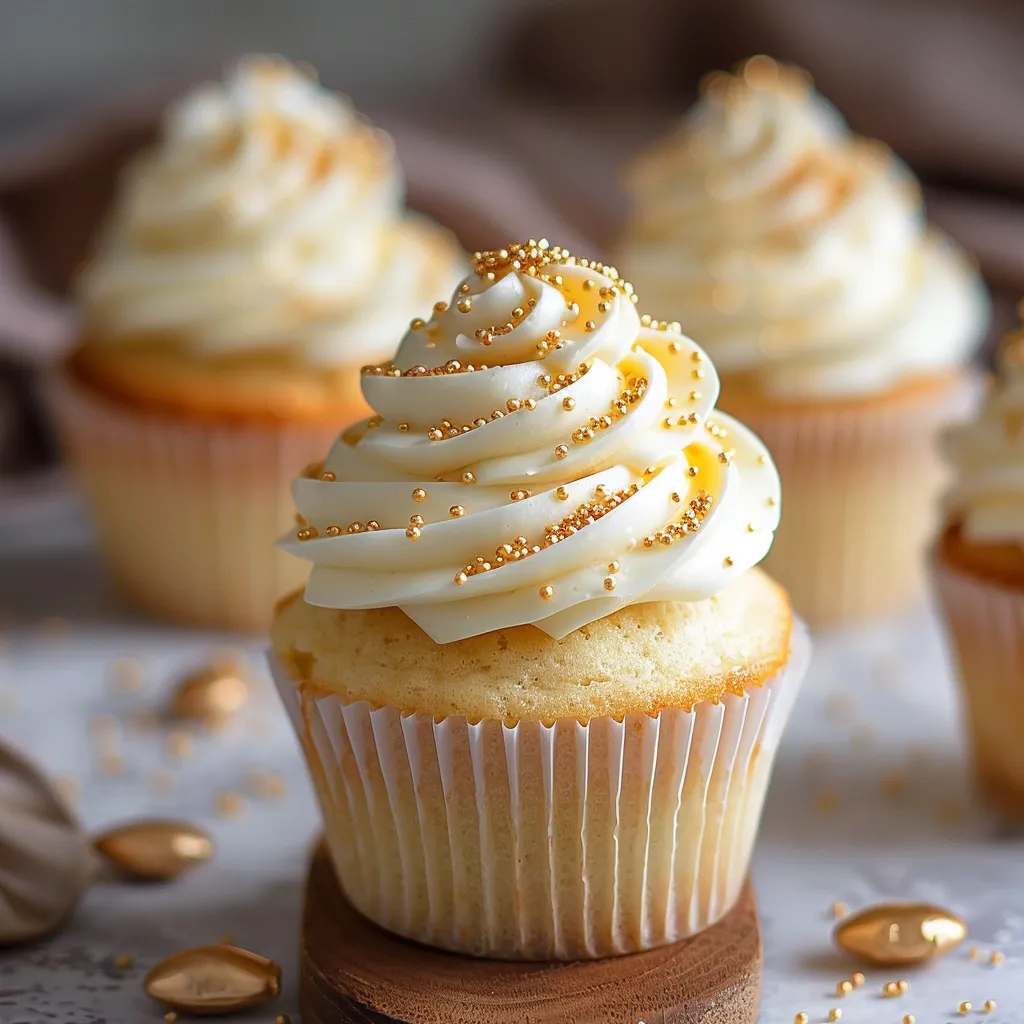
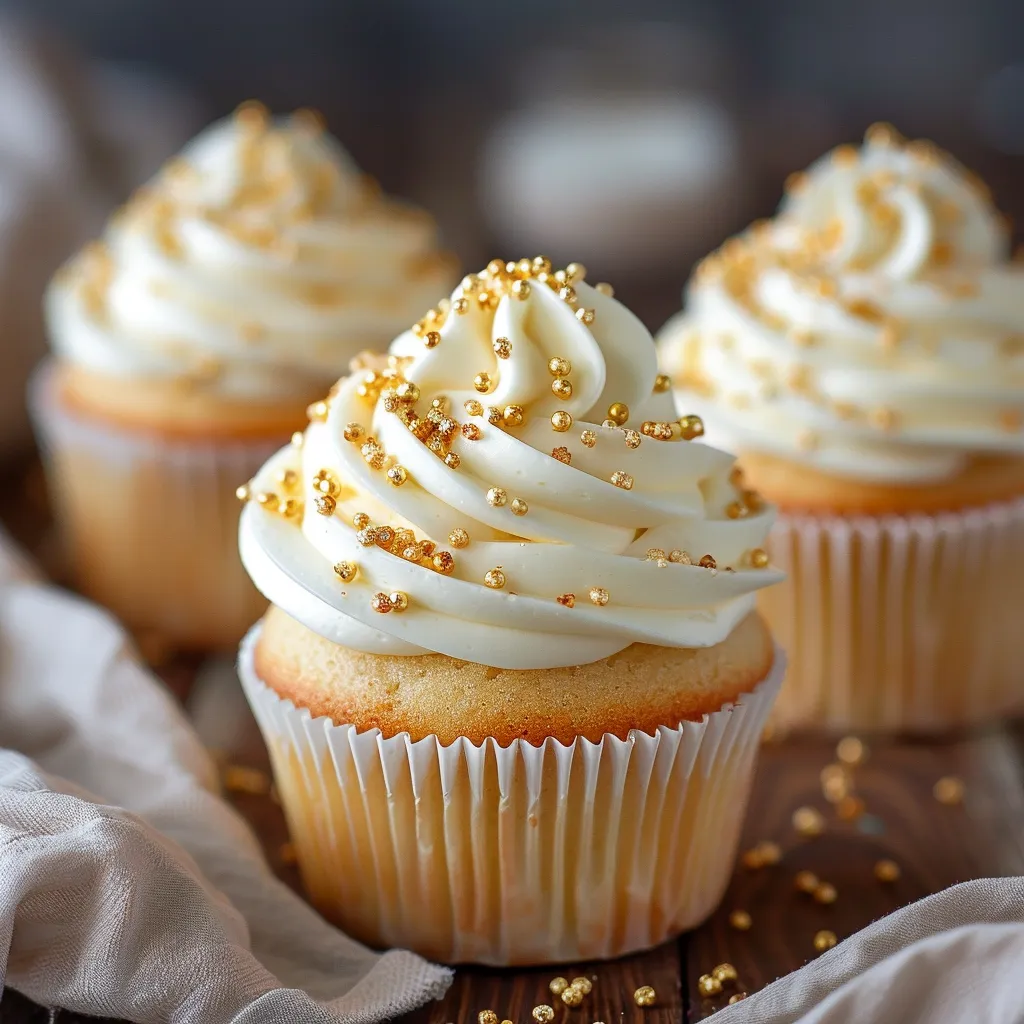
Vanilla bean cupcakes deliver pure, unadulterated joy in every tender, fragrant bite. These light, fluffy confections showcase the complex flavor of real vanilla beans against a backdrop of buttery, melt-in-your-mouth cake. Topped with silky meringue frosting that holds beautiful peaks and swirls, these cupcakes transform an ordinary day into a celebration or elevate any special occasion to memorable heights.
I discovered this recipe after years of disappointment with vanilla cupcakes that were either too dense, too dry, or lacking in real vanilla flavor. After countless test batches and adjustments, these became my signature dessert. When I brought them to my daughter's school bake sale, they sold out within minutes, and three different parents requested the recipe. There's something about the perfect vanilla cupcake that appeals to everyone.
Essential Cupcake Ingredients
- Self-rising flour: Creates consistent lift throughout
- All-purpose flour: Provides necessary structure
- Unsalted butter: Delivers rich, clean flavor
- Granulated sugar: Sweetens perfectly without heaviness
- Farm fresh eggs: Bind ingredients while adding richness
- Tangy buttermilk: Creates tender crumb structure
- Sour cream: Adds moistness without excess liquid
- Vanilla bean paste: Provides concentrated flavor with visible specks
Perfect Frosting Components
- Unsalted butter: Forms creamy frosting foundation
- Powdered sugar: Creates sweetness with stability
- Fine sea salt: Balances sweetness perfectly
- Pure vanilla extract: Enhances flavor profile
- Meringue powder: Creates wonderful stability
- Cold milk: Adjusts consistency as needed
Perfect Preparation
- Ingredient Temperature:
- Begin with butter and eggs at room temperature, approximately 65°F. This critical step ensures proper creaming and incorporation of air into the batter, which directly affects the cupcake's final texture. Remove ingredients from the refrigerator at least 45 minutes before beginning.
- Proper Mixing:
- Whisk both flours together thoroughly in a separate bowl to ensure even distribution of leavening agents. In another bowl, combine buttermilk and sour cream until completely smooth, eliminating any potential pockets of tangy dairy that could create inconsistent flavor.
- Butter Creaming:
- Using the paddle attachment of a stand mixer, cream butter at medium speed until completely smooth, approximately one minute. This initial beating creates a homogeneous base before adding sugar. Scrape down bowl sides and bottom to ensure no butter lumps remain.
- Sugar Incorporation:
- Add sugar gradually to creamed butter, approximately one third at a time, beating thoroughly between additions until mixture becomes notably lighter in both color and texture. This crucial step incorporates air that helps cupcakes rise properly and creates their tender structure.
- Egg Addition:
- Add eggs individually, mixing approximately 30 seconds after each addition until completely incorporated. This methodical approach prevents the batter from curdling or separating. The mixture should remain smooth and emulsified throughout the process.
- Flavor Foundation:
- Add vanilla bean paste and mix until completely distributed throughout the batter. The paste provides superior flavor with beautiful visual appeal from tiny black vanilla bean specks visible in the finished cupcakes.
- Alternating Additions:
- Add dry ingredients and buttermilk mixture in alternating portions, beginning and ending with dry ingredients (three additions of dry, two of wet). Mix at low speed just until incorporated, stopping to scrape the bowl between additions. This technique prevents overworking the gluten while ensuring even distribution.
- Careful Portioning:
- Fill cupcake liners three-quarters full using a cookie scoop or measuring cup for consistency. This precise amount allows proper rise without overflow and ensures even baking throughout all cupcakes.
- Optimal Baking:
- Place cupcakes in the center rack of a preheated oven. Avoid opening the oven during the first 15 minutes when structure is developing. Test doneness with a wooden toothpick inserted in the center, looking for a few moist crumbs rather than completely clean or wet batter.
- Proper Cooling:
- Allow cupcakes to cool in the pan for exactly ten minutes before transferring to a wire rack. This brief resting period allows the structure to set while preventing condensation from forming on the bottom, which would create sogginess.
- Frosting Perfection:
- Beat butter for frosting until extremely light in both color and texture, a full three to four minutes. This extended beating creates the foundation for silky smooth frosting. Add remaining ingredients and continue beating until frosting holds soft peaks while remaining smooth and pipeable.
 Pin it
I particularly love serving these cupcakes at milestone celebrations where their classic elegance fits perfectly. My grandmother, who rarely baked in her later years, requested the recipe after tasting them at a family gathering. She said they reminded her of the vanilla cupcakes she made decades ago when real vanilla was the only option. Something about that pure, clean flavor brings joy and nostalgia with every bite.
Perfect Presentation Ideas
Display these beautiful cupcakes on a tiered stand for elegant occasions, with fresh flowers between levels for added visual impact. For children's birthdays, top with colorful sprinkles or tiny candy decorations. Create wedding or shower cupcakes by adding pearl sprinkles or edible gold leaf for sophisticated appeal. For holiday gatherings, adapt decorations to seasonal colors with coordinating cupcake liners.
Creative Variations
Transform these classic vanilla cupcakes by folding colorful sprinkles into the batter for festive funfetti cupcakes. Create filled versions by coring cooled cupcakes and adding raspberry jam, lemon curd, or chocolate ganache before frosting. Adapt the frosting by adding different extracts like almond, lemon, or coconut for complementary flavor profiles while maintaining the vanilla cake base.
Storage Solutions
Store frosted cupcakes in a tall, airtight container at room temperature for up to two days, keeping them away from direct sunlight or heat sources. For longer storage, refrigerate for up to five days, but allow to come to room temperature before serving for best flavor and texture. Unfrosted cupcakes can be frozen for up to one month when wrapped individually in plastic wrap and stored in freezer bags.
 Pin it
Frequently Asked Questions
- → What is vanilla bean paste and can I substitute it?
- Vanilla bean paste is a concentrated form of vanilla extract that contains vanilla bean seeds, giving you those classic specks in your baked goods. If you can't find it, you can substitute with an equal amount of vanilla extract, though you'll lose the visible specks. For a more authentic substitute, split a vanilla bean and scrape the seeds into 1 tablespoon of vanilla extract.
- → What does meringue powder do in the frosting?
- Meringue powder helps create a light, airy texture in the frosting while also adding stability so it holds its shape when piped. It gives the frosting a silky smooth consistency that's perfect for decorating. If you don't have meringue powder, you can omit it, though your frosting may be slightly less stable for intricate piping.
- → Can I make these cupcakes ahead of time?
- Yes! The unfrosted cupcakes can be made 1-2 days ahead and stored in an airtight container at room temperature. They can also be frozen for up to one month. The frosting can be made a day ahead and refrigerated - just bring it to room temperature and re-whip before using. Fully frosted cupcakes are best enjoyed within 2 days.
- → I don't have self-rising flour. Can I still make these cupcakes?
- Absolutely! To make your own self-rising flour, for each cup needed, combine 1 cup all-purpose flour with 1 1/2 teaspoons baking powder and 1/4 teaspoon salt. So for this recipe, you'd need 1 1/2 cups all-purpose flour plus 2 1/4 teaspoons baking powder and 3/8 teaspoon salt to replace the self-rising flour.
- → How do I know when the cupcakes are done baking?
- The cupcakes are done when a toothpick or cake tester inserted into the center comes out clean or with just a few crumbs attached. The tops should spring back when lightly touched, and the edges should be just starting to turn golden. Be careful not to overbake, as this can dry out your cupcakes.