 Pin it
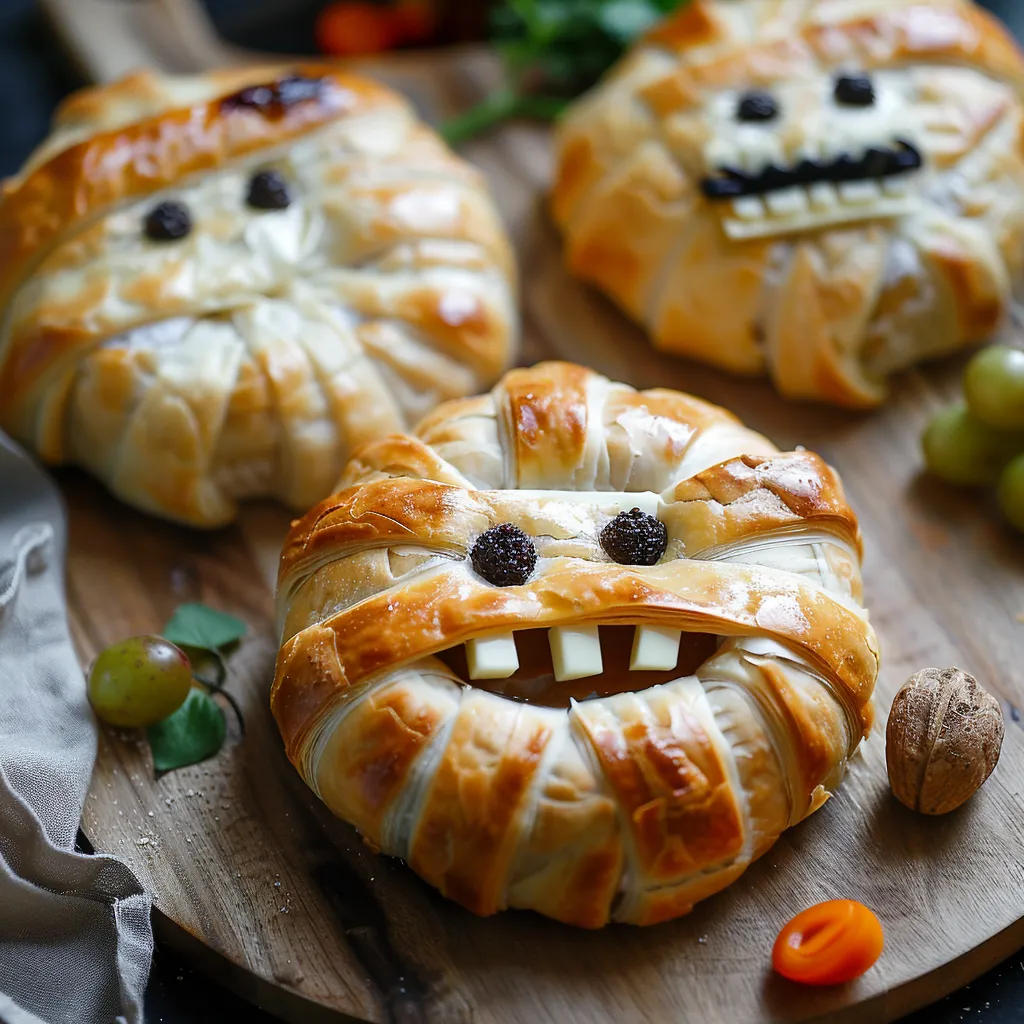
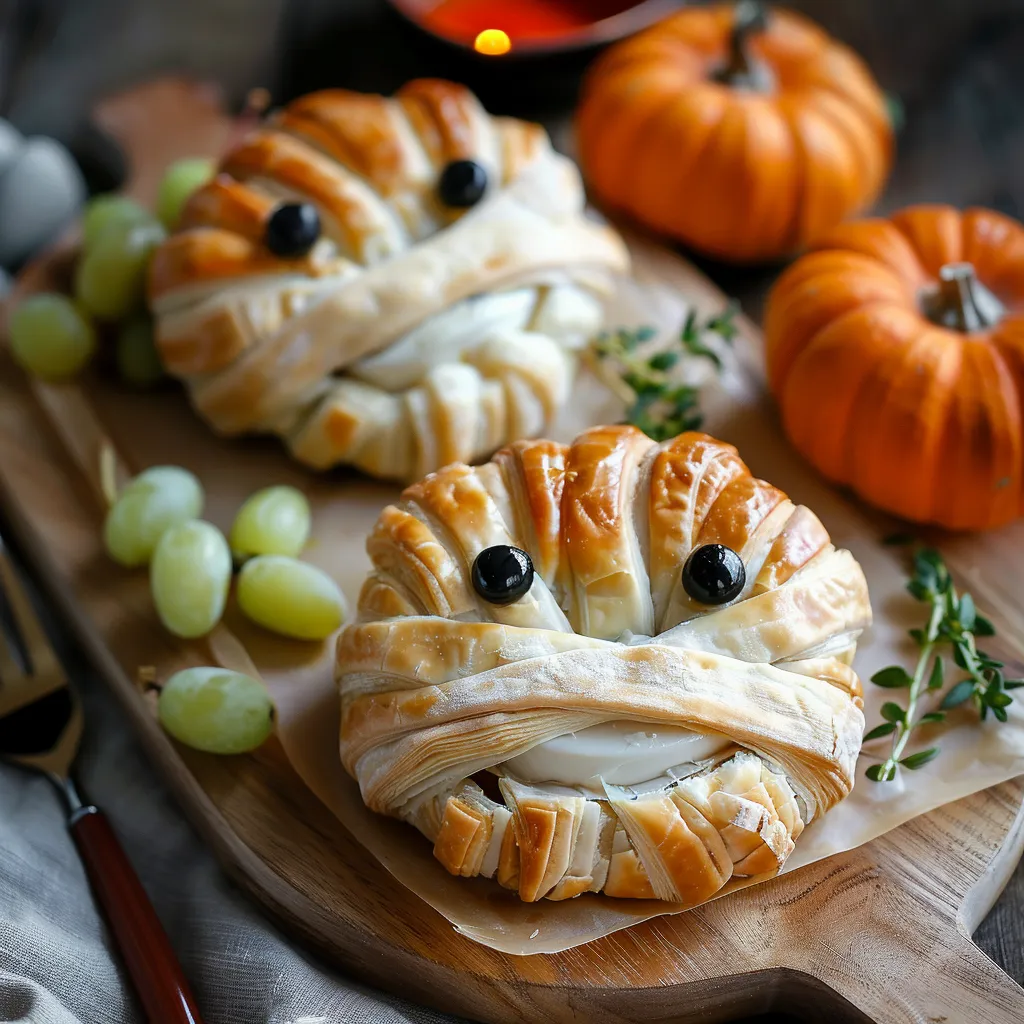
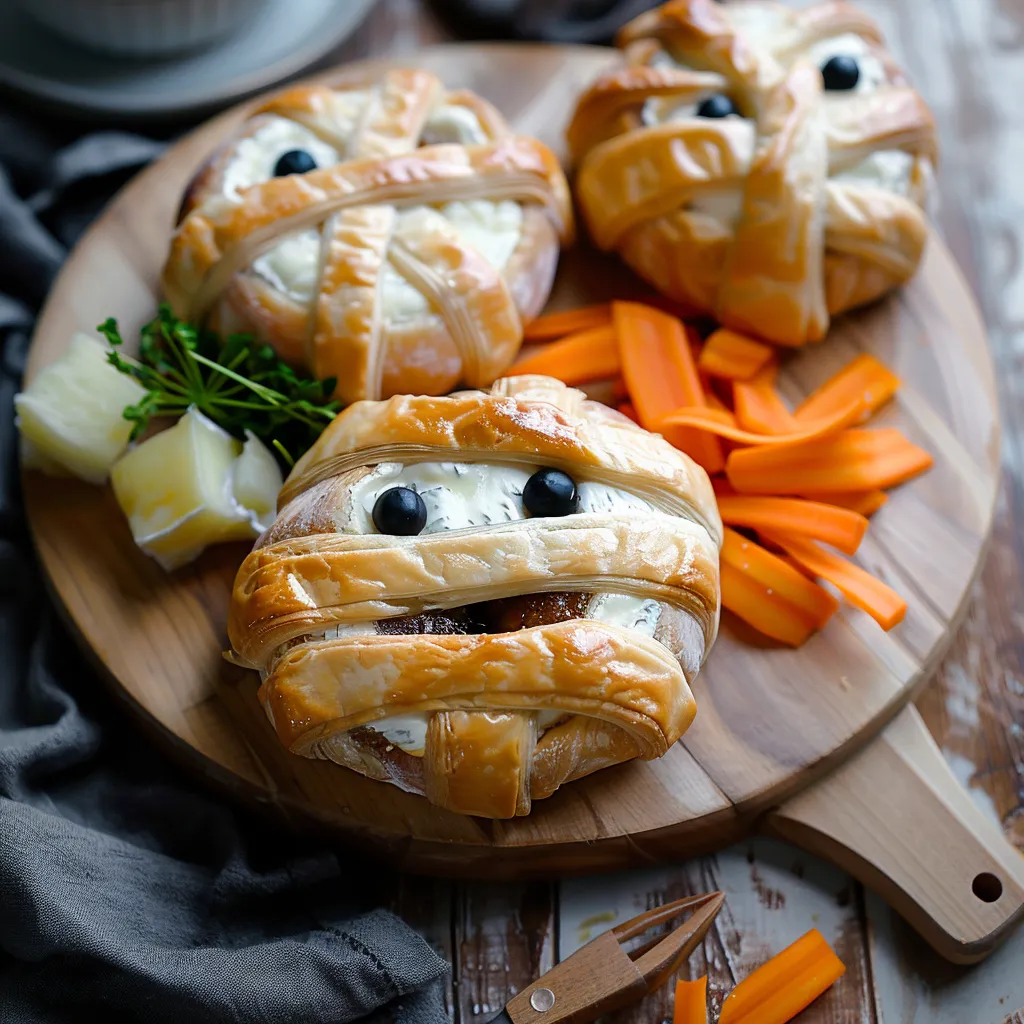
Puff pastry wrapped mummy brie combines creamy cheese with seasonal flavors inside a golden, flaky crust for a Halloween appetizer that's as delicious as it is adorable. The warmth from the oven transforms ordinary brie into a gooey, molten center that perfectly contrasts with the crisp pastry. With its festive appearance and crowd-pleasing taste, this spooky cheese creation becomes the centerpiece of any Halloween gathering.
I first made this festive appetizer for a neighborhood Halloween party several years ago, and it's been requested every October since. There's something magical about watching guests' faces light up when they see the adorable mummy design, and then again when they taste the delicious combination of warm cheese and sweet filling. Even my cheese-skeptical nephew devoured multiple servings, proving that sometimes presentation really does enhance flavor!
Must-Have Ingredients
- Whole brie wheel: Provides perfect melting consistency
- Apple butter: Adds seasonal sweetness with spice notes
- Puff pastry: Creates flaky, golden mummy wrappings
- Fresh egg: Delivers golden shine through proper egg wash
- Red bell pepper pieces: Forms perfect mummy eyes
- Black olive slices: Creates spooky pupil details
- Crisp green apple slices: Offers refreshing serving option
- Assorted crackers: Provides sturdy dipping vessels
Perfect Preparation
- Brie Preparation:
- Begin with cold but not frozen brie, which maintains its shape during cutting. Using a sharp serrated knife, carefully cut a shallow circle around the top rind, approximately one-eighth inch deep. Gently remove this top section of rind while leaving the sides and bottom intact. This technique allows for filling insertion while maintaining the cheese's structural integrity during baking.
- Flavor Infusion:
- Spoon apple butter or your chosen preserves directly onto the exposed cheese surface. Spread evenly, leaving a slight border around the edge to prevent overflow during baking. For maximum flavor penetration, make small incisions in the exposed cheese surface before adding preserves. Replace the removed rind section over the filling, pressing gently to seal.
- Pastry Preparation:
- Working quickly to keep the pastry cold, unfold the thawed puff pastry sheet onto a lightly floured surface. Using a sharp knife or pizza cutter, create approximately eight strips of varying widths for authentic mummy wrapping appearance. Thinner strips work best around the curved sides, while slightly wider strips work well across the top and bottom.
- Mummy Construction:
- Place the filled brie in the center of a parchment-lined baking sheet. Begin wrapping pastry strips around the cheese wheel, leaving small gaps between strips to allow steam to escape and create the characteristic mummy bandage appearance. Ensure some strips cross over others for dimensional effect. Tuck the ends underneath the cheese to secure them.
- Facial Features:
- Position two small pieces of red bell pepper or mini pepperoni on the top surface to create eye sockets. Place sliced black olives over these pieces to create pupils, completing the spooky mummy face. These features should be positioned slightly off-center for a more whimsical, authentic look.
- Finishing Touch:
- Brush the entire pastry surface with beaten egg using a pastry brush, ensuring all exposed areas are covered for even browning. Be careful not to saturate the pastry, which could prevent proper rise. If the wrapped cheese feels soft or warm, refrigerate for five to ten minutes before baking to ensure optimal puff pastry performance.
- Perfect Baking:
- Place in a preheated oven on the middle rack to ensure even heat distribution. Bake until the pastry turns golden brown and crispy, approximately fifteen to eighteen minutes. Watch carefully during the final few minutes as browning can happen quickly. The cheese inside should be soft and yielding when gently pressed, indicating proper melting.
- Proper Resting:
- Allow the baked mummy brie to rest for five minutes before serving. This brief cooling period allows the molten cheese to slightly set while remaining wonderfully gooey. It also prevents burning when eager guests take their first bite. Transfer carefully to a serving platter surrounded by accompaniments.
 Pin it
I particularly enjoy the versatility of this festive appetizer. When entertaining adult guests, I often use fig preserves spiked with a splash of bourbon for sophisticated flavor. For family gatherings with children, apple butter provides familiar comfort with seasonal appeal. My sister, who typically avoids rich appetizers, always makes an exception for this mummy brie, claiming that the flaky pastry balances the cheese perfectly.
Serving Suggestions
Arrange this adorable mummy on a wooden board surrounded by sliced apples, pears, and assorted crackers for a stunning presentation. Include small clusters of grapes and scattered nuts to create a complete cheese board experience. For added elegance, place small sprigs of fresh rosemary around the platter and provide a small pot of honey with a dipper for guests who enjoy additional sweetness.
Creative Variations
Transform this Halloween appetizer by experimenting with different fillings such as caramelized onions with thyme for savory sophistication or cranberry sauce with orange zest for holiday flavor. Create a spicier version using pepper jelly or hot honey for adventurous palates. For chocolate lovers, try a dessert version using chocolate hazelnut spread inside the brie and serve with strawberries and graham crackers.
Make-Ahead Solutions
Prepare this festive appetizer up to one day ahead by completing all assembly steps through wrapping. Cover loosely with plastic wrap and refrigerate. Apply egg wash just before baking for freshest results. Alternatively, freeze the fully assembled unbaked mummy for up to one month. When ready to serve, brush with egg wash and bake directly from frozen, adding approximately five additional minutes to the baking time.
 Pin it
The beauty of this puff pastry wrapped mummy brie lies in its perfect balance of impressive presentation and straightforward preparation. While guests marvel at its adorable appearance, you'll appreciate how simple it was to create. I love appetizers that allow for conversation and connection rather than keeping me stuck in the kitchen, and this festive cheese delivers exactly that while bringing smiles to everyone who sees it. Halloween entertaining doesn't get more deliciously spooky than this!
Frequently Asked Questions
- → Can I prepare this mummy brie ahead of time?
- Yes, you can assemble the mummy brie up to 24 hours ahead of time. Prepare it as directed, but instead of baking, cover it loosely with plastic wrap and refrigerate. When ready to serve, brush with egg wash and bake as directed, adding 2-3 extra minutes to the baking time since it will be cold from the refrigerator.
- → What's the best way to serve baked brie?
- Baked brie is best served warm when the cheese is still gooey inside. Serve it immediately after baking with sliced green apples, crackers, crostini, or even pretzel sticks. If you're making a cheese board, place the baked mummy brie as the centerpiece and arrange the accompaniments around it.
- → Can I use a different type of cheese?
- While brie is traditional for this recipe, you could substitute camembert which has a similar texture and will bake similarly. For a stronger flavor, try a wheel of goat cheese, though it won't melt quite the same way. Whatever cheese you choose, make sure it comes in a wheel with a rind to help maintain its shape during baking.
- → What other fillings work well with baked brie?
- Besides apple or pumpkin butter, you can use a variety of preserves or jams like raspberry, apricot, fig, or cranberry. Honey mixed with chopped nuts (like walnuts or pecans) and a sprinkle of cinnamon also works beautifully. For a savory version, try caramelized onions or a spoonful of pesto.
- → How do I know when the baked brie is done?
- The baked brie is done when the puff pastry is golden brown and fully cooked, usually after 15-18 minutes at 400°F. If you gently press the center of the brie, it should feel soft and yielding, indicating that the cheese inside has melted. Let it rest for 5 minutes before serving to prevent it from being too runny.
