
 Pin it
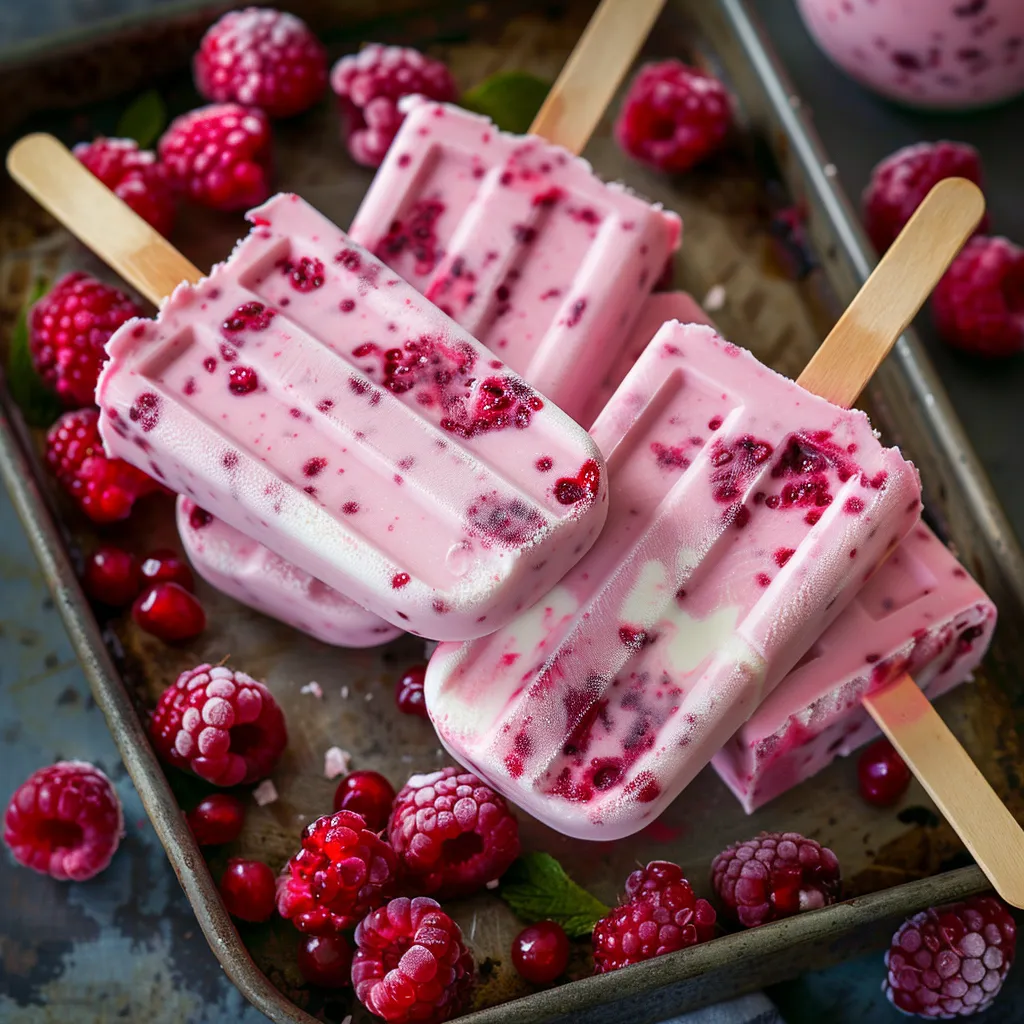
Raspberry cream Greek yogurt pops transform simple ingredients into a refreshing summer treat that satisfies sweet cravings while providing nutritional benefits. These vibrant frozen desserts balance the tanginess of Greek yogurt with sweet raspberries and a touch of cream for indulgent texture. Perfect for hot afternoons or as a lighter dessert option, these pops bring joy with every bite.
I first made these yogurt pops during a particularly hot summer when my children were constantly asking for frozen treats. Looking for healthier alternatives to store-bought options, I experimented with this combination and watched them disappear within minutes of serving. Now they've become our summer tradition, with everyone gathering around to help make a fresh batch each weekend.
Enhanced Ingredients List
- Fresh or frozen raspberries: Provide vibrant color and natural sweetness
- Granulated sugar: Enhances fruit flavor and balances tartness
- Vanilla Greek yogurt: Adds protein and creamy consistency
- Heavy cream: Creates rich, smooth texture
- Fresh lemon juice: Brightens the overall flavor
- Lemon zest: Enhances citrus notes
- Pure vanilla extract: Adds depth to the flavor profile
- Honey: Provides natural sweetness and smooth mouthfeel
- Sea salt: Enhances all flavors
- Fresh mint leaves (optional): Adds refreshing herbal notes
- White chocolate chips (optional): Introduces a hint of sweetness and texture
- Almond extract: Complements the raspberry flavor beautifully
- Crushed freeze-dried raspberries: Intensifies berry flavor and provides texture
Perfect Preparation
- Berry Preparation:
- Begin with fresh or frozen raspberries in a medium mixing bowl. If using frozen berries, allow them to thaw slightly for easier mashing. Add two tablespoons of sugar, lemon juice, and lemon zest, then gently stir to coat all berries. This macerating step draws out natural juices and intensifies flavor while softening berries for easier mashing.
- Creating Texture:
- After allowing berries to sit with sugar for approximately five minutes, use a fork to mash them to your desired consistency. Some prefer leaving small chunks of fruit for textural interest, while others may want a smoother puree. Either approach works beautifully in the finished pops.
- Creamy Foundation:
- In a separate bowl, combine vanilla Greek yogurt with remaining sugar, heavy cream, vanilla extract, almond extract, honey, and a pinch of salt. Whisk thoroughly until sugar completely dissolves, creating a smooth, sweet base. The heavy cream enriches the yogurt, preventing icy texture while adding richness that balances the natural tanginess of Greek yogurt.
- Artistic Swirling:
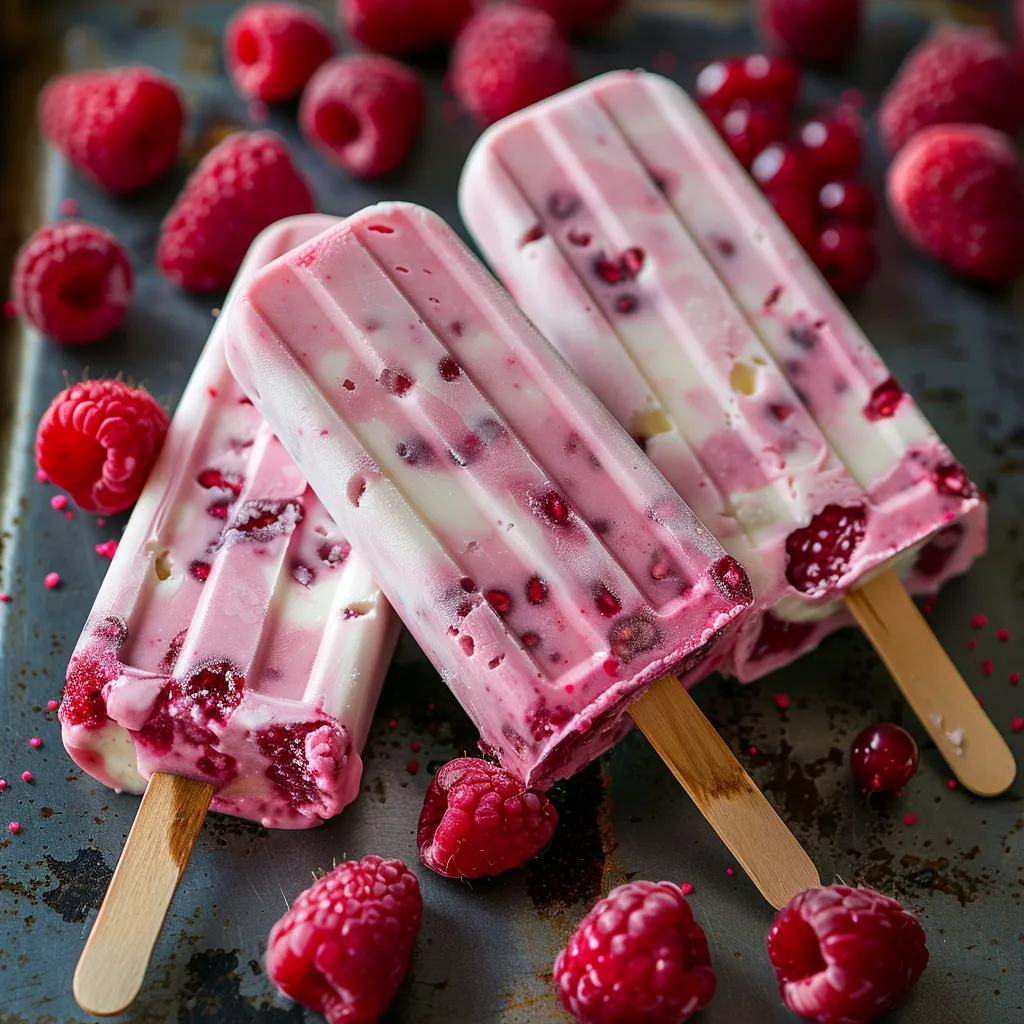
- For visually stunning pops with pockets of distinct flavor, gently fold the mashed raspberry mixture into the yogurt mixture using a rubber spatula. If using, add the chopped mint leaves and white chocolate chips at this stage. Use just a few strokes to create beautiful raspberry swirls throughout the creamy base. For consistent flavor in every bite, continue folding until fully incorporated.
- Proper Freezing:
- Carefully pour the mixture into popsicle molds, leaving small space at the top for expansion during freezing. Sprinkle some crushed freeze-dried raspberries into each mold for extra texture and concentrated raspberry flavor. Insert popsicle sticks and ensure they stand straight. If your molds don't include built-in stick holders, cover with foil and insert sticks through small slits, then freeze for minimum four hours until completely solid.
- Perfect Unmolding:
- When ready to serve, run the outside of popsicle molds briefly under warm water for fifteen to twenty seconds. This slightly melts the outer layer, allowing pops to release easily without breaking. Pull gently from the stick rather than forcing, which can cause pops to break in half.
 Pin it
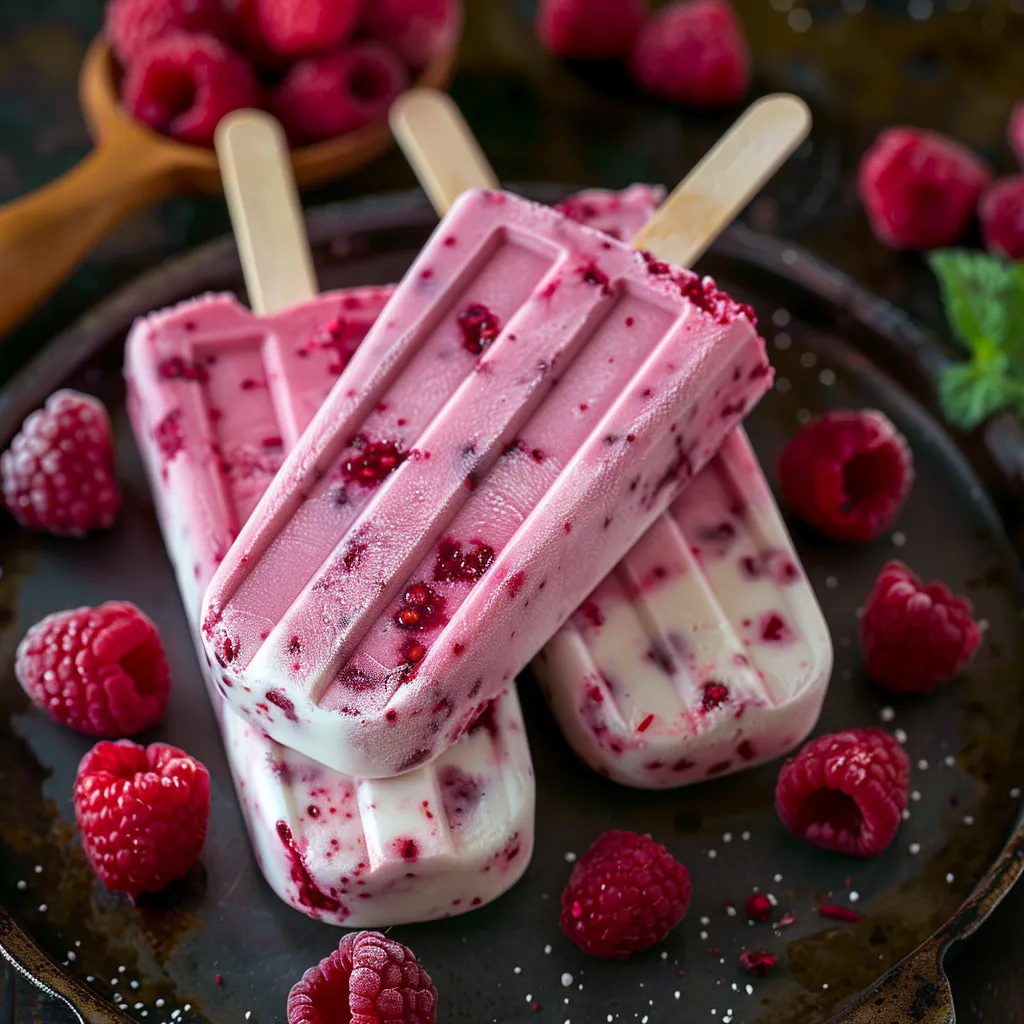
I particularly love serving these pops when entertaining friends during summer gatherings. Their beautiful pink color adds visual appeal to any dessert table, while their healthier profile means everyone can indulge without guilt. My neighbor's daughter who typically avoids dairy products makes an exception for these treats, claiming they're 'too good to miss' despite her usual restrictions.
Creative Serving Ideas
Serve these colorful pops on a platter with fresh berries scattered around for casual summer gatherings. For children's parties, place unwrapped pops in colorful cups filled with additional berries or sprinkles to catch drips and add festive presentation. Create an elevated dessert by serving half pops in champagne flutes with sparkling wine poured over for adults at sophisticated events. For an interactive dessert bar, offer dipping options like melted white chocolate, chopped nuts, and toasted coconut flakes.
Delicious Variations
Transform this recipe by substituting different berries such as blueberries, blackberries, or strawberries for unique color and flavor combinations. Create tropical versions using mango and pineapple with coconut yogurt for vacation-inspired treats. For chocolate lovers, add mini chocolate chips to the yogurt base or drizzle finished pops with melted dark chocolate that hardens upon contact with the frozen surface. Try a sophisticated version with cardamom, cinnamon and vanilla bean seeds for a more complex flavor profile.
Practical Storage Insights
Store unmolded pops wrapped individually in parchment paper then placed in freezer bags to prevent frost formation. This method allows for easy grabbing of single servings without exposing all pops to temperature fluctuations. For neatest storage, stand wrapped pops upright in a container tall enough to protect their shape. Properly stored, these pops will maintain best quality for up to two months, though they rarely last that long in most households!
 Pin it
The beauty of these raspberry cream Greek yogurt pops lies in their simplicity and versatility. They transform ordinary ingredients into something special while providing a better-for-you alternative to commercially produced frozen treats. I find there's something deeply satisfying about opening the freezer on a hot summer day and finding these homemade treasures waiting, knowing exactly what went into them and that they were made with care and love.
Frequently Asked Questions
- → Can I use other berries instead of raspberries?
- Absolutely! This recipe works beautifully with strawberries, blueberries, blackberries, or a mixed berry blend. Just keep the same measurements and preparation method. Strawberries may need to be chopped into smaller pieces before mashing.
- → Can I make these dairy-free?
- Yes, you can adapt this recipe to be dairy-free by using dairy-free vanilla yogurt (such as coconut, almond, or soy-based) and substituting the heavy cream with full-fat coconut milk or coconut cream for richness.
- → How long do these yogurt pops last in the freezer?
- These homemade yogurt pops can be stored in the freezer for up to 2 months if kept in an airtight container or wrapped individually in plastic wrap after removing from the molds. For best texture and flavor, enjoy within 3-4 weeks.
- → Can I use honey or maple syrup instead of sugar?
- Yes, you can substitute the granulated sugar with honey or maple syrup for a natural sweetener alternative. Use about 3 tablespoons of honey or maple syrup in the yogurt mixture and 1-2 tablespoons for the raspberries, adjusting to taste.
- → What if I don't have popsicle molds?
- No popsicle molds? No problem! You can use small paper cups as makeshift molds. Fill them with the yogurt mixture, cover the tops with aluminum foil, and insert popsicle sticks or wooden craft sticks through the foil to hold them in place while freezing.