
 Pin it
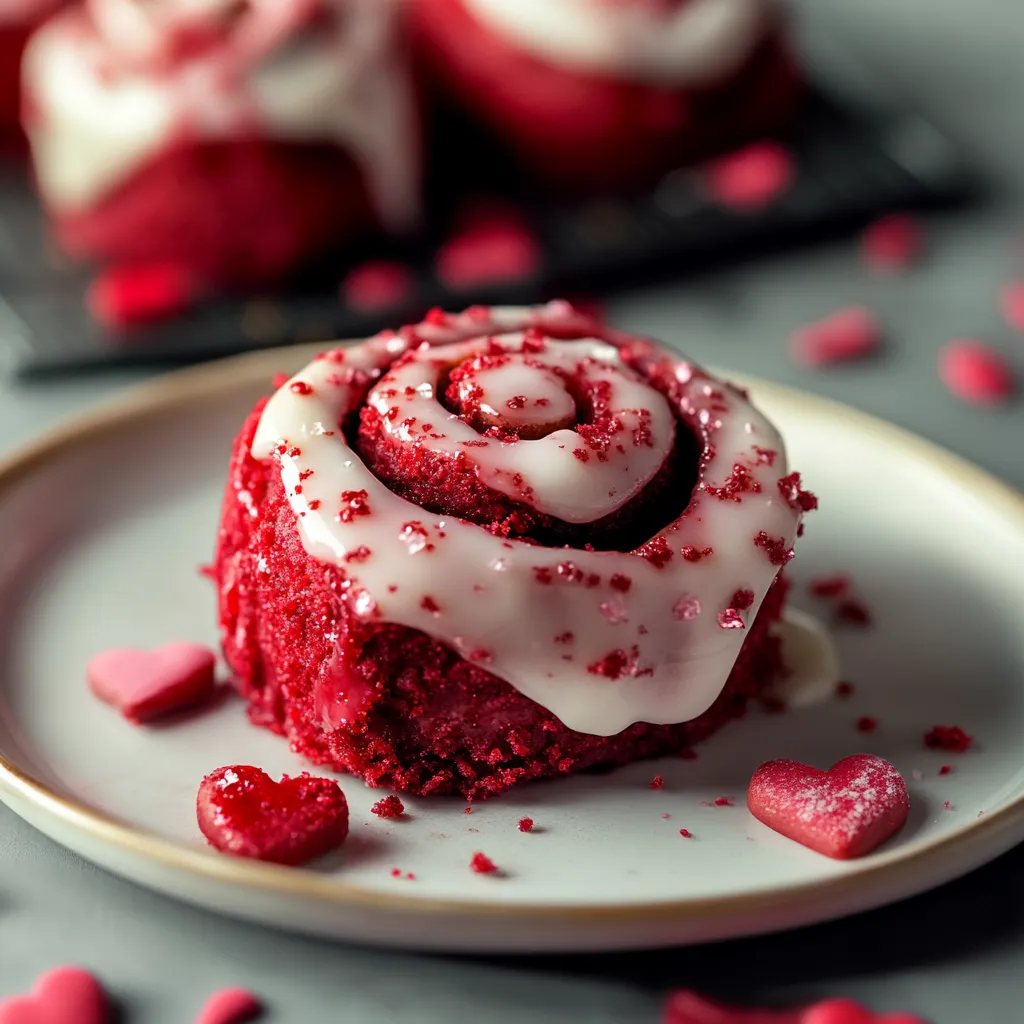
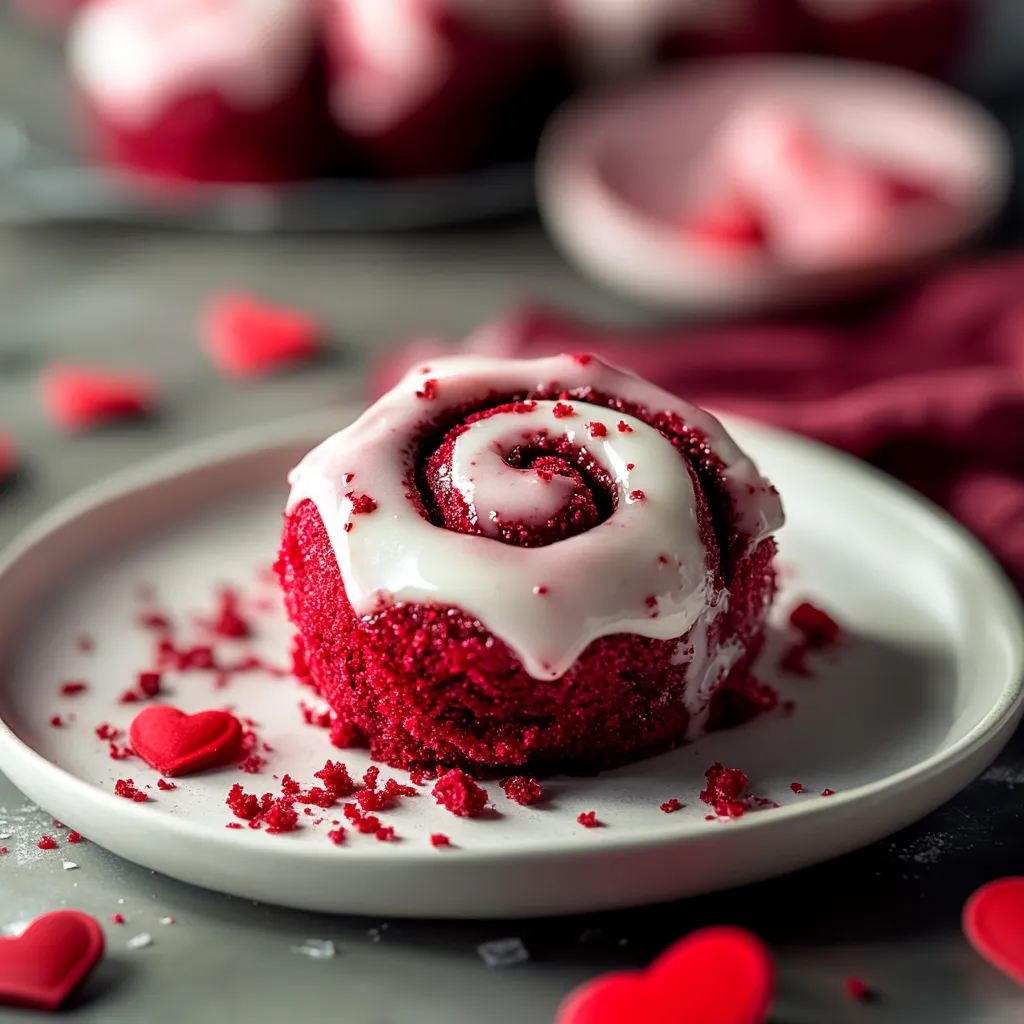
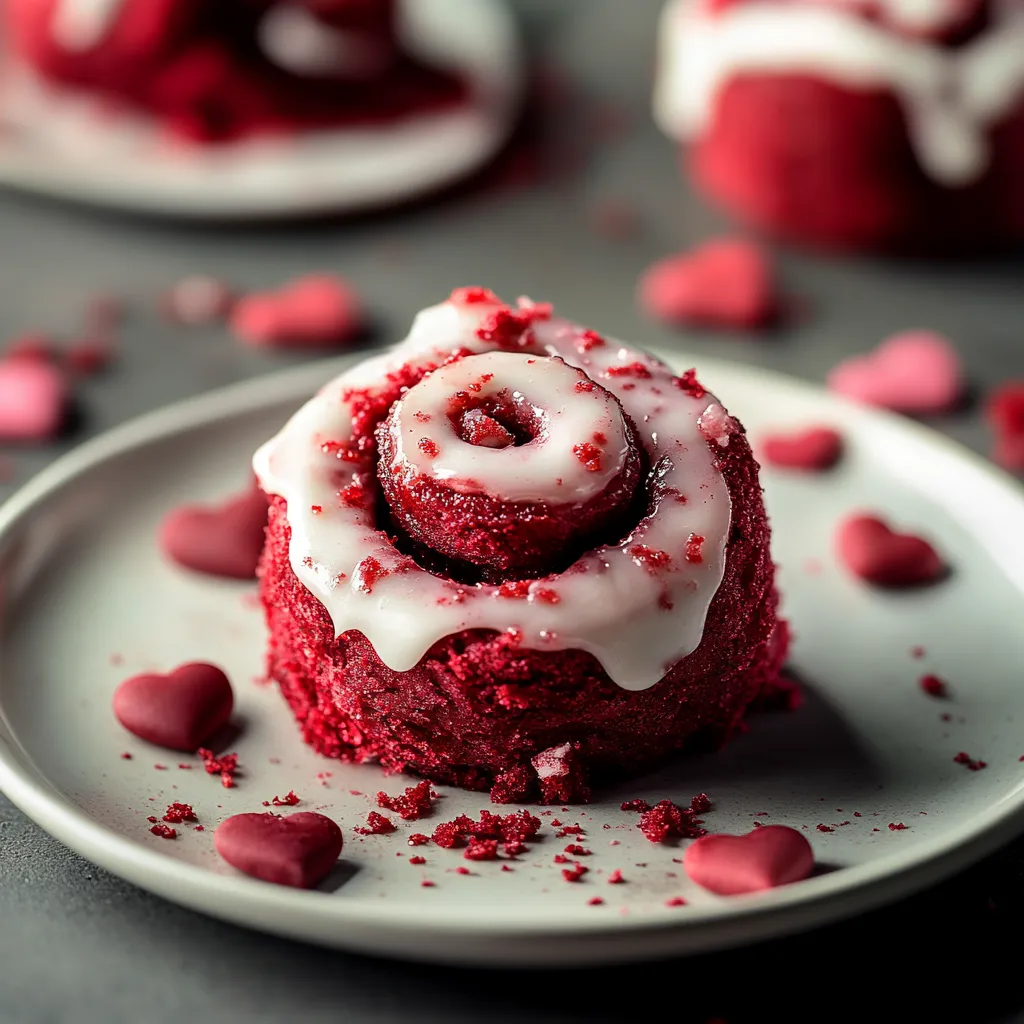
Transforming traditional cinnamon rolls into a romantic Valentine's Day treat brings together two beloved classics - red velvet cake and warm, gooey cinnamon rolls. The deep crimson dough wraps around a buttery cinnamon-sugar filling, creating perfect spirals that reveal their ruby interior with each tender bite. Once baked, these rolls get crowned with a silky vanilla glaze that slowly melts into every crevice.
After testing this recipe countless times, I've found that letting the dough rise overnight in the refrigerator develops an even richer flavor. My family now requests these rolls not just for Valentine's Day, but throughout the year. The aroma of these baking has become our Sunday morning tradition.
Essential Ingredients Guide
- Bread Flour: Higher protein content creates that perfect chewy texture. Look for unbleached bread flour for best results.
- Cocoa Powder: Use natural, unsweetened cocoa powder for authentic red velvet flavor. Dutch-process cocoa can dull the red color.
- Red Food Coloring: Gel coloring provides vibrant color without affecting texture. I prefer Americolor Super Red.
- Active Dry Yeast: Fresh yeast is crucial - check the expiration date and store properly.
- Buttermilk: Real buttermilk provides tenderness and tanginess. Room temperature is essential.
Detailed Instructions
- Preparing the Dough:
- Mix the yeast with warm buttermilk and a pinch of sugar. Let it stand until foamy, about 5-7 minutes. This step ensures your yeast is active and ready to work.
- Creating the Base:
- In your stand mixer fitted with the dough hook, combine flour, cocoa powder, and salt. Pour in the buttermilk mixture, melted butter, and eggs. Mix on low speed until the dough comes together, about 2 minutes.
- Kneading Process:
- Increase speed to medium and knead for 8-10 minutes. The dough should be smooth, elastic, and pull away from the sides of the bowl. Add red food coloring gradually during the last minute of kneading.
- First Rise:
- Transfer dough to a greased bowl, cover with plastic wrap, and let rise in a warm spot until doubled, approximately 1-1.5 hours.
- Rolling and Filling:
- Roll dough into a 16x20 inch rectangle on a lightly floured surface. Spread softened butter evenly across the surface, leaving a 1-inch border. Combine brown sugar and cinnamon, sprinkle evenly over butter.
- Shaping the Rolls:
- Starting from the long edge, roll the dough tightly into a log. Pinch the seam to seal. Mark 12 even sections using a ruler.
 Pin it
Growing up in a family bakery, I learned that buttermilk makes all the difference in red velvet recipes. Its subtle tang creates depth that can't be replicated with regular milk. Now, I always keep cultured buttermilk powder in my pantry as backup.
The Perfect Rise and Bake
During my years of recipe development, I've discovered that proper proofing transforms good rolls into exceptional ones. Let your shaped rolls rise until they're visibly puffy and touching each other in the pan, usually 45-60 minutes. The gentle warmth of your kitchen creates the ideal environment for this final rise.
Mastering the Glaze
The vanilla glaze requires careful attention to achieve that perfect consistency. Start with room temperature cream cheese and butter, beating until completely smooth. Add powdered sugar gradually, then thin with heavy cream until it reaches a ribbon-like consistency. This method ensures a silky-smooth glaze that sets beautifully.
Presentation Matters
These rolls deserve elegant presentation. Arrange them on a vintage cake stand or ceramic platter. The deep red spirals create a striking contrast against white serving pieces. For Valentine's Day, garnish with heart-shaped sprinkles or a light dusting of cocoa powder.
Make-Ahead Magic
One of the best features of these rolls is their make-ahead potential. After shaping, place them in the refrigerator overnight. The slow, cold rise develops complex flavors while making your morning routine effortless. Simply bring them to room temperature before baking.
Troubleshooting Tips
Understanding common pitfalls helps ensure success. If your dough seems too sticky, resist adding excess flour - a slightly tacky dough produces tender rolls. If the rolls brown too quickly while baking, tent them with foil to prevent over-browning while ensuring they cook through completely.
 Pin it
Creating these red velvet cinnamon rolls has been a journey of perfecting techniques and understanding ingredient interactions. The marriage of red velvet's subtle cocoa notes with warm cinnamon creates something truly special. When I see families sharing these rolls on Valentine's morning, it reminds me why I fell in love with baking - food has the power to create lasting memories and bring people together.
Frequently Asked Questions
- → Can I make these ahead of time?
- Prepare night before and refrigerate after shaping. Let rise at room temp before baking.
- → Why use dental floss to cut rolls?
- It prevents squishing the rolls, maintaining their round shape better than a knife.
- → Can I freeze these rolls?
- Freeze unfrosted rolls up to 2 months. Thaw and warm before glazing.
- → How do I know when the dough has risen enough?
- It should double in size and leave an indentation when poked.
- → Can I use instant yeast?
- Yes, skip the proofing step and add directly to dry ingredients.