
 Pin it
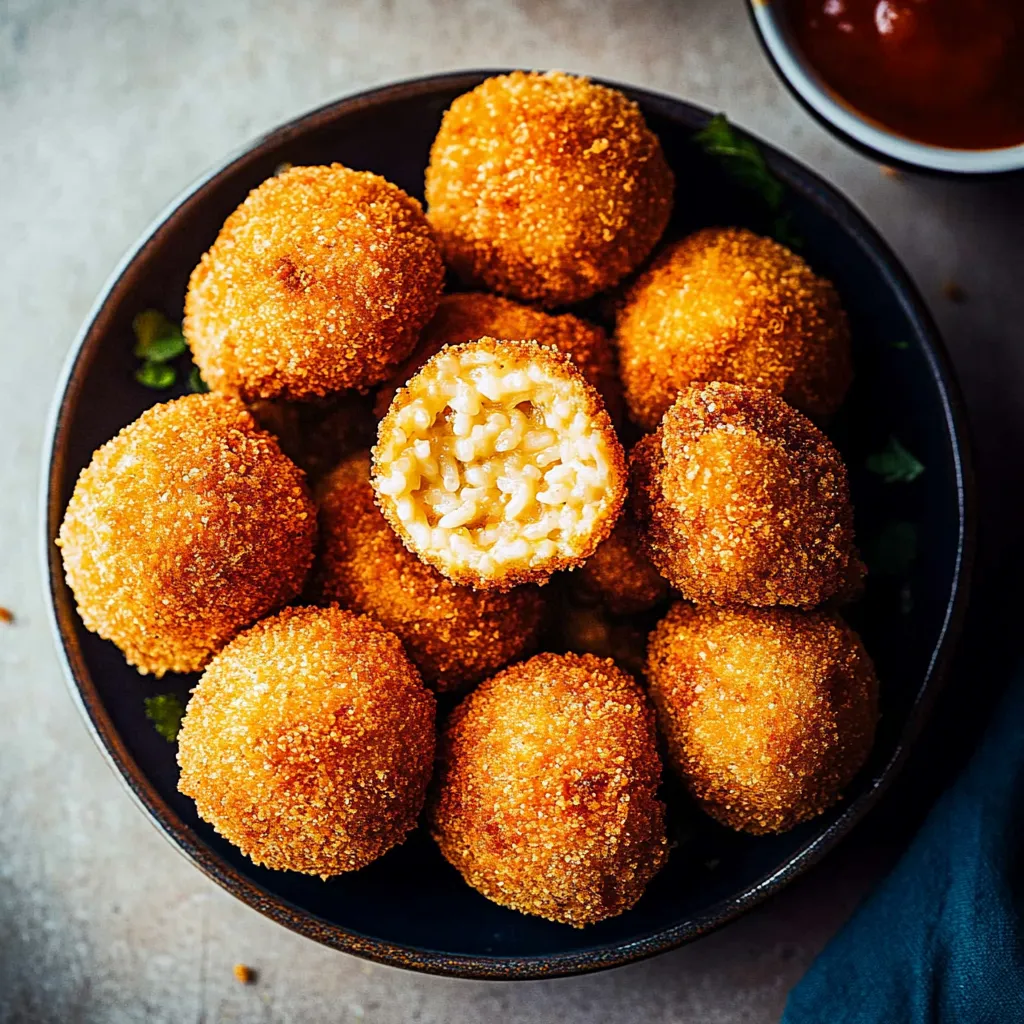
Deep in the heart of Sicily, arancini have been delighting palates for centuries with their perfect harmony of textures and flavors. These golden spheres of joy begin with creamy risotto, lovingly shaped around a center of molten mozzarella, then enrobed in crispy breadcrumbs. Each bite tells a story that begins with an audible crunch, continues through layers of saffron-scented rice, and ends with a spectacular reveal of stretchy, melted cheese that captures the very essence of Italian comfort food.
The first time I watched an Italian nonna prepare arancini in her tiny Sicilian kitchen, I was mesmerized by how she could tell the perfect consistency just by feel. Years later, after countless attempts to recreate that magic, I've finally mastered her techniques and subtle touches that make these rice balls extraordinary.
Essential Ingredients Guide
- Arborio rice: This specific short-grain rice releases just enough starch to create the creamy texture essential for perfect arancini
- Fresh mozzarella: Choose low-moisture mozzarella that's firm enough to cube, ensuring your centers melt without becoming watery
- Saffron threads: Though optional, these precious strands add authentic color and an aromatic complexity that elevates the entire dish
- Italian panko breadcrumbs: Finer than Japanese varieties, these create the ideal golden crust while maintaining their crunch
- High-quality Parmigiano-Reggiano: Aged at least 24 months for the perfect balance of salt and umami in your risotto base
Creating Perfect Arancini
- Risotto Foundation:
- Toast your rice in olive oil until each grain becomes pearly and translucent. This crucial step creates a protective coating that allows the rice to absorb liquid while maintaining its structure.
- Liquid Integration:
- Add warm broth gradually, allowing each addition to be fully absorbed before adding more. This patient process releases the rice's starches, creating the creamy texture that defines perfect risotto.
- Cooling Process:
- Spread your finished risotto on a parchment-lined baking sheet in a thin layer. This allows it to cool quickly and evenly, making it easier to shape later.
- Shaping Technique:
- Wet your hands lightly with cool water, take a portion of rice, and create a hollow in the center. Place your cheese cube inside and gently shape into a perfect sphere, ensuring no gaps remain.
- Breading Method:
- Create a three-stage breading station - seasoned flour, beaten eggs, and fine breadcrumbs. Each arancino should be thoroughly but gently coated in each layer.
- Frying Excellence:
- Heat your oil to exactly 350°F (175°C). This temperature ensures your arancini develop a golden crust while allowing enough time for the cheese to melt perfectly.
 Pin it
Working with arancini reminds me of Sunday afternoons in Syracuse, where street vendors would expertly shape and fry these golden orbs. The sizzle of fresh arancini hitting hot oil would draw crowds, everyone eager to taste that perfect combination of crunch and creaminess.
Temperature Control Mastery
Maintaining consistent oil temperature is crucial - too hot and the exterior burns before the cheese melts, too cool and they become greasy. Keep a thermometer in the oil and adjust your heat as needed, letting the temperature recover between batches.
Make-Ahead Magic
These beauties can be assembled and breaded up to 24 hours in advance. Store them uncovered in the refrigerator on a parchment-lined tray - this helps the breading adhere better during frying.
Regional Variations
While classic mozzarella filling reigns supreme, explore traditional Sicilian variations like meat ragù with peas or pistachio cream. Each region of Sicily has its own beloved version, reflecting local ingredients and traditions.
Serving Suggestions
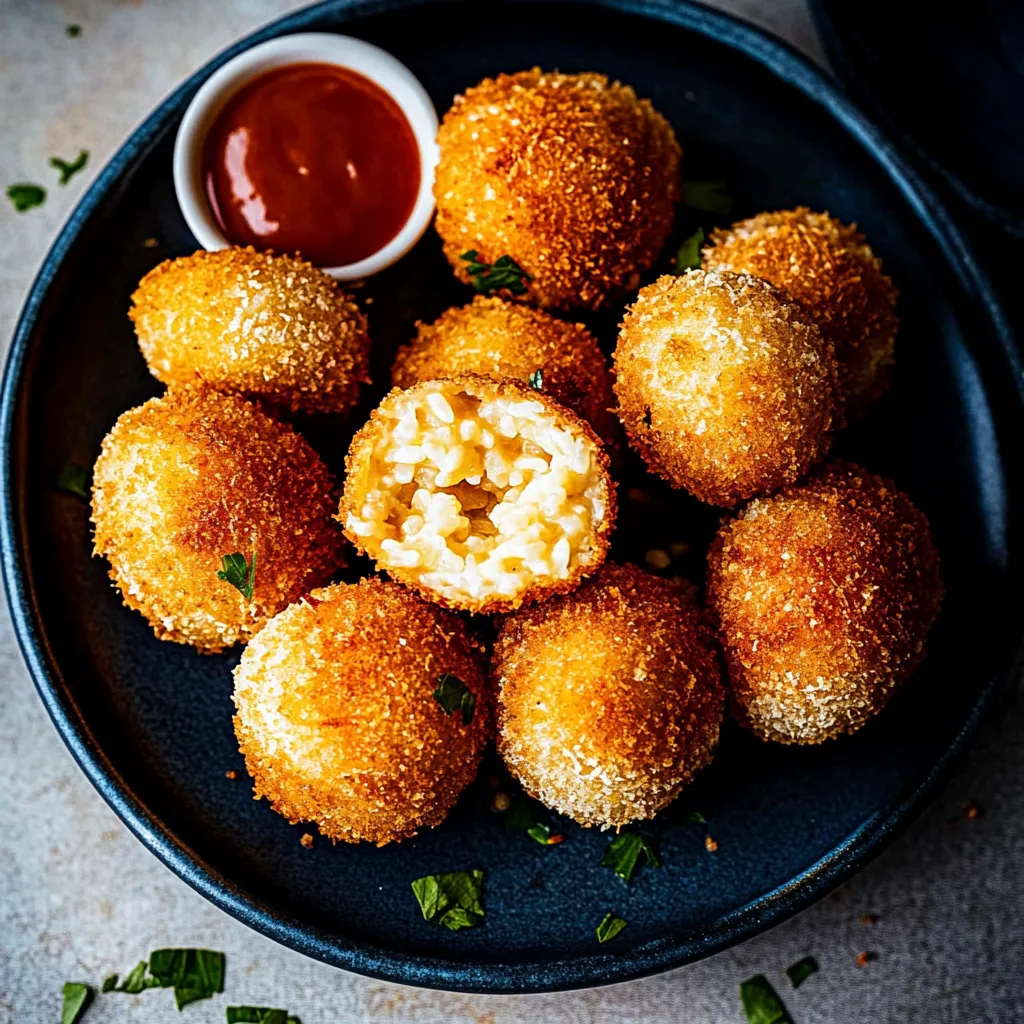
Present your arancini on a bed of fresh basil leaves, accompanied by warm marinara sauce for dipping. In Sicily, they're often enjoyed as street food, wrapped simply in paper with a sprinkle of sea salt.
Storage Solutions
Keep leftover arancini in a single layer in an airtight container, separated by parchment paper. They'll maintain their texture best when reheated in a 350°F oven rather than the microwave.
 Pin it
After years of perfecting these little treasures, I've learned that patience is the key ingredient. Whether you're making them for an elegant appetizer or a cozy family dinner, arancini bring a touch of Sicilian magic to any table. They remind us that the best foods often come from humble ingredients transformed by time-honored techniques and a lot of love.
Frequently Asked Questions
- → Can I make arancini ahead of time?
- You can make the risotto and form the balls a day ahead, keeping them refrigerated. Bread and fry just before serving for the best texture.
- → Why is my rice sticky and hard to form?
- Keep your hands wet while forming the balls to prevent sticking. The rice should be cooled but not cold for easier shaping.
- → How do I know when the oil is ready?
- The oil should reach 350°F or form small bubbles around a wooden spoon when inserted. Avoid smoking oil as it's too hot.
- → Can I bake instead of fry them?
- While traditional arancini are fried, you can bake them at 400°F for 20-25 minutes, though they won't be quite as crispy.
- → What can I serve with arancini?
- Serve them with marinara sauce for dipping, or simply on their own with a sprinkle of extra parmesan cheese.