
 Pin it
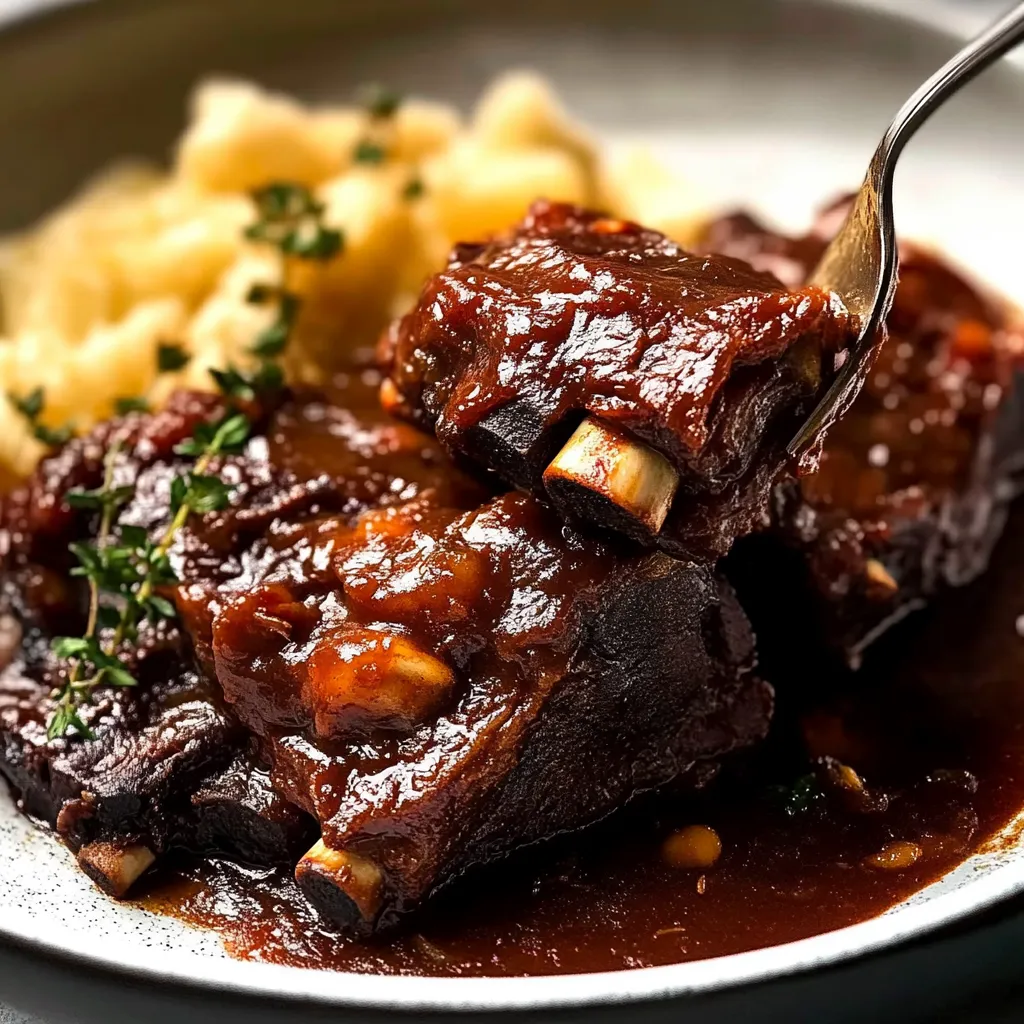
The journey to perfect BBQ beef ribs begins with patience. After years of experimenting with different methods, I've discovered that slow cooking these beauties until they're meltingly tender, then finishing them with a sticky, caramelized glaze creates pure magic on a plate. This recipe has become my signature dish for family gatherings, where the anticipation builds as the aroma of sweet and savory BBQ fills the house.
Last Christmas, my brother-in-law, who claims to be a BBQ purist, couldn't believe these weren't smoked when he tried them. Now he asks for the recipe every time he visits.
Essential Ingredients and Selection Tips
- Beef Short Ribs: Look for well-marbled ribs with good meat coverage. I ask my butcher for ribs that are at least 2 inches thick.
- Brown Sugar: Dark brown sugar adds deeper molasses notes to both the rub and sauce.
- Worcestershire Sauce: Adds that crucial umami depth. I splash in a little extra at the end.
- Garlic: Fresh garlic in the sauce and garlic powder in the rub creates layers of flavor.
- Cider Vinegar: The acidity balances the rich meat and sweet sauce perfectly.
Step-by-Step Rib Magic
- Preparation Phase (20 minutes):
- Pat ribs completely dry with paper towels. Remove the silver skin from the back of ribs if present. Let meat come to room temperature for even cooking. Mix dry rub ingredients while waiting.
- Seasoning Process (15 minutes):
- Massage the rub into every surface of the meat. Press firmly to help spices adhere. Let ribs sit with rub while preparing sauce. Mix sauce ingredients until completely smooth.
- The Low and Slow Magic (3-3.5 hours):
- Place ribs in a baking dish, cover tightly with foil, and cook in a 275°F oven. Check for tenderness after 3 hours.
 Pin it
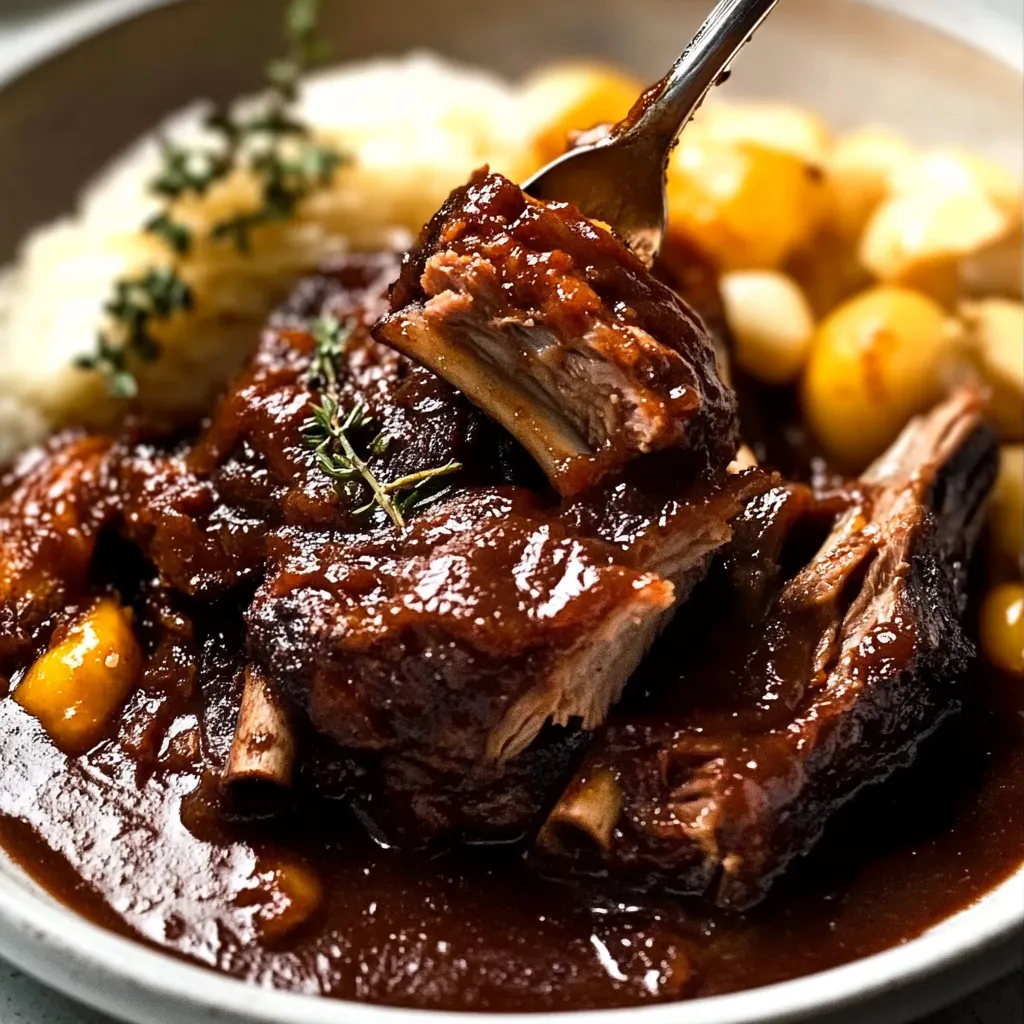
My first attempt at these ribs taught me the importance of temperature control. I tried to speed up the process with higher heat, and ended up with tough, chewy meat. Now I know that low and slow is the only way to go.
The Art of the Final Glaze
This is where the magic really happens. After removing the foil, that sticky, caramelized exterior develops, creating a beautiful contrast to the tender meat inside. I watch this stage like a hawk, basting every 5 minutes for the perfect glaze.
Making It Ahead
One of the best things about these ribs is that they actually taste better the next day. When I'm hosting a dinner party, I make them a day ahead and slowly reheat them, basting with the sauce. The flavors develop beautifully, and it takes the pressure off day-of cooking.
 Pin it
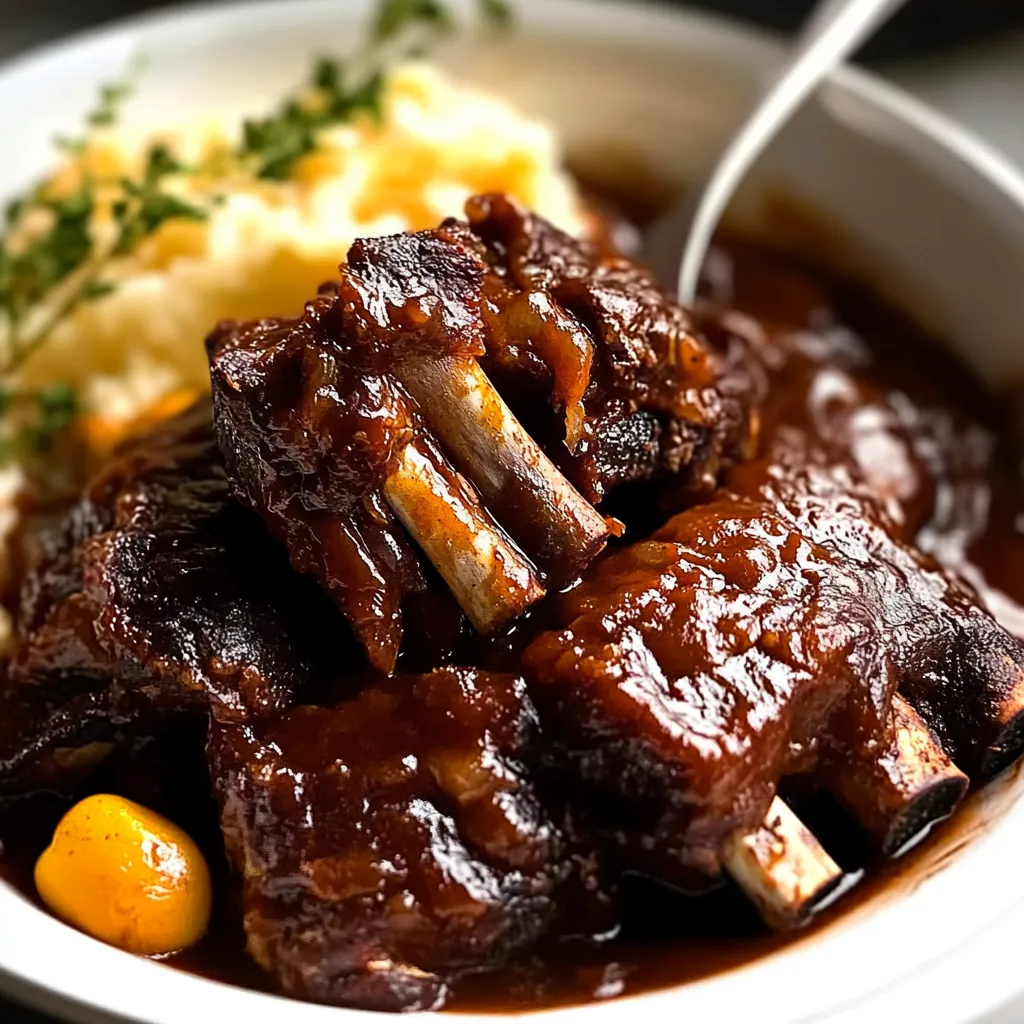
Temperature Testing
Learning to tell when ribs are done took practice. Now I know to look for that slight resistance when piercing with a fork - you want the meat to yield easily but not completely fall apart. It's a sweet spot that comes with experience.
Sauce Evolution
Over time, I've perfected my BBQ sauce recipe. It started as a basic mixture, but now includes layers of flavor from added ingredients like a splash of coffee for depth and a hint of smoked paprika for that subtle smokiness. Every pitmaster has their secret ingredients - these are mine!
Whether you're making these ribs for a casual Sunday dinner or a special celebration, they're sure to become a favorite in your recipe collection. The combination of tender, juicy meat and sticky, flavorful sauce creates something truly memorable. Just be prepared for requests to make them again and again!
Frequently Asked Questions
- → Can I make these ribs ahead of time?
- Yes, they actually get better with time and can be refrigerated for up to 5 days or frozen for 3 months.
- → How do I know when the ribs are done?
- The meat should easily fall off the bone when tested with two forks.
- → Can I cook these in a slow cooker?
- Yes, cook on low for 8 hours or high for 5 hours, then finish in the oven for 30 minutes to caramelize.
- → What kind of beef ribs should I use?
- Use beef short ribs that are cut into individual portions, not rack style.
- → Can I finish these on the grill?
- Yes, after slow cooking, you can finish on the grill for extra smokey flavor and caramelization.