
 Pin it
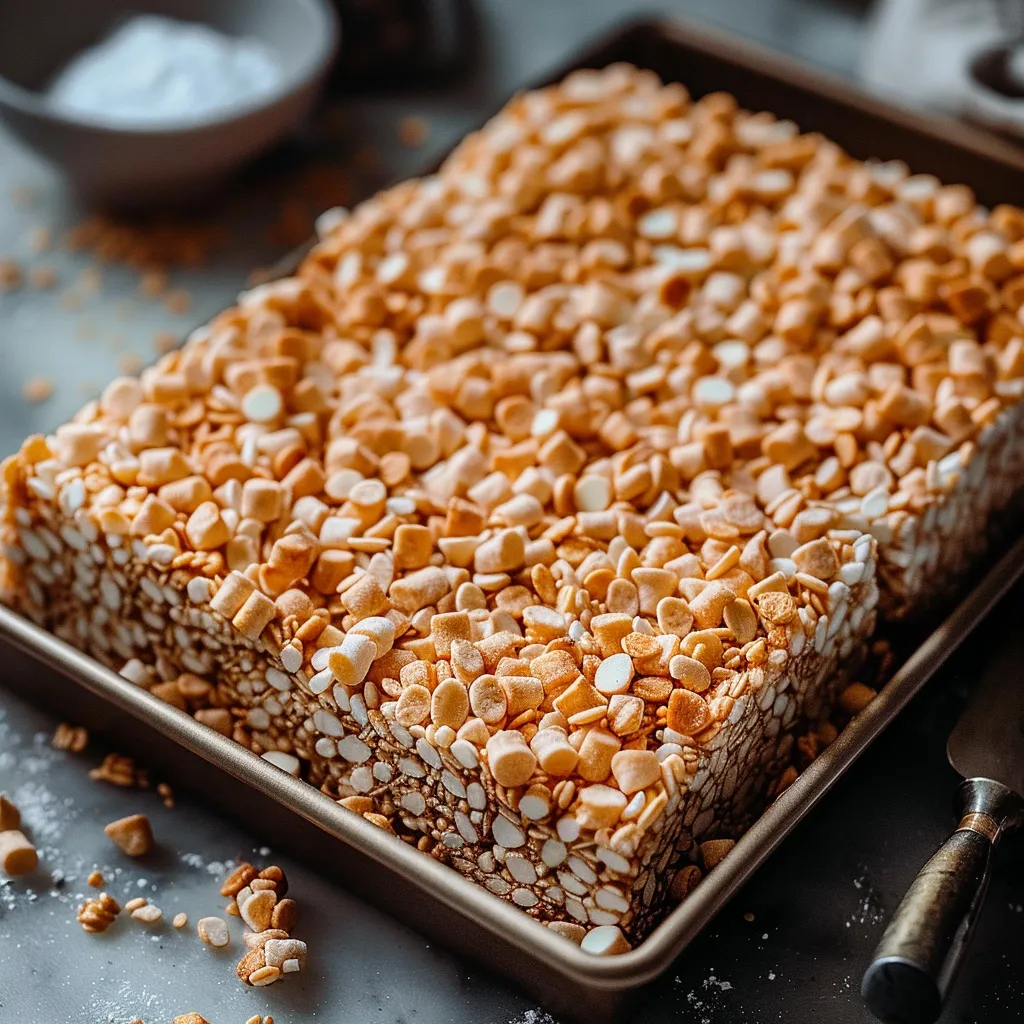
The aroma of toasted marshmallows and brown butter transforms these Rice Krispies treats into something extraordinary. Taking a childhood favorite and elevating it with golden-brown butter, perfectly toasted marshmallows, and a sprinkle of sea salt creates treats that are impossibly gooey, deeply flavorful, and absolutely irresistible.
I've made these treats countless times for family gatherings, and they consistently disappear within minutes. The combination of textures and flavors keeps everyone coming back for just one more piece.
Essential Recipe Components
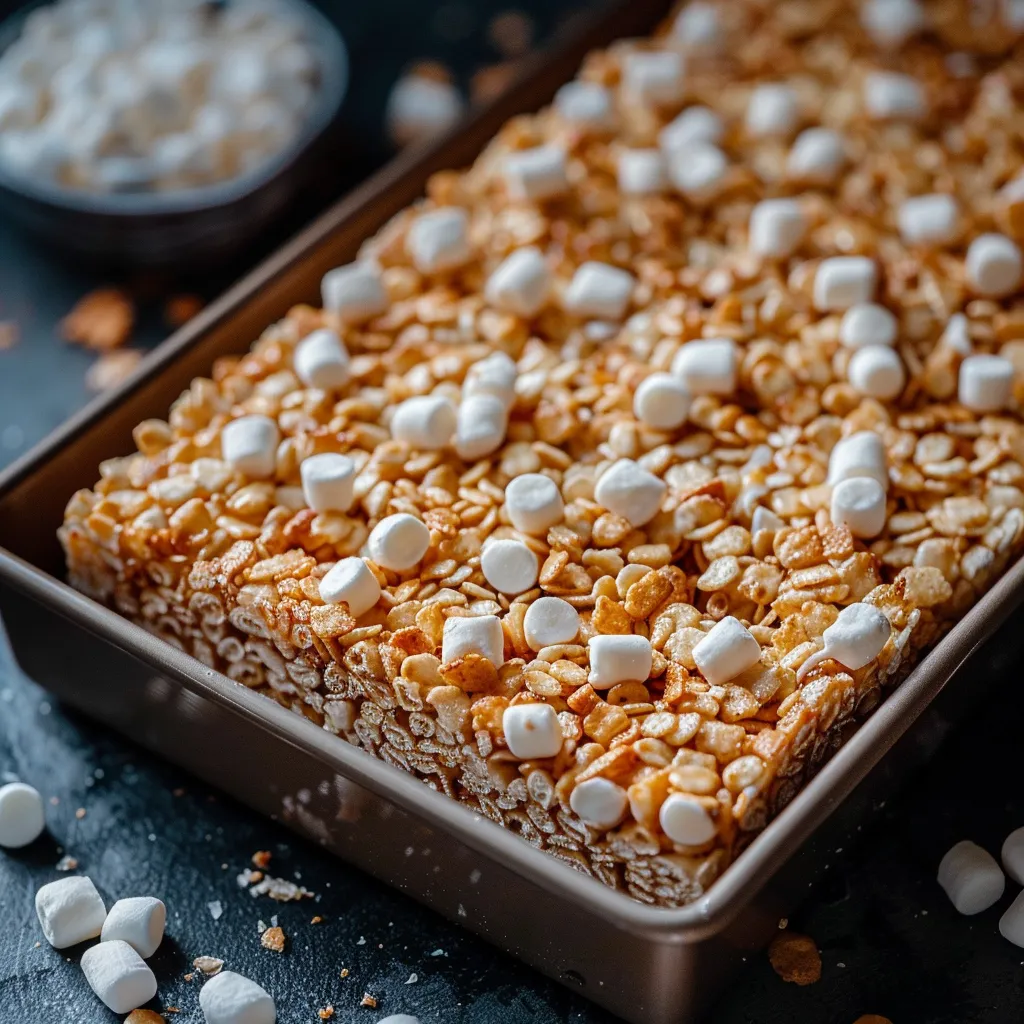
- Rice Krispies cereal : Brings the perfect light, crispy foundation that stays crunchy.
- Marshmallows : Create that classic gooey texture we all love.
- Salted butter : Transforms into liquid gold when browned.
- Vanilla extract : Enhances the caramel notes.
- Flaked sea salt: Adds sophisticated contrast to the sweetness.
Creating Your Masterpiece
- Preparing the Base:
- Spread your cereal across the baking sheet, letting it toast until it releases an incredible nutty aroma. The transformation happens quickly, so keep a close eye as the cereal turns golden.
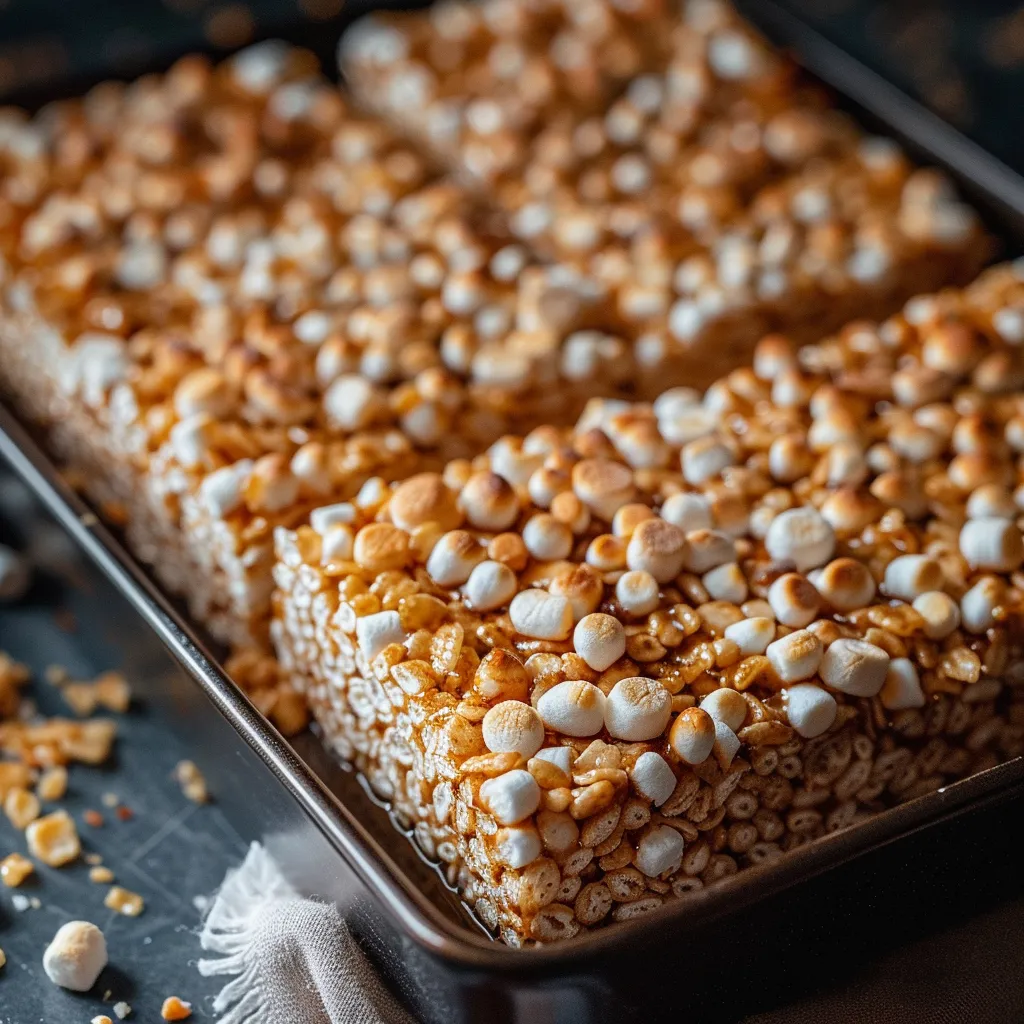
- Marshmallow Magic:
- Arrange marshmallows carefully on your prepared baking sheet, watching as they puff and turn golden under the broiler's heat. This step creates deep caramel notes that make these treats extraordinary.
- Brown Butter Brilliance:
- Watch as your butter transforms, bubbling and foaming until it turns a beautiful amber color, filling your kitchen with an intoxicating nutty fragrance. This golden elixir will be the foundation of your treats' complex flavor.
- The Final Assembly:
- Combine your toasted elements with practiced patience, folding everything together until perfectly incorporated. Press gently into your prepared pan, allowing the mixture to cool and set.
 Pin it
My family particularly loves the toasted marshmallow element. My daughter always requests these for her birthday, claiming they're better than any cake could ever be.
Perfect Pairings
Serve these elevated treats alongside a glass of cold milk for the ultimate nostalgic experience. They also pair wonderfully with hot cocoa on chilly evenings or with coffee for an afternoon pick-me-up. Creating a dessert board with these treats as the centerpiece, surrounded by fresh berries and chocolate-dipped strawberries, makes for an impressive presentation at gatherings.
Delicious Adaptations
Create a chocolate lover's dream by folding in dark chocolate chips while the mixture is still warm. For nutty complexity, incorporate toasted pecans or almonds. Those who enjoy a hint of spice might appreciate a light dusting of cinnamon sugar on top. During fall, try adding a touch of pumpkin pie spice to the brown butter for a seasonal twist that will have everyone asking for the recipe.
Keeping Your Treats Fresh
Store these treasures in an airtight container, placing wax paper between layers to prevent sticking. They maintain their perfect texture for three days at room temperature. To revive their gooey goodness, a quick 10-second warm-up in the microwave works wonders. For longer storage, wrap individual pieces in parchment paper and freeze for up to two months.
 Pin it
A Touch of Kitchen Wisdom
- Let your brown butter cool slightly before adding marshmallows to prevent them from separating.
- Use a piece of parchment paper when pressing the mixture into the pan to prevent sticking.
- For the cleanest cuts, run your knife under hot water and wipe it clean between slices.
After years of making Rice Krispies treats, this version stands as my proudest achievement. The combination of toasting the cereal, browning the butter, and adding that perfect touch of salt creates something truly memorable. Whether you're making these for a special occasion or simply craving something sweet, these treats prove that sometimes the simplest things, when given extra care and attention, become extraordinary.
Frequently Asked Questions
- → Why brown the butter for Rice Krispies treats?
- Browning the butter adds a rich, nutty flavor that makes these treats taste more sophisticated than the original version.
- → How do I know when my butter is properly browned?
- The butter will turn golden brown and smell nutty and toasted. It usually takes 5-7 minutes of constant stirring.
- → Can I make these without toasting the marshmallows?
- Yes, but toasting adds a delicious caramel flavor that makes these treats extra special.
- → How should I store these Rice Krispies treats?
- Store them in an airtight container at room temperature for up to 3 days for best freshness.
- → Why are my Rice Krispies treats too hard?
- They might be pressed too firmly into the pan. Use gentle pressure when pressing them down to keep them soft and chewy.