
 Pin it
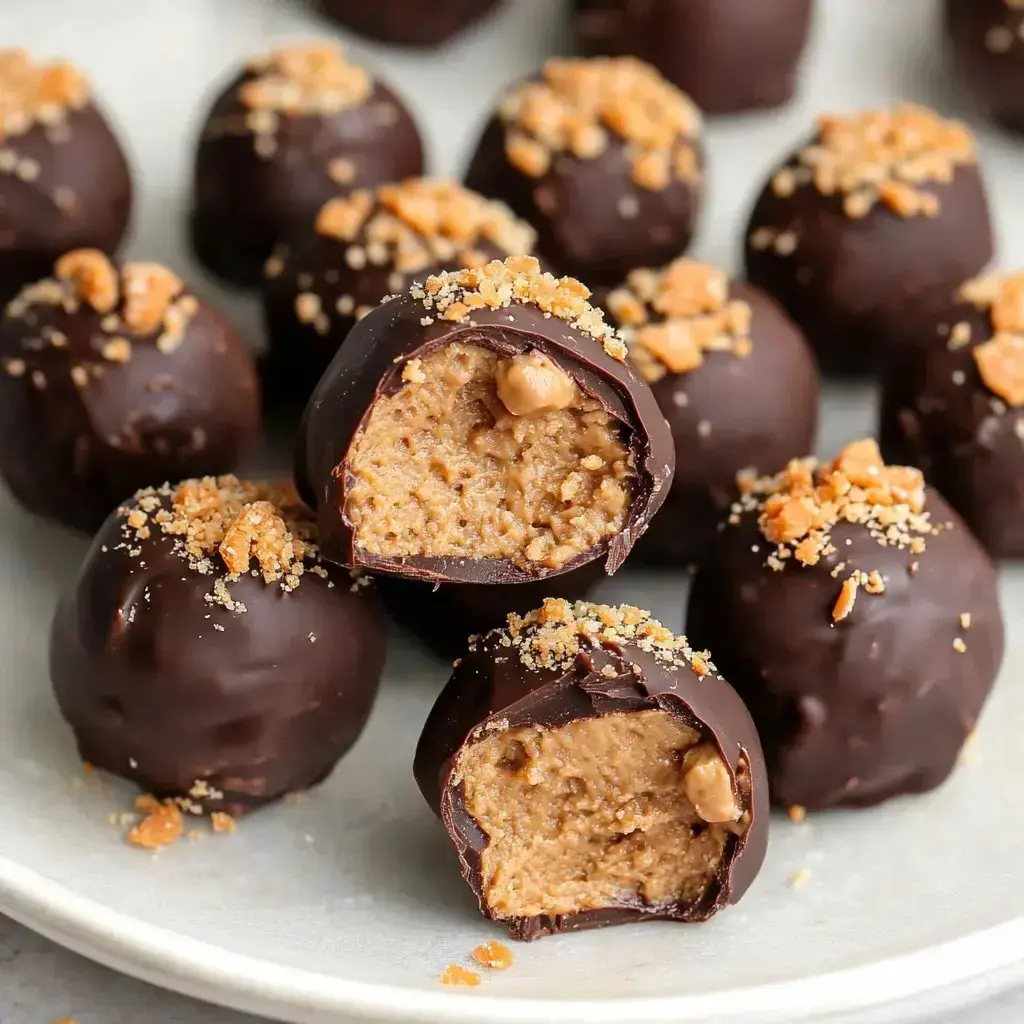
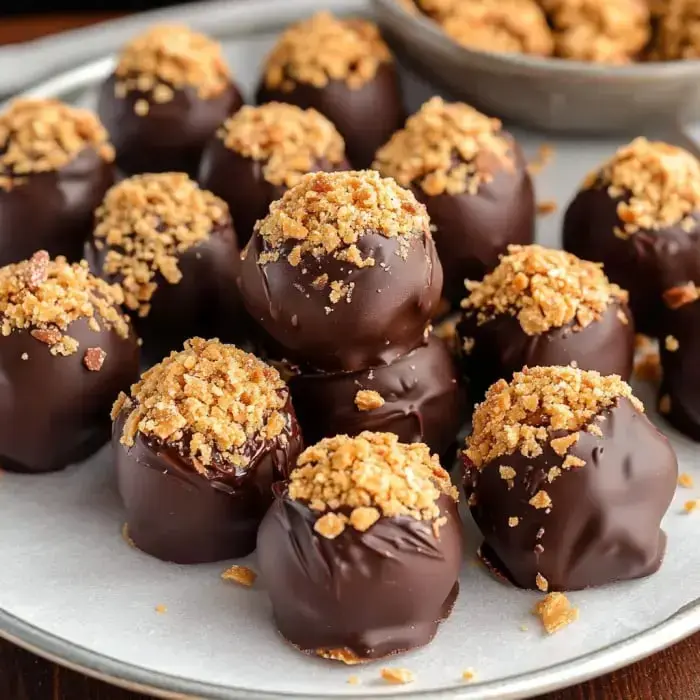
Butterfinger Balls are the perfect no-bake treat, combining the classic flavors of chocolate and peanut butter with the crunchy twist of Butterfinger bits. These bite-sized delights are quick to make and ideal for holiday gatherings, game day snacks, or thoughtful homemade gifts.
Sweet Memories in Every Bite
Every time I make these Butterfinger Balls I'm reminded of why they're one of my favorite treats. The combination of creamy peanut butter and crunchy Butterfinger pieces creates such an irresistible texture and the chocolate coating makes them look so elegant. Plus they're incredibly easy to make which is always a win in my book.
What You'll Need
- Creamy Peanut Butter: 1 cup, smooth and easy to mix, avoiding natural peanut butter for stability.
- Salted Butter: 1/4 cup, softened for seamless blending.
- Pure Vanilla Extract: 1 teaspoon, enhances flavor depth.
- Powdered Sugar: 1 1/4 cups, finely sifted for a smooth texture.
- Graham Crackers: 1/2 cup, crushed into fine crumbs for structure.
- Butterfinger Candy Bars: 1 cup, crushed for crunch and signature flavor.
- Chocolate Almond Bark: 1 1/2 cups, melted for a smooth and easy coating.
Let's Make Them Together
- Prepare the Mixture
- In a large bowl, beat together peanut butter, butter, and vanilla until smooth. Add powdered sugar, graham cracker crumbs, and crushed Butterfinger candy bars, mixing until fully combined.
- Shape the Balls
- Using a small scoop, roll the mixture into round balls. Place them on a lined baking sheet and refrigerate for at least 30 minutes to firm up.
- Melt the Chocolate
- Microwave almond bark in 45-second intervals, stirring until completely melted and smooth.
- Coat the Balls
- Dip each Butterfinger ball into the melted chocolate using a fork, ensuring it is fully coated. Tap off excess chocolate and place the balls back on the baking sheet.
- Decorate
- Drizzle with additional melted almond bark and sprinkle with crushed Butterfinger candy for a decorative finish.
Making Them Perfect
After making countless batches I've learned that patience is key when it comes to these treats. Making sure the centers are properly chilled before dipping them in chocolate makes such a difference in the final presentation. I always use regular creamy peanut butter rather than natural since it creates a more stable mixture and helps prevent any separation.
Keeping Them Fresh
These little treats keep beautifully in the fridge for up to two weeks though they rarely last that long in my house! When I'm planning ahead for parties or gifts I'll make a double batch and freeze some. Just remember to separate the layers with parchment paper to prevent sticking and let them come to room temperature before serving for the best flavor and texture.
 Pin it
Frequently Asked Questions
- → Why not use natural peanut butter?
- Natural peanut butter is too oily and will prevent the balls from setting properly. Stick with commercial brands like Jif or Skippy for best results.
- → Why chill before dipping?
- Chilling for at least 30 minutes helps the peanut butter mixture firm up so it won't fall apart when dipped in warm chocolate.
- → How long do these keep?
- They can be stored in an airtight container in the refrigerator for up to 2 weeks or frozen for up to 3 months.
- → What if the balls soften while dipping?
- If they become too soft during dipping, place them in the freezer for 5-10 minutes to firm up before continuing.
- → Can I make smaller portions?
- Yes, you can use smaller scoops than the suggested heaping tablespoon to make more, smaller balls.