
 Pin it
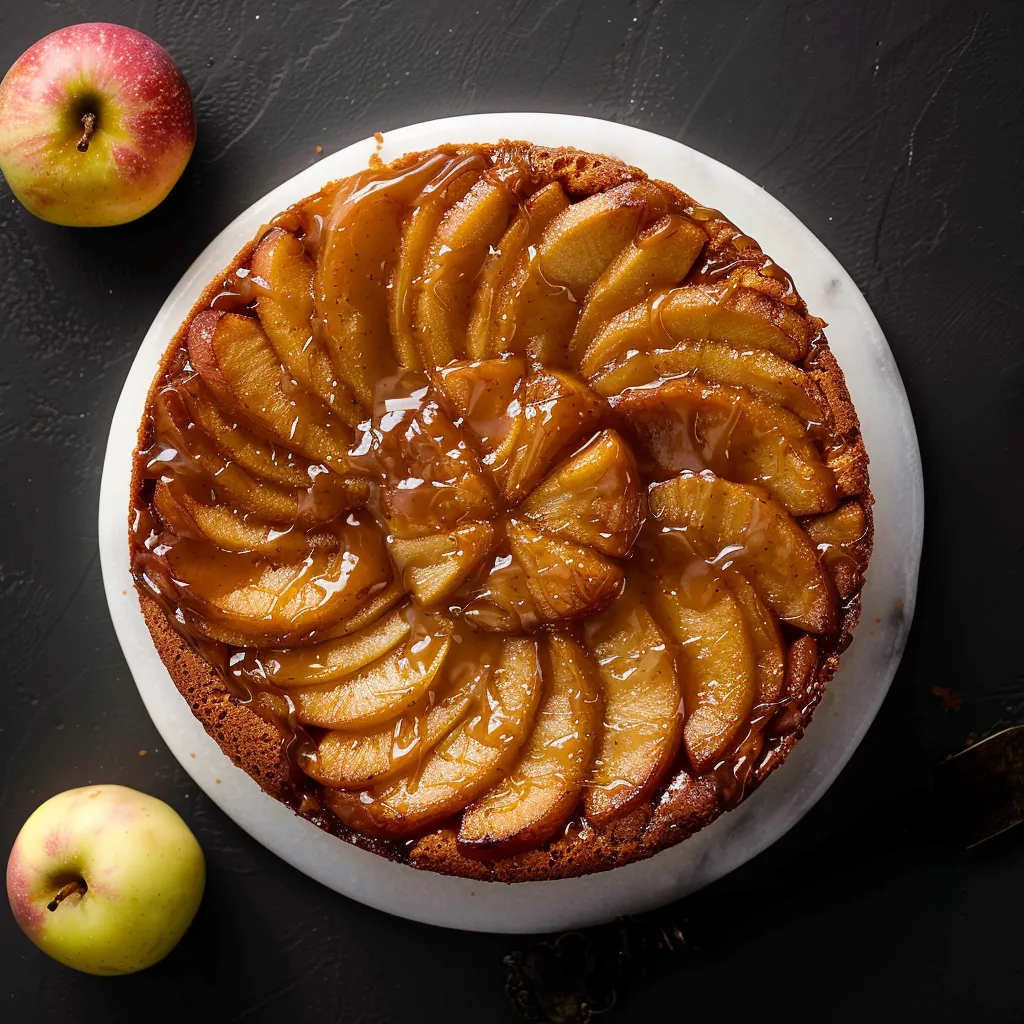
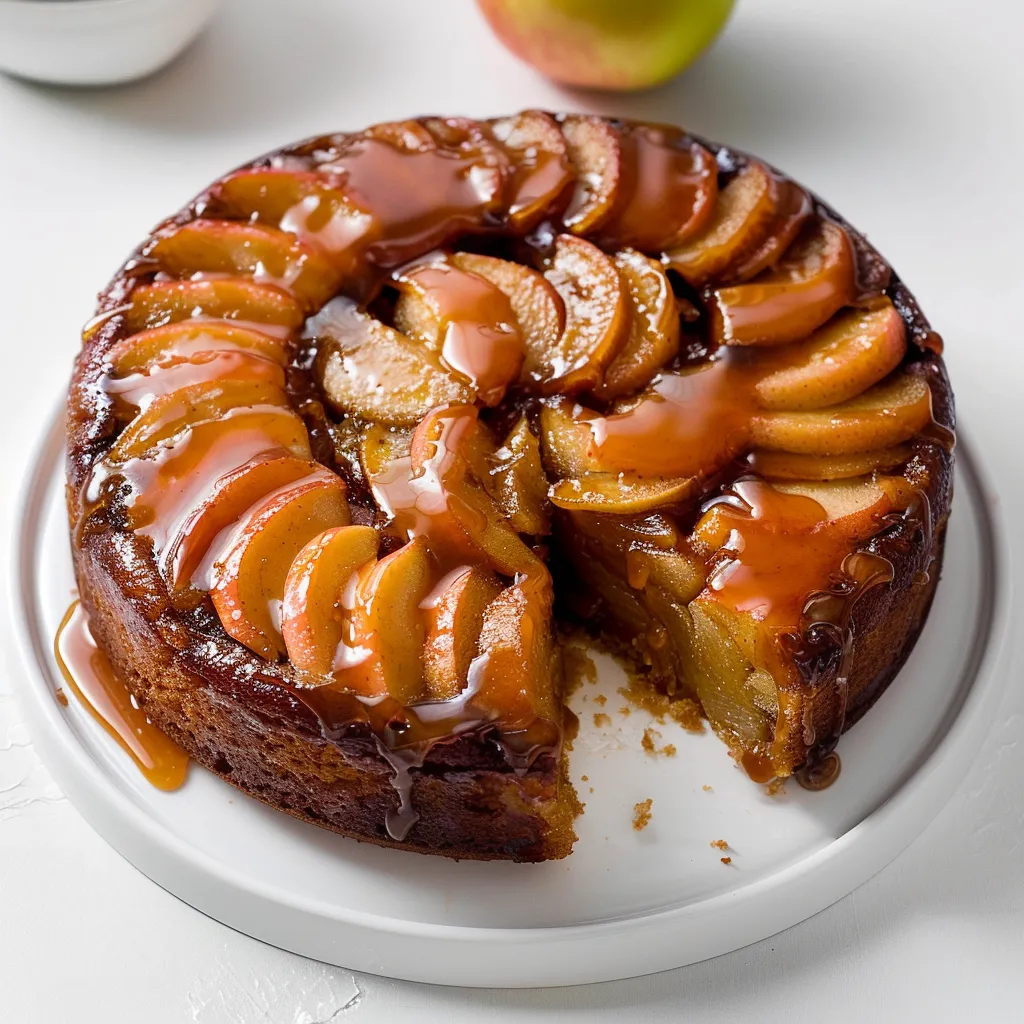
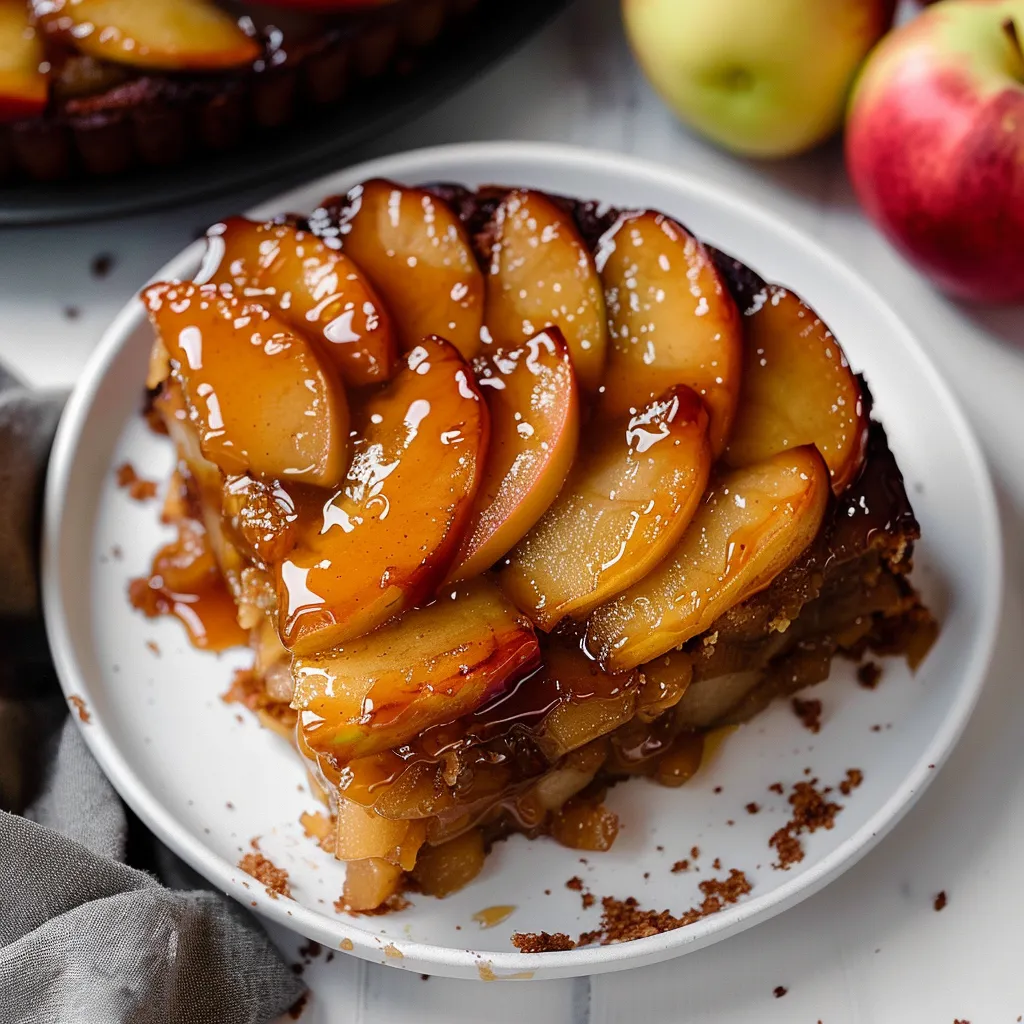
Imagine slicing into a dessert that captures the very essence of autumn - a Caramel Apple Upside Down Cake where perfectly arranged apple slices glisten with rich amber caramel, nestled atop a tender, warmly spiced cake. Each piece reveals a beautiful pattern of caramelized fruit that has slowly infused its sweet, buttery goodness into the cinnamon-scented cake beneath. The marriage of tart apples and deep caramel creates an irresistible aroma that fills your kitchen with the comfort of fall baking, while the cake's tender crumb provides the perfect foundation for this seasonal showstopper.
Making this cake has become my favorite autumn tradition. The way the kitchen fills with the aroma of caramelizing apples and warm spices creates an atmosphere that draws everyone to gather around. I've found that using a mix of apple varieties adds depth to both the flavor and visual appeal.
Essential Ingredients Guide
- Apples: Choose firm varieties like Honeycrisp or Granny Smith that hold their shape while baking.
- Dark brown sugar: Its molasses content creates a richer caramel flavor than light brown sugar.
- European-style butter: Higher fat content ensures a more luxurious caramel sauce.
- Pure vanilla extract: Adds depth to both the caramel and cake layers.
- Cake flour: Creates a more tender crumb than all-purpose flour.
- Fresh ground cinnamon: Recently ground spices provide more vibrant flavor.
- Whole milk: The fat content helps create a moist, tender cake.
Creating Your Masterpiece
- Perfect The Pan:
- Prepare your pan meticulously, ensuring every corner is buttered to prevent any caramel from sticking during the flip.
- Develop The Caramel:
- Heat butter and brown sugar together slowly, allowing them to bubble gently until the mixture becomes smooth and glossy.
- Arrange The Apples:
- Layer apple slices in an overlapping pattern, taking time to create a beautiful design that will become the cake's crown.
- Master The Batter:
- Cream butter and sugars until extraordinarily light and fluffy, a process that should take no less than five minutes.
- Build The Flavor:
- Add eggs one at a time, incorporating fully before introducing the next for the perfect texture.
- Complete Assembly:
- Pour batter carefully over arranged apples, smoothing the top to ensure even baking.
 Pin it
My journey with this recipe began in my grandmother's kitchen, where she taught me the importance of patience when creating the caramel base. The way she arranged the apples like a blooming flower has inspired my own presentations ever since.
Seasonal Serving Suggestions
Present warm slices with a scoop of vanilla bean ice cream that slowly melts into the caramel topping. For brunch gatherings, serve alongside spiced coffee or apple cider. Consider adding a drizzle of salted caramel sauce for extra indulgence.
Creative Variations
Transform this classic by incorporating pears or quinces when in season. Add warming spices like cardamom or ginger to the cake batter. Create an adult version by adding bourbon to the caramel, or introduce toasted pecans between the apple layers.
Storage Solutions
Keep this beauty fresh by storing at room temperature under a cake dome for up to three days. Warm individual slices gently in the microwave for 15 seconds to restore the gooey caramel texture. Avoid refrigeration as it can make the caramel too firm.
 Pin it
After years of perfecting this recipe, I've discovered that success lies in the details - from the careful arrangement of apple slices to the patience required for proper caramelization. The way the caramel slowly seeps into the cake creating pockets of gooey goodness makes each bite an adventure. When guests' eyes widen at first sight of the glistening topping, I know every careful step was worth the effort. This isn't just another upside-down cake; it's autumn's finest moment captured in dessert form.
Frequently Asked Questions
- → What type of apples work best?
- Granny Smith, Fuji, or Honeycrisp apples are excellent choices for baking.
- → Why do ingredients need to be room temperature?
- Room temperature ingredients blend more evenly, creating a smoother, more uniform batter.
- → Can I make this ahead of time?
- Best served same day, but you can prepare wet and dry ingredients separately one day ahead.
- → Why tent with foil while baking?
- Foil prevents the top from over-browning before the center is fully cooked.
- → How should I store leftovers?
- Cover and refrigerate for up to 3 days, or freeze individual slices for up to 3 months.