
 Pin it
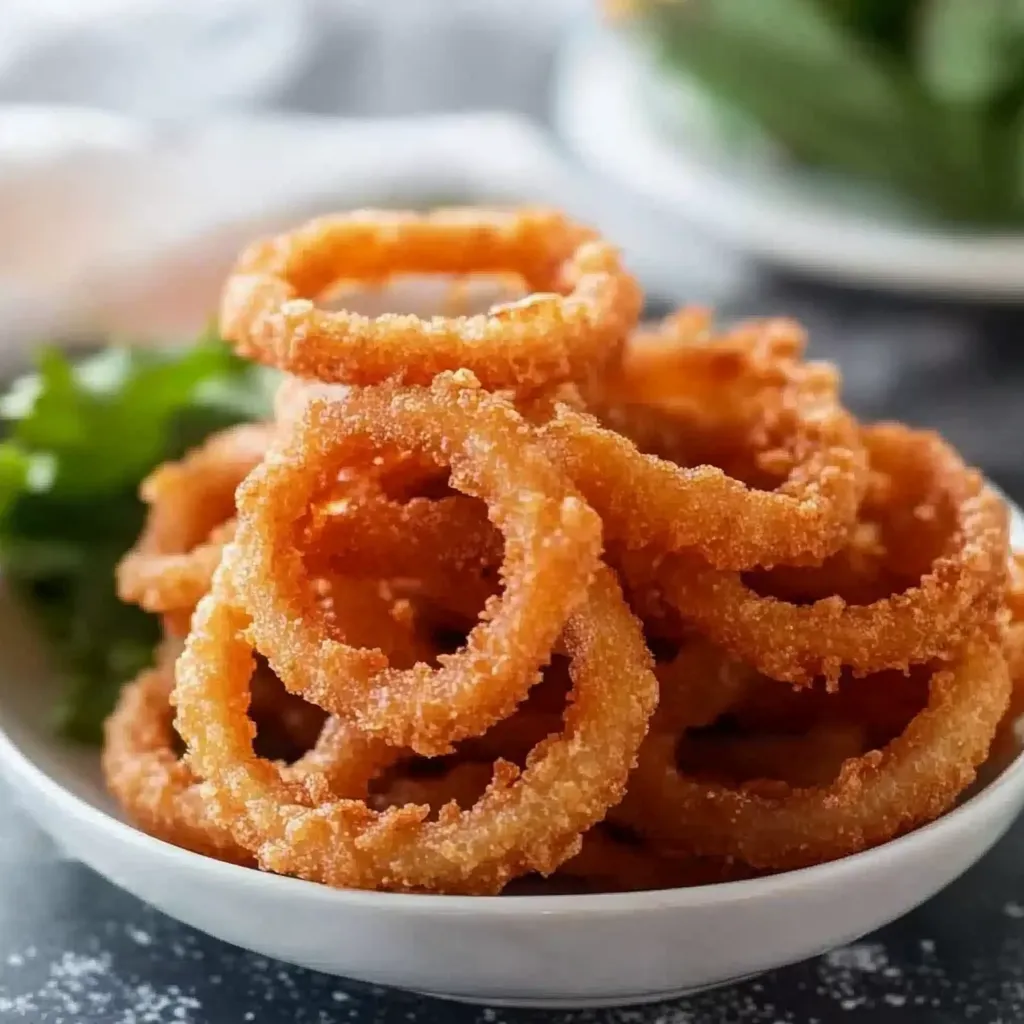
Nothing beats the satisfaction of biting into a perfectly crispy, golden-brown onion ring. This homemade version delivers that coveted combination of crunchy coating and tender, sweet onion interior that makes restaurant-style rings so irresistible. Skip the frozen alternatives and create these diner-worthy treats in your own kitchen.
Sometimes the simplest recipes bring back the most memories. I first learned to make these onion rings from my uncle, who owned a small diner. The sound of that first crispy bite still takes me back to weekend afternoons in his bustling kitchen, where he taught me the secrets to achieving the perfect crunch.
Essential Ingredients for Success
- Large Onions: Firm and fresh with tight, papery skin, they provide the perfect balance of sweetness and bite when fried.
- All-Purpose Flour: A light, even coating of flour helps the batter adhere properly, creating a crispy, golden crust.
- Fresh Eggs: Whisked to perfection, they bind the layers together, ensuring the breading stays intact for an even fry.
- Whole Milk: Adds richness and depth to the batter, helping to create a smooth and flavorful coating.
- Panko Breadcrumbs: Light and airy, they provide the ultimate crunch, making each bite crisp and satisfying.
- Vegetable Oil: With a high smoke point, it ensures even frying and a perfectly crisp texture without absorbing excess grease.
Creating Your Crispy Creation
- Perfect Preparation:
- Begin by peeling your onion and slicing it into half-inch thick rings. Separate the rings carefully, discarding the very small center pieces. Place the rings in ice water for fifteen minutes to reduce their sharp bite and enhance natural sweetness.
- Building Your Breading Station:
- Arrange three shallow dishes in a row for efficient coating. Fill the first with seasoned flour, incorporating your preferred spices. Whisk eggs and milk thoroughly in the second bowl until completely blended. Pour panko breadcrumbs into the third bowl, adding any additional seasonings.
- The Coating Process:
- Pat each onion ring completely dry with paper towels to ensure proper breading adhesion. Dredge thoroughly in the seasoned flour, ensuring even coverage. Dip into the egg mixture, allowing excess to drip off. Finally, coat generously with panko breadcrumbs, pressing gently to create a solid crust.
- Mastering The Fry:
- Heat oil in a heavy-bottomed pot to exactly 375°F. Maintain this temperature throughout cooking for optimal results. Gently lower prepared rings into the hot oil in small batches, giving them plenty of space to float freely. Watch as they transform to a beautiful golden brown, typically three minutes per side.
- The Finishing Touch:
- Remove rings when they achieve that perfect golden color, transferring to a paper towel-lined plate. Season immediately with salt while still hot. Arrange on a serving platter, stacking larger rings around smaller ones for an appealing presentation.
 Pin it
My family has a tradition of making these onion rings for game day gatherings. The joy of watching others experience that first perfectly crispy bite makes all the effort worthwhile. These rings have become such a staple that no family celebration feels complete without them.
Dipping Possibilities
Create a variety of sauces to complement your crispy rings. Mix mayonnaise with sriracha for a spicy kick. Combine ranch dressing with fresh herbs for a garden-fresh taste. Blend barbecue sauce with honey for a sweet and tangy option.
Flavor Variations
Experiment with different seasoning combinations in your flour mixture. Try adding garlic powder and Italian herbs for a Mediterranean twist. Incorporate smoked paprika and cayenne for a spicy version. Mix in ranch seasoning powder for a tangy variation.
Storage Solutions
Keep any leftover rings in an airtight container, layered with paper towels. Reheat in a preheated oven at 375°F for optimal crispiness. Avoid microwaving as this will make them soggy. For best results, consume within two days.
 Pin it
After years of perfecting this recipe, I've learned that great onion rings are both an art and a science. The key lies in attention to detail and patience during the coating process. These homemade rings prove that with the right technique, you can create restaurant-quality results in your own kitchen, bringing that classic diner experience home.
Frequently Asked Questions
- → How do I keep my onion rings crispy?
- Salt them right after frying while still hot, and serve immediately. Don't stack them when draining, as this can create steam and soften the coating.
- → What's the best type of onion to use?
- Sweet or yellow onions work best as they're mild and tender when cooked. White onions can also work well.
- → How do I know when the oil is hot enough?
- Use a thermometer to reach 375°F, or drop a small piece of breading in - it should sizzle immediately and float to the top.
- → Why did my breading fall off?
- Make sure to dredge thoroughly in flour first, as this helps the egg mixture stick, which in turn helps the panko adhere.
- → Can I make these in advance?
- These are best served fresh and hot. While you can reheat them in the oven, they won't be quite as crispy as when freshly fried.