 Pin it
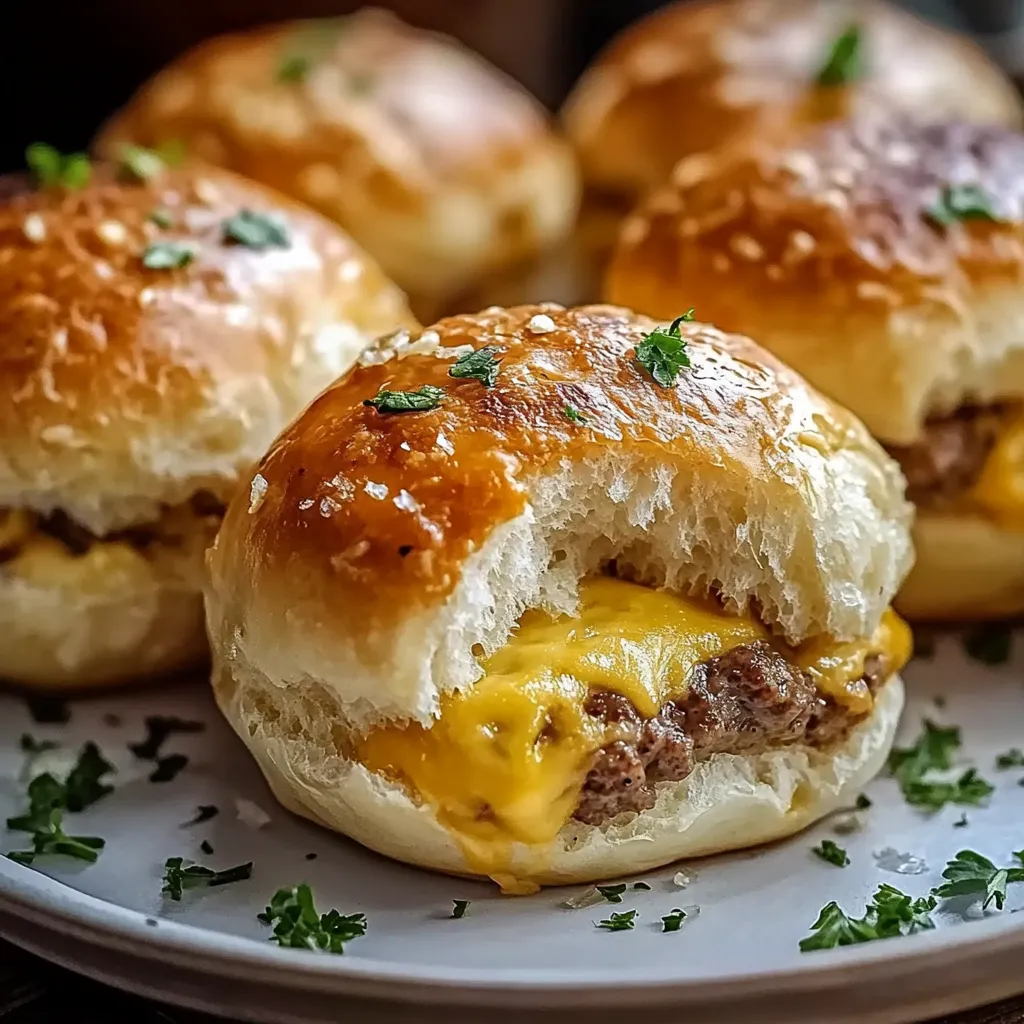
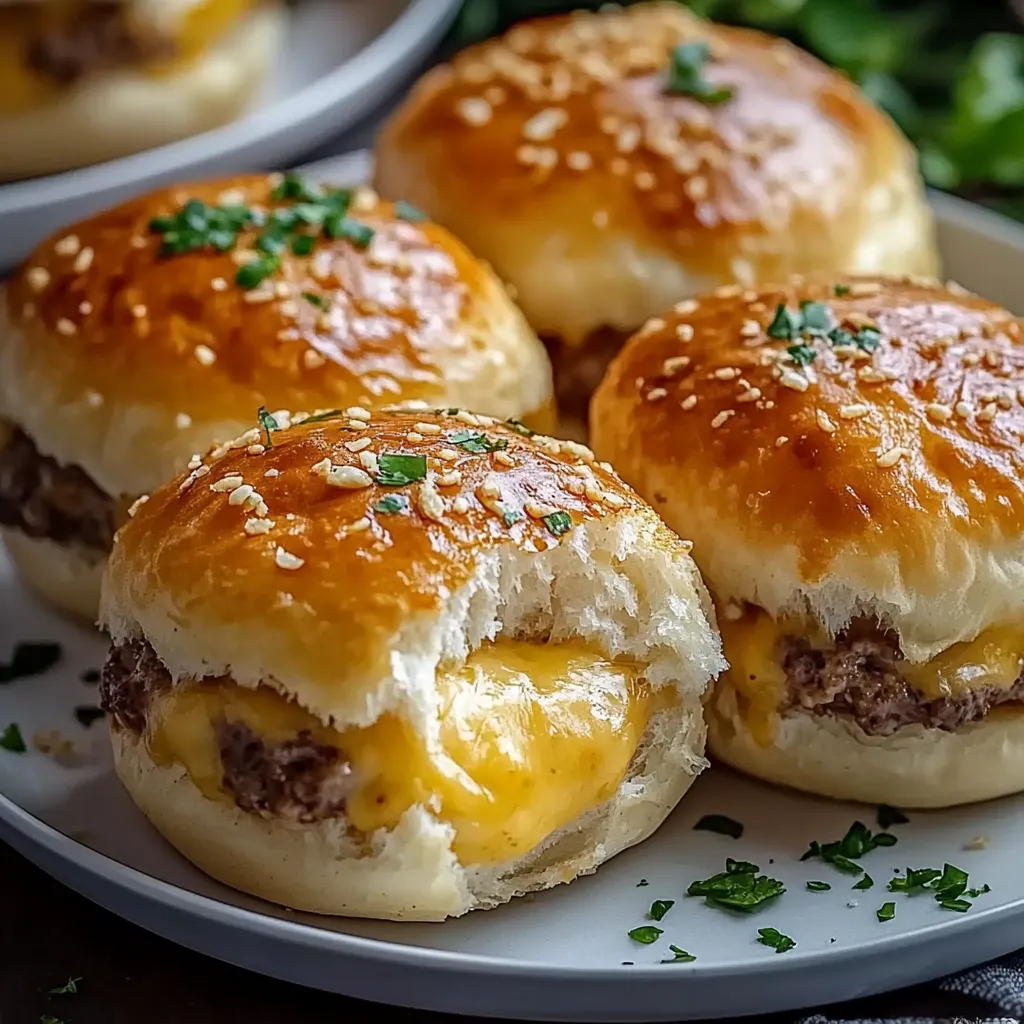
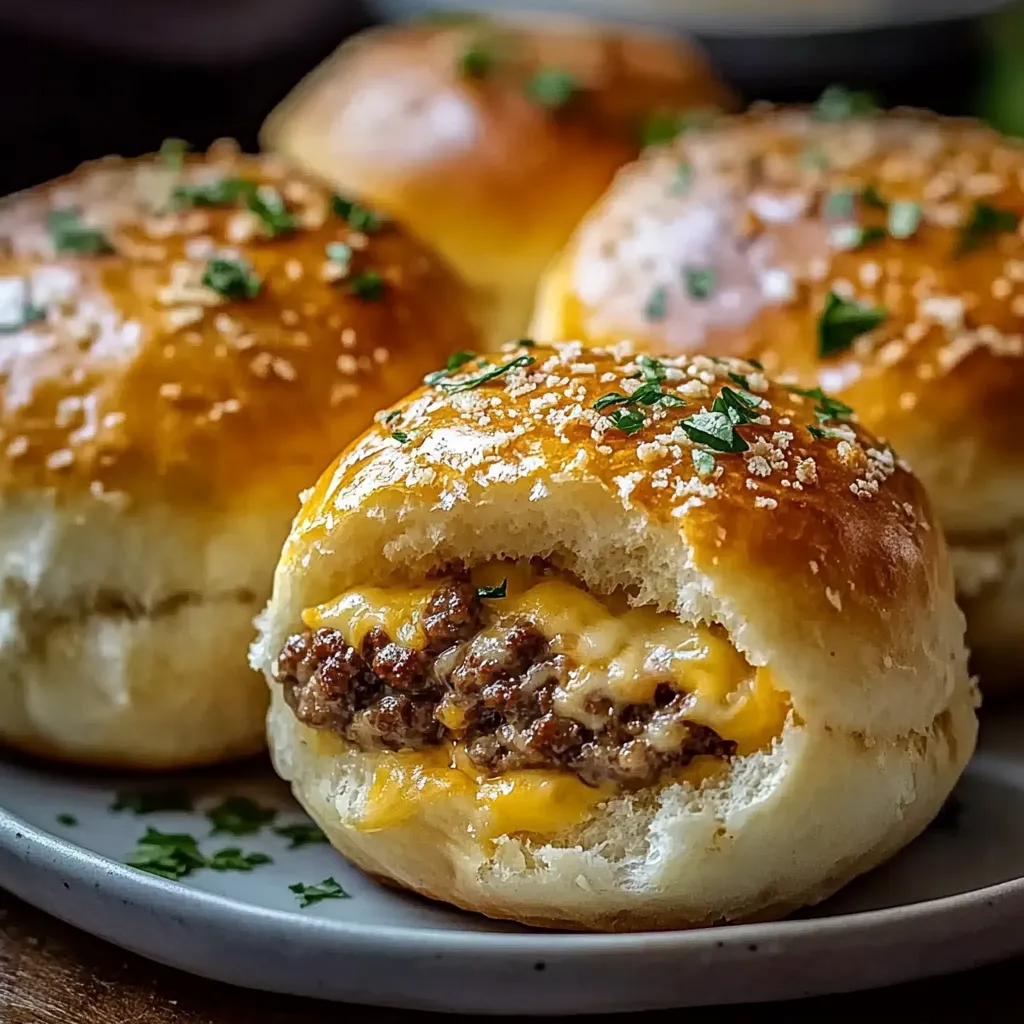
This garlic parmesan cheeseburger bombs recipe transforms classic burger flavors into bite-sized, irresistible packages that disappear minutes after hitting the table. The combination of seasoned beef with gooey melted cheese tucked inside golden biscuit dough creates the ultimate comfort food experience for game days, casual gatherings, or whenever a craving strikes.
When I first made these for my hungry teenagers and their friends, I expected some leftovers. I was hilariously wrong. The entire batch vanished before I could grab seconds, and now they're requested weekly at our house.
Ingredients
- Ground beef: Forms the hearty protein base. Choose 80/20 for best flavor without excessive grease
- Shredded cheddar cheese: Provides that classic burger cheese pull. Freshly shredded melts better than pre packaged
- Cream cheese: Creates an incredibly smooth and creamy texture that binds everything together
- Garlic powder and onion powder: Deliver big flavor without the texture of fresh aromatics
- Refrigerated biscuit dough: Makes this recipe incredibly accessible. Look for the larger sized biscuits
- Parmesan cheese: Creates a savory golden crust when baked. Freshly grated offers superior flavor
- Butter: Helps achieve that beautiful golden exterior and adds richness
- Fresh parsley: Brightens the finished dish both visually and with a hint of freshness
Step-by-Step Instructions
- Prepare The Oven:
- Preheat your oven to 375°F and line a baking sheet with parchment paper. The parchment prevents sticking and makes cleanup a breeze. A properly preheated oven ensures your bombs cook evenly and develop that perfect golden crust.
- Cook The Beef Mixture:
- Brown the ground beef in a skillet over medium heat until no pink remains, breaking it into small crumbles as it cooks. Drain excess grease thoroughly to prevent soggy bombs. This usually takes about 5 to 7 minutes of cooking time.
- Season And Add Cheese:
- Stir the garlic powder, onion powder, salt and pepper into the cooked beef. Then fold in both the cream cheese and shredded cheddar while the meat is still warm. The residual heat helps melt everything into a cohesive, creamy filling. Taste and adjust seasonings if needed.
- Prepare The Dough:
- Open the can of biscuit dough and separate individual biscuits. Use your fingers or a rolling pin to flatten each piece into a circle about 4 inches in diameter. Work on a lightly floured surface if the dough feels sticky.
- Fill And Seal:
- Place a generous tablespoon of the beef mixture in the center of each flattened biscuit. Fold the edges up and over the filling, gathering at the top. Pinch firmly to create a tight seal. Any gaps will allow cheese to leak during baking.
- Add The Parmesan Butter:
- Mix the melted butter and grated Parmesan in a small bowl until combined. Use a pastry brush to generously coat the tops of each sealed bomb. This creates a mouthwatering golden crust with incredible flavor.
- Bake To Perfection:
- Arrange the prepared bombs on your parchment lined baking sheet, leaving about an inch between each. Bake for 12 to 15 minutes or until the tops are deep golden brown and the dough is fully cooked through.
- Rest And Serve:
- Allow the bombs to cool for 3 to 5 minutes before serving. The filling is extremely hot when first removed from the oven. Sprinkle with fresh parsley just before serving for a bright finish both visually and in flavor.
 Pin it
The secret to these bombs is actually in the sealing technique. I learned through multiple batches that a true pinch and twist method works better than simply pressing the edges together. My family now rates each batch on its cheese containment success, and this technique has made me the undisputed champion.
Make Ahead And Storage
These cheeseburger bombs are perfect for meal prep. You can completely assemble them up to a day ahead and refrigerate, covered with plastic wrap. When ready to serve, simply brush with the Parmesan butter mixture and bake as directed, adding 2 to 3 extra minutes to the baking time since they'll be cold from the refrigerator. Leftovers can be stored in an airtight container for up to 3 days. Reheat in a 350°F oven for about 10 minutes or until heated through for best texture.
Creative Variations
Transform these bombs into entirely new flavor experiences with simple swaps. For a breakfast version, substitute the beef with cooked breakfast sausage and use scrambled eggs and cheddar for the filling. Pizza bombs are another crowd pleaser. Use pepperoni, mozzarella, and a spoonful of pizza sauce inside each one. For a southwestern twist, add taco seasoning to the beef and incorporate black beans and corn into the filling. The possibilities are truly endless once you master the basic technique.
Serving Suggestions
These cheeseburger bombs pair wonderfully with a variety of dipping sauces. Try offering ketchup, mustard, and a special sauce made from equal parts mayo and ketchup with a dash of pickle relish. For a complete meal, serve alongside a crisp green salad or sweet potato fries. They also make excellent appetizers for game day spreads when made slightly smaller using half the filling per biscuit.
 Pin it
The perfect party appetizer or family treat, these cheeseburger bombs will become a new go-to recipe in your home.
Frequently Asked Questions
- → Can I make these cheeseburger bombs ahead of time?
Yes! You can prepare the beef-cheese filling and assemble the bombs up to 24 hours in advance. Store them covered in the refrigerator, then brush with the Parmesan-butter mixture just before baking. You may need to add 2-3 minutes to the baking time if cooking from cold.
- → What can I serve with these cheeseburger bombs?
These bombs pair perfectly with dipping sauces like ketchup, mustard, mayo, or ranch dressing. For a complete meal, serve with a fresh green salad, coleslaw, or sweet potato fries. They also make great party appetizers when served alongside other finger foods.
- → Can I use a different type of meat?
Absolutely! Ground turkey, chicken, or plant-based meat alternatives work well as substitutes for the ground beef. Just ensure the meat is fully cooked before mixing with the cheese and seasonings. You may want to adjust seasonings slightly depending on which protein you choose.
- → How do I store and reheat leftovers?
Store cooled leftovers in an airtight container in the refrigerator for up to 3 days. To reheat, place in a 350°F oven for 8-10 minutes until heated through. You can also microwave them for 30-45 seconds, though the texture won't be as crisp as when using the oven method.
- → Can I freeze these cheeseburger bombs?
Yes, these freeze beautifully! After baking, let them cool completely, then place in a freezer-safe container or bag for up to 2 months. To reheat, bake frozen bombs at 350°F for 15-20 minutes until heated through, or thaw overnight in the refrigerator before reheating for a shorter time.
- → What types of cheese work best in this recipe?
Cheddar and cream cheese create a perfect creamy, melty filling, but you can experiment with other varieties. Pepper jack adds a nice kick, while mozzarella creates a stretchy cheese pull. Monterey jack, Colby, or American cheese also work well. For the Parmesan topping, romano or asiago make good substitutes.
