
 Pin it
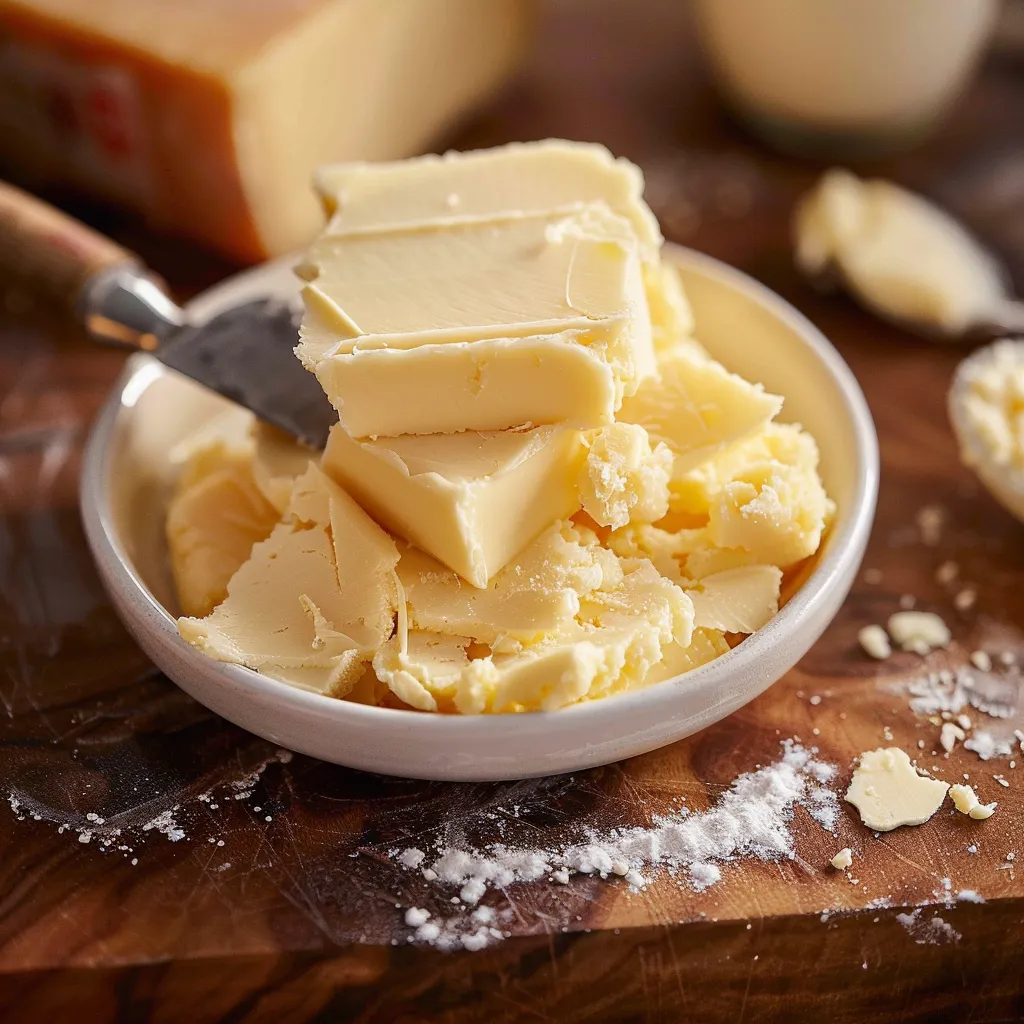
This rich, creamy homemade butter transforms your kitchen into a small-batch creamery with just minutes of effort. The difference between store-bought and freshly churned butter is simply remarkable—vibrant yellow color, velvet-smooth texture, and a clean, sweet dairy flavor that makes even plain toast feel special.
I first made homemade butter during a power outage when my cream was about to spoil. What started as kitchen salvage operation has become a weekend ritual. The rhythmic sound of cream transforming in my mixer now signals the beginning of leisurely weekend breakfasts at our home.
Ingredients
- Heavy cream: Choose the highest quality you can find with at least 36% fat content for the best yield and flavor
- Sea salt (optional): Adds both flavor and helps preserve your butter while enhancing its natural sweetness
Step-by-Step Instructions
- Prepare the cream:
- Pour 16 ounces of heavy cream into your mixing vessel of choice. Allow it to come to room temperature for about 10 minutes for faster churning and better separation.
- Begin churning:
- If using a stand mixer, fit the paddle attachment (not the whisk) and start on medium speed. For hand mixers or food processors, begin with medium-high speed. The cream will go through familiar stages: first whipped cream, then stiff peaks.
- Watch for separation:
- Continue beating as the mixture suddenly breaks. This is the magic moment, approximately 5 minutes in a stand mixer or food processor and about 10 minutes with a hand mixer. The solid yellow butter will separate from the thin white buttermilk. Cover your workspace with a tea towel to prevent splashing.
- Strain and collect:
- Pour the contents through a fine mesh sieve, allowing the buttermilk to drain away. Save this liquid gold for baking projects. The remaining solids are your fresh butter.
- Wash the butter:
- Place butter in a clean bowl and cover with ice-cold water. Press and fold the butter with a spatula or clean hands to release trapped buttermilk. Pour off cloudy water and repeat until water remains clear, about 3 to 5 changes.
- Season if desired:
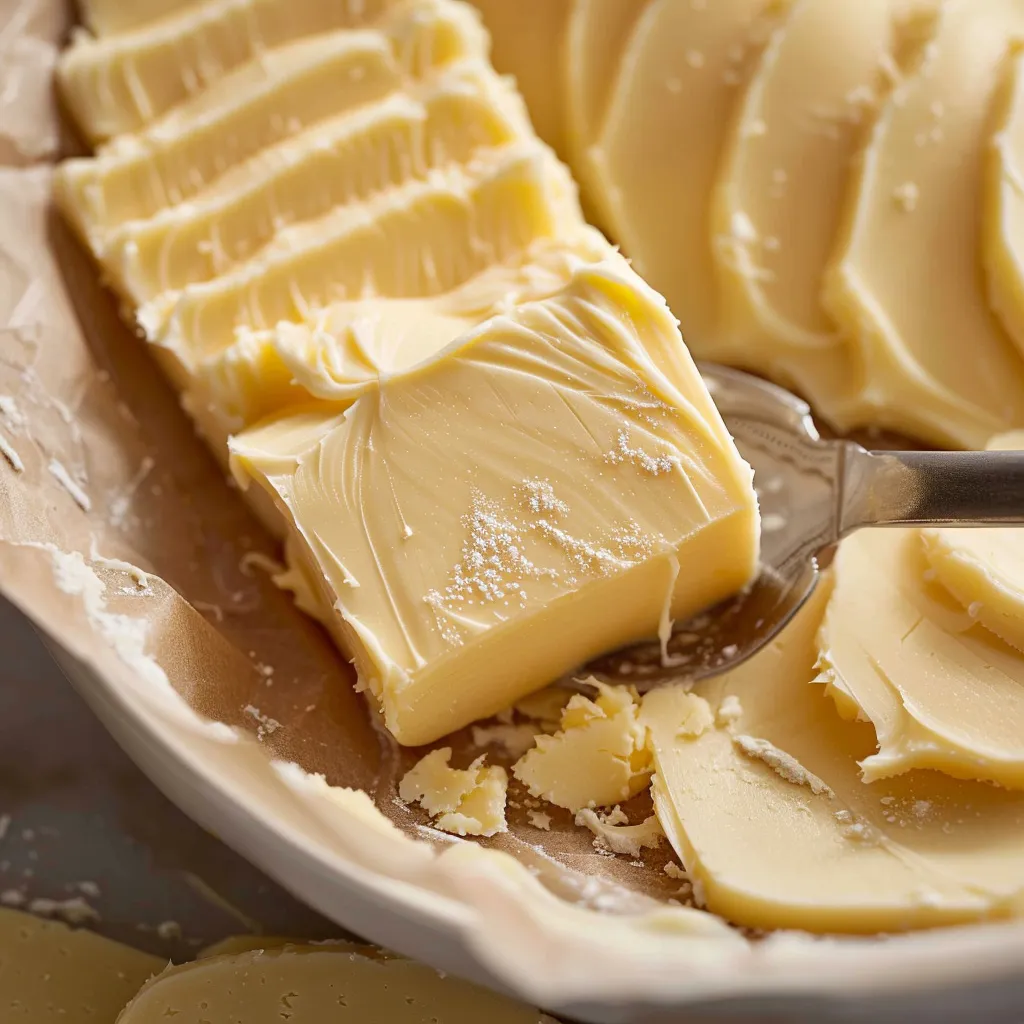
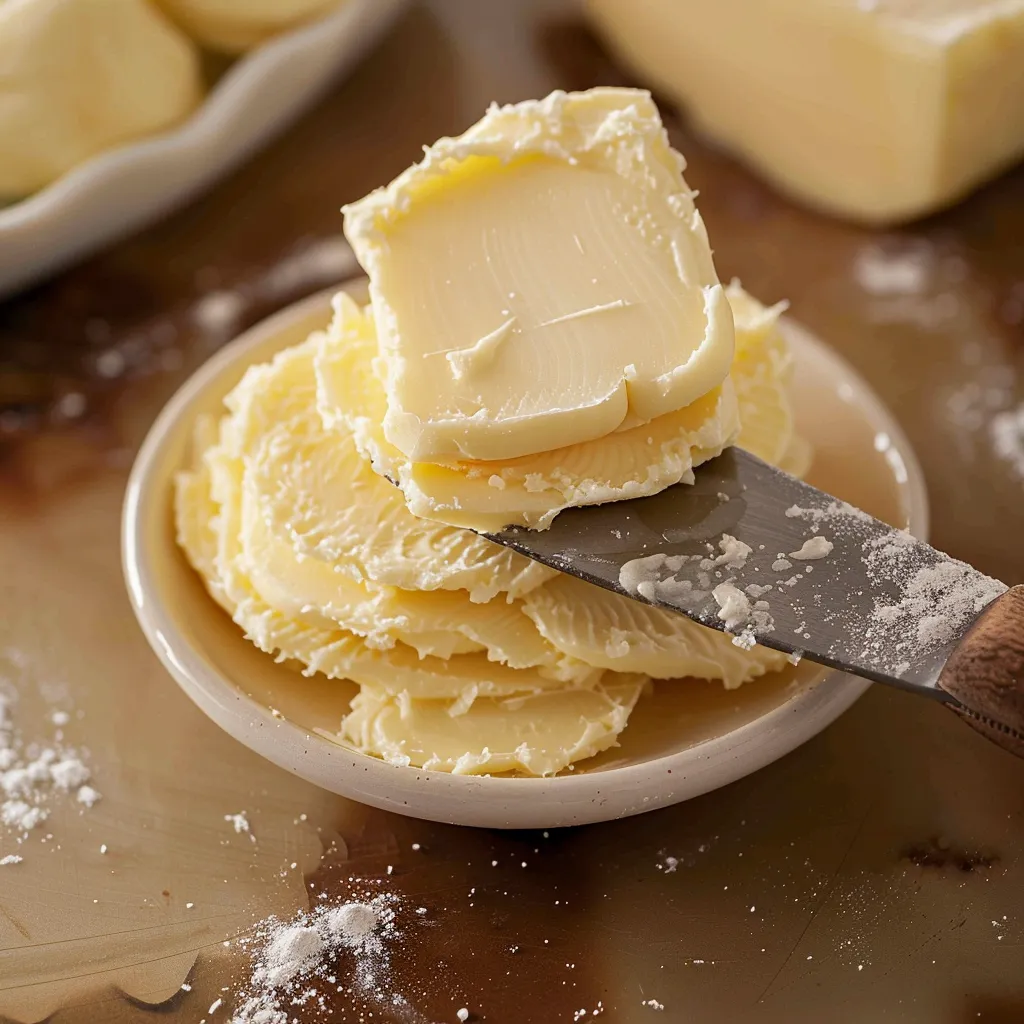
- Transfer clean butter to a plate or container and mix in 1/4 to 1/2 teaspoon sea salt if using. Shape as desired.
 Pin it
My absolute favorite part of making butter is the moment it breaks from whipped cream into distinct solids and liquids. My grandmother called this the alchemist moment, when ordinary cream transforms into gold. She taught me to listen for the distinctive splashing sound that signals butter has formed, even before you see it.
Storing Your Homemade Butter
Homemade butter will keep in the refrigerator for about two weeks when properly washed. Wrap it tightly in waxed paper or place in an airtight container to prevent it from absorbing other flavors. For longer storage, butter freezes beautifully for up to six months. Portion it before freezing so you can thaw just what you need.
Flavor Variations
Once you master basic butter making, a world of flavor possibilities opens up. Add herbs like rosemary, thyme, or chives for savory applications. For sweet compound butters, try honey, cinnamon, maple syrup, or vanilla bean. Mix in your additions after washing but before shaping. Allow flavored butter to rest overnight in the refrigerator for flavors to fully develop.
Troubleshooting Common Issues
If your cream refuses to separate into butter, it may be too cold or have insufficient fat content. Let it warm slightly and continue beating. Thin, streaky butter indicates incomplete washing, which will cause it to sour quickly. Take time with the washing steps for the freshest, longest-lasting butter. If your finished butter seems too soft, chill it for 20 minutes before final shaping.
 Pin it
Frequently Asked Questions
- → What ingredients are needed to make homemade butter?
You only need heavy cream and optionally, sea salt to taste. That’s it!
- → How can I make butter using a stand mixer?
Simply beat heavy cream in a stand mixer until it separates into butter and buttermilk. Strain and knead in cold water to remove excess buttermilk.
- → Can I use a food processor or hand mixer instead of a stand mixer?
Yes! Both a food processor and hand mixer work just as well. The process is similar—beat the cream until it separates, then strain and knead.
- → How should I store homemade butter?
Wrap the butter in wax paper or store it in an airtight jar in the refrigerator. It will last up to two weeks.
- → What can I do with the leftover buttermilk?
Save the buttermilk to use in pancakes, baking, or as a tangy addition to other recipes.
- → Why should I knead the butter in cold water?
Kneading helps remove excess buttermilk, making the butter last longer and improving its texture.