
 Pin it
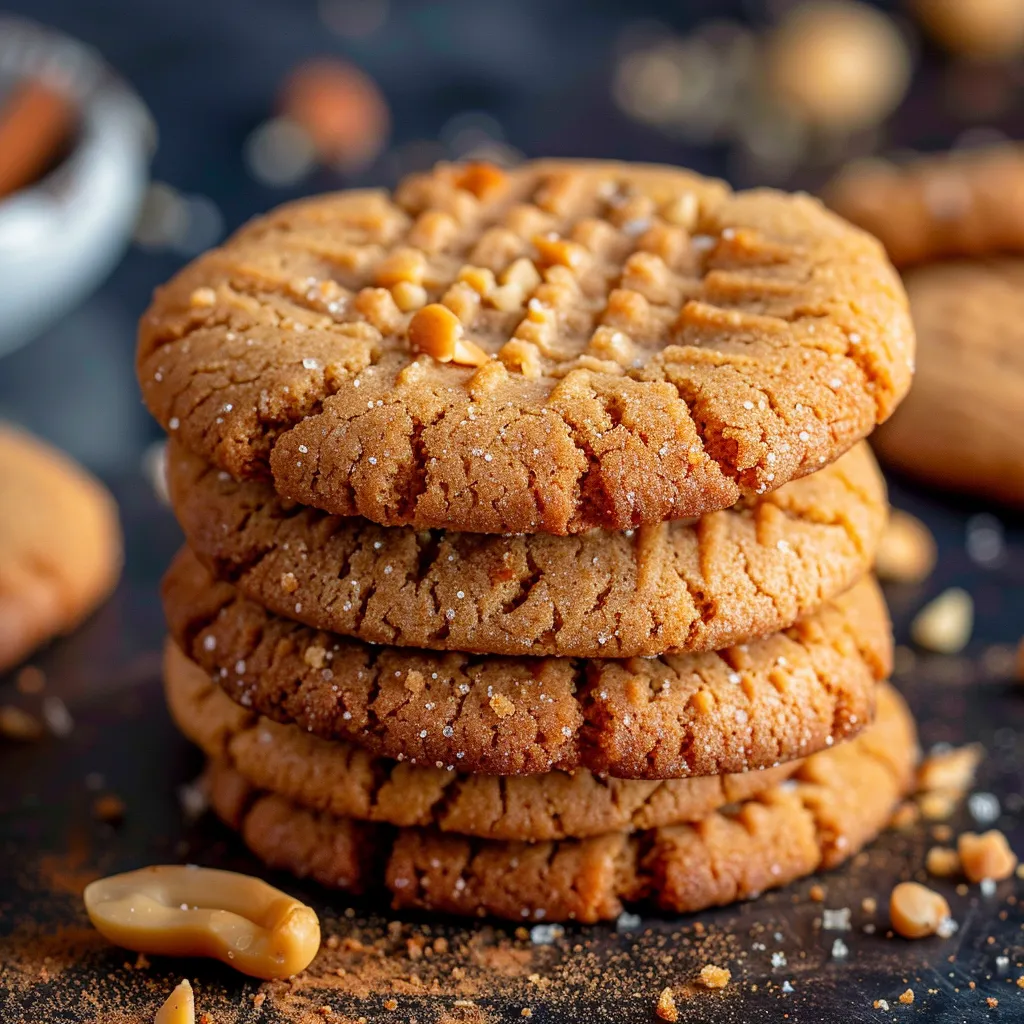
These peanut butter cookies have been my secret weapon for impressing guests with minimal effort for years. The perfect balance of sweetness and rich nutty flavor makes them irresistible, while the classic fork-pressed pattern brings a touch of nostalgia to your cookie jar.
I discovered this recipe during a late night baking emergency when I needed cookies but had almost no ingredients. Now it's my most requested treat when friends visit, proving that sometimes the simplest recipes truly are the best.
Ingredients
- Peanut butter: Use creamy for a smooth texture or chunky for added bits of peanuts throughout your cookies. The natural oils in peanut butter eliminate the need for additional fats.
- Sugar: Provides sweetness and helps create the crisp edges. White granulated sugar works best for the classic texture, but brown sugar can be substituted for a more caramelized flavor.
- Egg: Acts as the binder that holds everything together. Room temperature eggs incorporate more easily into the dough.
- Vanilla extract: Enhances the overall flavor profile with warm aromatic notes that complement the peanut butter perfectly. Pure vanilla extract rather than imitation makes a noticeable difference.
Step-by-Step Instructions
- Prepare Your Space:
- Heat your oven to 175°C or 350°F and prepare your baking sheet with parchment paper or a silicone baking mat. This prevents sticking and makes cleanup much easier. Position your oven rack in the center for even heat distribution.
- Create The Dough:
- Combine peanut butter and sugar in a medium bowl first, mixing until well incorporated and slightly lighter in color. Then add the egg and vanilla extract. Stir until you have a thick, uniform dough that pulls away from the sides of the bowl. This should take about 2 minutes of hand mixing.
- Shape Your Cookies:
- Take approximately one tablespoon of dough and roll between your palms to form a perfect ball. Place on the prepared baking sheet, allowing plenty of space between each one as they will spread slightly. Press each ball twice with a fork to create the signature crisscross pattern, flattening to about half the original height.
- Bake To Perfection:
- Place the sheet in your preheated oven and bake for 8 to 10 minutes. Watch carefully toward the end—the edges should just be setting and taking on a slight golden color, but the centers will look soft. Do not overbake as they continue cooking from residual heat after removal.
- Cool Properly:
- Allow the cookies to rest on the baking sheet for 5 minutes after removing from the oven. This critical step allows them to firm up enough for handling. Then transfer to a wire cooling rack to cool completely, which prevents the bottoms from becoming soggy.
 Pin it
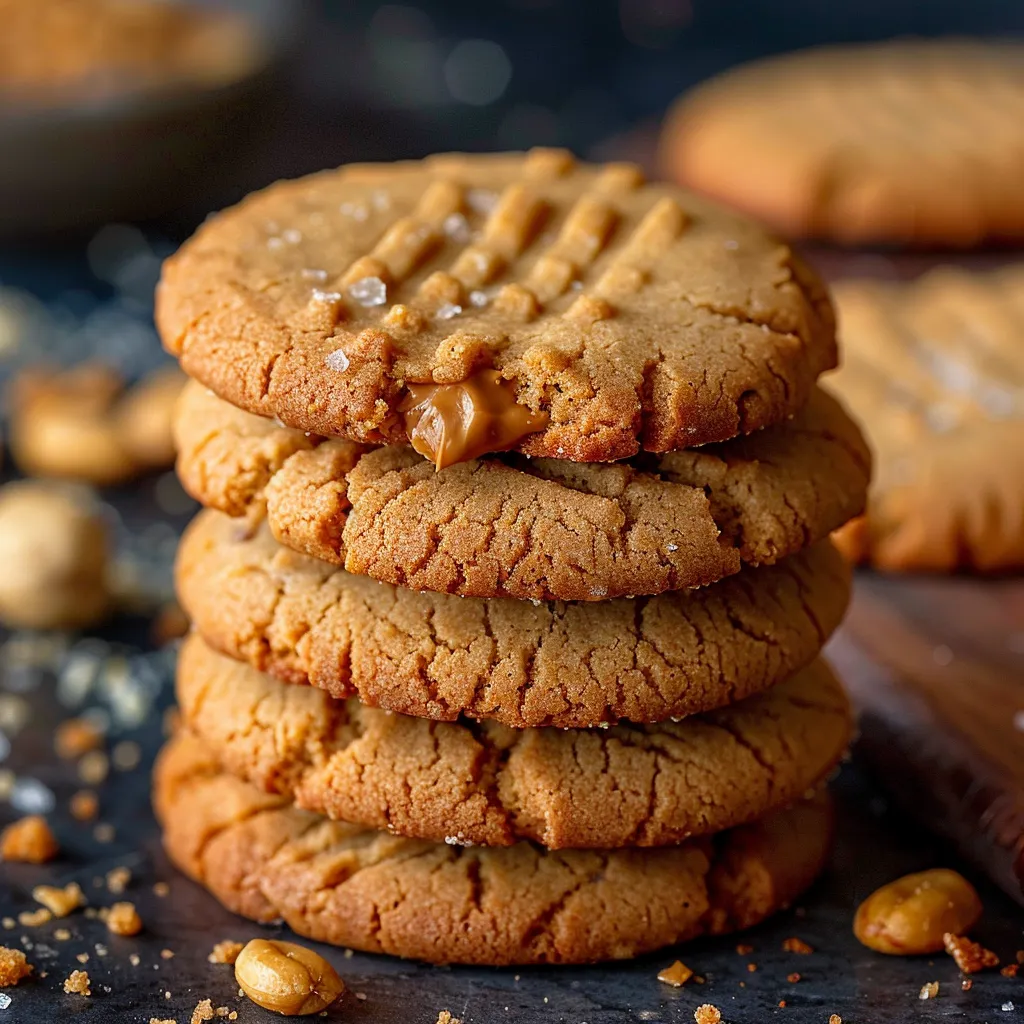
My grandmother first taught me to make these during summer visits to her farmhouse kitchen. She always added a pinch of sea salt on top before baking, a trick I still use today to enhance the sweet and savory contrast that makes these cookies so addictive.
Storage Solutions
These peanut butter cookies stay fresh in an airtight container at room temperature for up to 5 days, though they rarely last that long in my house. For longer storage, refrigerate for up to 2 weeks, separating layers with parchment paper to prevent sticking. The texture becomes slightly firmer when chilled but just as delicious. You can also freeze baked cookies for up to 3 months. Allow them to thaw at room temperature for about an hour before serving.
Tasty Variations
The beauty of this basic recipe lies in its versatility. Fold in half a cup of chocolate chips for a delicious sweet contrast to the nutty base. Mini M&Ms create a colorful confetti effect that children especially love. For a grown up version, add finely chopped salted peanuts and a drizzle of melted dark chocolate after baking. Another favorite variation involves adding a teaspoon of cinnamon to the dough and rolling the balls in cinnamon sugar before pressing with a fork.
Serving Suggestions
These cookies make an exceptional base for ice cream sandwiches, especially when filled with vanilla or chocolate ice cream and rolled in chopped peanuts around the edges. For a sophisticated dessert, crush the cookies to create a crust for a no bake peanut butter cheesecake. They also pair wonderfully with a cold glass of milk, hot coffee, or even a glass of dessert wine for adults. Package them in decorative bags or tins for a heartfelt homemade gift.
 Pin it
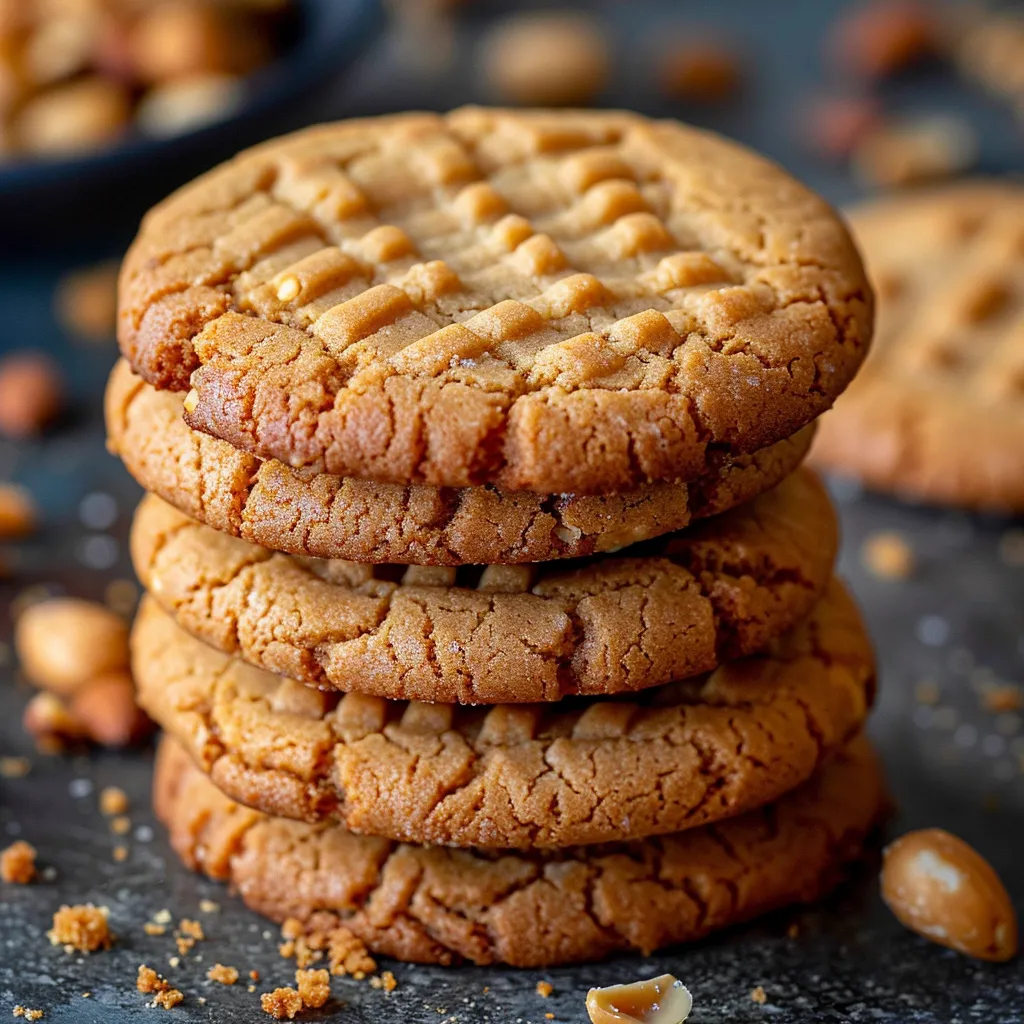
These cookies are the perfect treat to satisfy sweet cravings with minimal effort and maximum flavor.
Frequently Asked Questions
- → Can I use crunchy peanut butter instead of creamy?
Yes! Both creamy and crunchy peanut butter work wonderfully in this recipe. Crunchy peanut butter will add extra texture and more pronounced peanut pieces throughout your cookies.
- → Why are my cookies too crumbly?
Crumbly cookies usually result from overbaking or too much sugar. Try reducing the baking time by 1-2 minutes or slightly reducing the sugar. The cookies should look slightly underdone in the center when you remove them from the oven.
- → How do I store these cookies?
Store cooled cookies in an airtight container at room temperature for up to 5 days. For longer storage, freeze them in a freezer-safe container with parchment between layers for up to 3 months.
- → Can I add chocolate chips to the dough?
Absolutely! Fold in about 1/2 cup of chocolate chips after mixing the dough for a delicious chocolate-peanut butter combination. Semi-sweet, milk, or dark chocolate all pair wonderfully with the peanut flavor.
- → Are these cookies gluten-free?
Yes, these cookies are naturally gluten-free as they contain no flour. Just be sure to check your peanut butter label to confirm it hasn't been processed in a facility with gluten-containing products if you have celiac disease or severe gluten sensitivity.
- → Why do you press the cookies with a fork?
The classic crisscross pattern created with a fork helps flatten the cookies for even baking. Peanut butter cookie dough is relatively dense, and this technique ensures they spread properly and cook evenly throughout.