
 Pin it
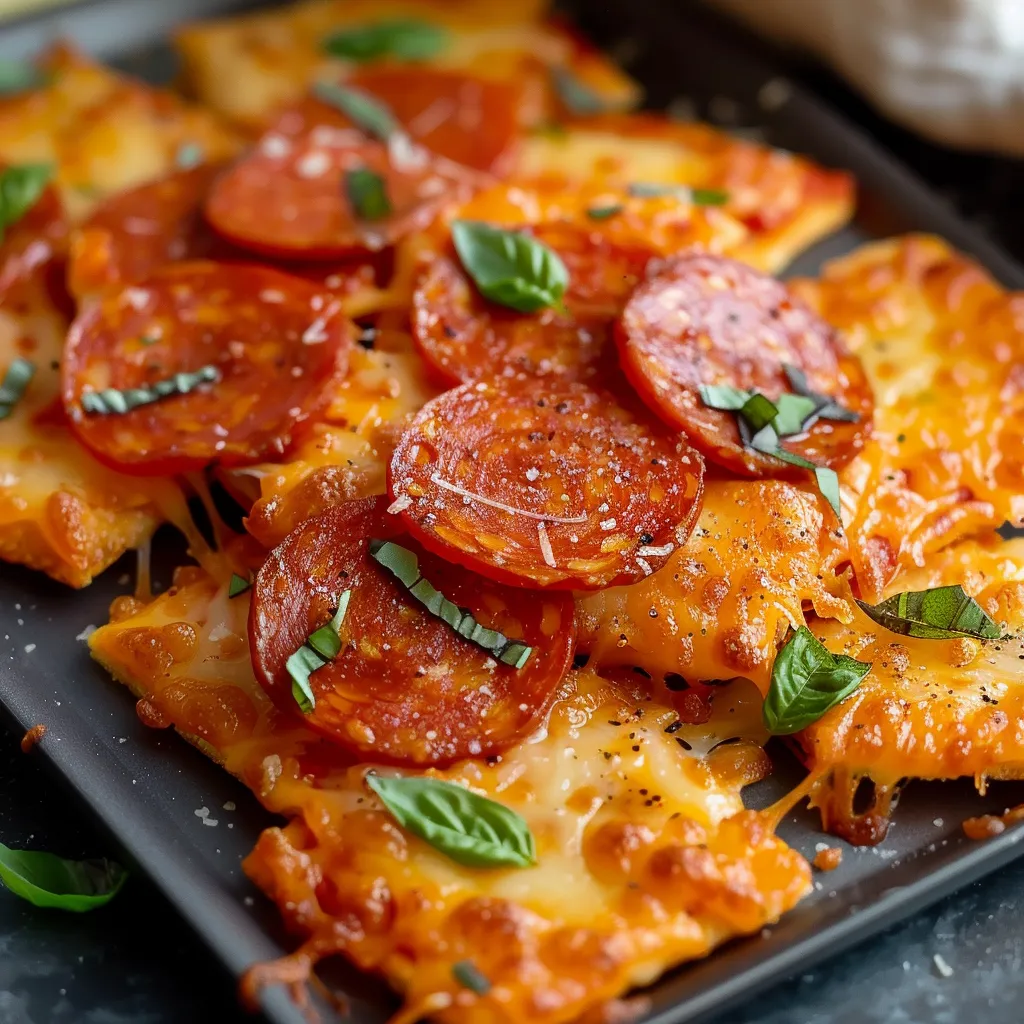
The art of creating perfect pepperoni cheese crisps begins with understanding how simple ingredients transform into an extraordinary keto friendly delicacy. These crisps aren't just another low carb snack; they represent a culinary breakthrough that combines the rich, salty essence of premium pepperoni with the complex flavors of carefully melted cheese. When done right, these crisps develop a gorgeous amber color, with edges that curl slightly upward and centers that hold just the right amount of chewiness, creating a snacking experience that satisfies even the most discerning palates.
I discovered these crisps during my early keto journey, and they've become a staple in my household. After countless experiments and refinements, I've found that the combination of different cheeses creates layers of flavor that make these irresistible to both keto and non keto eaters alike.
Perfect Ingredient Selection
- Premium aged cheddar or artisanal cheese blend: Select cheese aged minimum 6 months for optimal flavor development and superior melting properties. Avoid pre-shredded varieties containing anti-caking agents
- Carefully selected pepperoni: Source pepperoni sliced to 1/8 inch thickness, ideally from an Italian deli. The pepperoni should have visible marbling and a bright red color
- Artisanal sugar free tomato sauce: Choose sauce made from vine ripened tomatoes, containing no more than 5 ingredients. The sauce should have a thick consistency
- Italian seasoning blend: A carefully curated mix of dried basil, oregano, thyme, and rosemary adds depth and authenticity
- Grated Parmesan: Aged Parmigiano Reggiano provides an umami-rich flavor foundation and helps achieve the perfect crisp texture
- Fresh garlic: Finely minced fresh garlic infuses the cheese with aromatic depth during the melting process
Creating Perfect Crisps
- Essential Preparation:
- Gather all ingredients and equipment within arm’s reach. Ensure cheese has reached room temperature for optimal melting. Line your work surface with parchment paper, positioning it for easy access during the cooking process.
- Temperature Control:
- Heat your heavy bottomed skillet over medium heat for exactly 3 minutes. The pan should be hot enough that a droplet of water sizzles gently when it hits the surface. This precise temperature ensures even melting and prevents burning.
- Cheese Layering:
- Begin with a foundation layer of the cheddar blend, followed by a light dusting of Parmesan. This combination creates the perfect crispy texture while developing complex flavor notes.
- Seasoning Integration:
- Sprinkle your Italian herb blend and minced garlic strategically across the cheese surface. This allows the heat to release their essential oils into the melting cheese.
- Final Assembly:
- Place your pepperoni slice carefully in the center once the cheese begins to bubble. Press gently to ensure proper adhesion while maintaining the circular shape.
 Pin it
My Italian grandmother always insisted on using at least three varieties of cheese in any recipe. This wisdom transformed these simple crisps into a gourmet experience that has become a cherished family tradition.
Elevated Serving Ideas
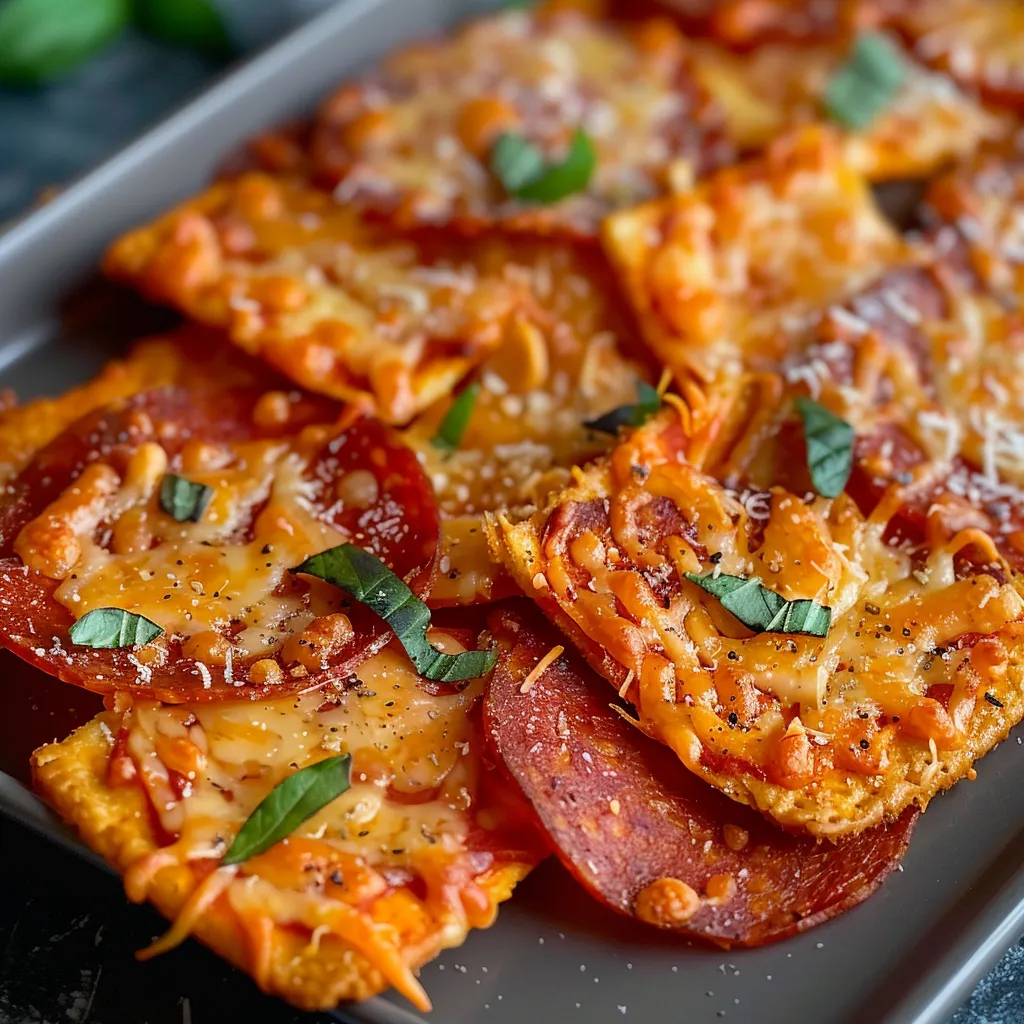
Transform your pepperoni cheese crisps into an elegant appetizer by creating a sophisticated plating arrangement. Layer them between fresh basil leaves on a rustic wooden board, accompanied by small bowls of warmed tomato sauce for dipping. For a complete keto friendly spread, pair them with marinated olives, fresh mozzarella balls, and thinly sliced prosciutto.
Creative Adaptations
Experiment with different cheese combinations like smoked gouda for depth or pepper jack for heat. Consider adding crumbled bacon, diced jalapeños, or caramelized onions before the final crisping stage. For a Mediterranean twist, incorporate sun-dried tomatoes and fresh oregano into the cheese mixture.
Keeping Them Perfect
Store your cooled crisps in an airtight container, placing parchment paper between layers to prevent sticking. They maintain optimal crispiness for three days at room temperature or five days when refrigerated. For the best texture, recrisp them in a preheated oven at 350°F for exactly 2 minutes before serving.
 Pin it
After years of perfecting this recipe in both professional and home kitchens, I've found these pepperoni cheese crisps rival any commercial alternative. The combination of premium ingredients and careful technique creates a snack that satisfies both casual munching and sophisticated entertaining needs.
Frequently Asked Questions
- → Which cheese works best for these crisps?
- Both cheddar cheese or a blend of mozzarella and parmesan work well. The key is using hard cheese that melts and crisps up nicely.
- → Can I make these ahead of time?
- While best served fresh and warm, they can be made ahead and reheated briefly in a skillet or microwave to re-crisp.
- → Why isn't my cheese crisping up?
- Make sure your heat isn't too low and that you're using a hard cheese rather than a soft variety.
- → Can I use different toppings?
- Yes, you can experiment with different meats or seasonings, just ensure they're pre-cooked if needed.
- → How do I store leftover crisps?
- Store in an airtight container at room temperature for 1-2 days. Reheat briefly to restore crispiness.