
 Pin it
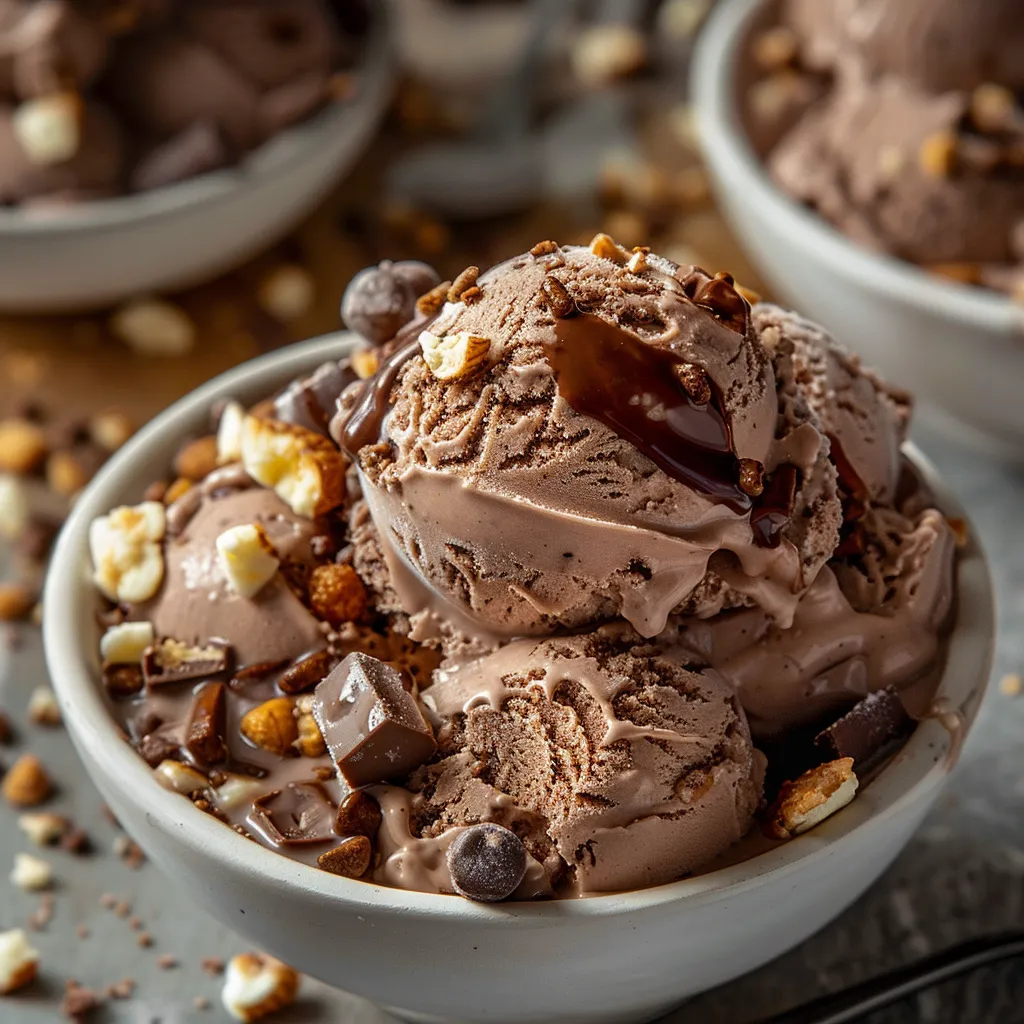
This rich, velvety Rocky Road ice cream brings together the perfect trifecta of chocolate creaminess, crunchy peanuts, and pillowy marshmallows for an indulgent homemade treat that outshines any store-bought version. The egg-free chocolate base makes it simpler to prepare while still delivering that classic Rocky Road experience we all crave.
I started making this recipe during a particularly hot summer when my kids were begging for daily ice cream runs. Now they actually prefer waiting for this homemade version to freeze because they get to control exactly how many marshmallows go in their batch.
Ingredients
- Sweetened condensed milk: Creates an incredibly smooth base without needing eggs
- Unsweetened cocoa powder: Provides rich chocolate flavor without being overly sweet
- Heavy cream: Delivers that luxurious mouthfeel essential for premium ice cream
- 2% milk: Balances the richness while maintaining creaminess
- Vanilla extract: Enhances the chocolate flavor; use pure not imitation for best results
- Chopped peanuts: Add the classic Rocky Road crunch; look for dry roasted for extra flavor
- Miniature chocolate chips: Incorporate pockets of intense chocolate throughout
- Miniature marshmallows: Create the signature Rocky Road experience; choose fresh soft ones
Step-by-Step Instructions
- Prepare the Base:
- Combine condensed milk and cocoa powder in a medium saucepan over low heat. Stir continuously for about 5 minutes until the mixture becomes completely smooth and slightly thickened. This careful heating helps the cocoa powder fully incorporate without becoming lumpy or scorching.
- Cool and Enhance:
- Remove your chocolate base from heat and allow it to cool for approximately 10 minutes. Gently whisk in the heavy cream, 2% milk, and vanilla extract until completely combined. The mixture will appear quite liquid at this stage, which is exactly what you want.
- Chill Thoroughly:
- Transfer the mixture to a covered container and refrigerate until completely cold, at least 4 hours but preferably overnight. This crucial step ensures proper freezing in your ice cream maker and creates the smoothest possible texture.
- Churn to Perfection:
- Pour your chilled base into your ice cream maker and begin the churning process according to your specific machine's instructions. Most home ice cream makers will take between 20-30 minutes to reach a soft-serve consistency.
- Add Mix-ins:
- When the ice cream reaches a semi-solid state about halfway through churning, gradually add the peanuts, chocolate chips, and marshmallows. This timing prevents the mix-ins from sinking to the bottom and ensures even distribution throughout.
- Final Freeze:
- Transfer the churned ice cream to a freezer-safe container, adding extra marshmallows on top if desired for visual appeal. Cover with parchment paper pressed directly onto the surface to prevent ice crystals, then seal. Freeze for at least 2 hours until firm.
Pin it
The mini marshmallows are undoubtedly my favorite element in this recipe. I discovered through multiple batches that adding them halfway through churning keeps them from dissolving completely while still allowing them to soften just enough to create that perfect pillowy texture when you bite into them.
Storing Your Ice Cream
Homemade Rocky Road ice cream keeps best in a shallow, wide container rather than a deep one. Cover the surface directly with parchment paper before putting the lid on to prevent ice crystals from forming. When stored properly in the back of your freezer where temperatures are most consistent, this ice cream maintains optimal quality for up to two weeks, though the marshmallows may gradually lose some of their original texture after the first week.
Customization Options
This recipe serves as an excellent base for creating your own Rocky Road variations. Try substituting walnuts or almonds for the peanuts if you have allergies or preferences. White chocolate chips create an interesting contrast against the dark chocolate base. For a more adult version, consider adding a tablespoon of coffee liqueur to the base before churning or mixing in some chopped toffee pieces instead of marshmallows. The chocolate base itself works beautifully as a standalone ice cream if you prefer to omit the mix-ins entirely.
Serving Suggestions
Rocky Road ice cream shines when served in a warmed waffle bowl with a light drizzle of hot fudge sauce that creates a magical temperature contrast. For an elevated dessert experience, sandwich a scoop between two homemade chocolate cookies for the ultimate ice cream sandwich. During summer gatherings, try setting up a Rocky Road sundae bar with extra toppings like caramel sauce, whipped cream, and additional nuts so everyone can customize their serving.
Troubleshooting Tips
If your ice cream seems too soft after churning, your base might not have been cold enough before starting. Always ensure your mixture is thoroughly chilled and your ice cream maker bowl has been frozen for at least 24 hours. For harder ice cream, extend the final freezing time. If your mix-ins sink to the bottom, they were likely added too early in the churning process. The ice cream should be thick enough to suspend the additions when you incorporate them.
Pin it
Frequently Asked Questions
- → Can I use a different type of nut for this dessert?
Yes, you can substitute peanuts with walnuts, almonds, or any nut of your choice. Adjust according to taste or allergies.
- → What if I don't have an ice cream maker?
If you don't have an ice cream maker, you can whisk the mixture and freeze it, stirring every 30 minutes to break up ice crystals until creamy.
- → Can I make this dessert without cocoa powder?
While cocoa powder is key for the chocolate flavor, you can replace it with melted chocolate for a richer taste.
- → How many servings does this dessert yield?
The recipe makes about 12 servings, perfect for family gatherings or small parties.
- → Can I adjust the sweetness of the ice cream?
To control sweetness, you can reduce the amount of sweetened condensed milk or use a low-sugar alternative.