
 Pin it
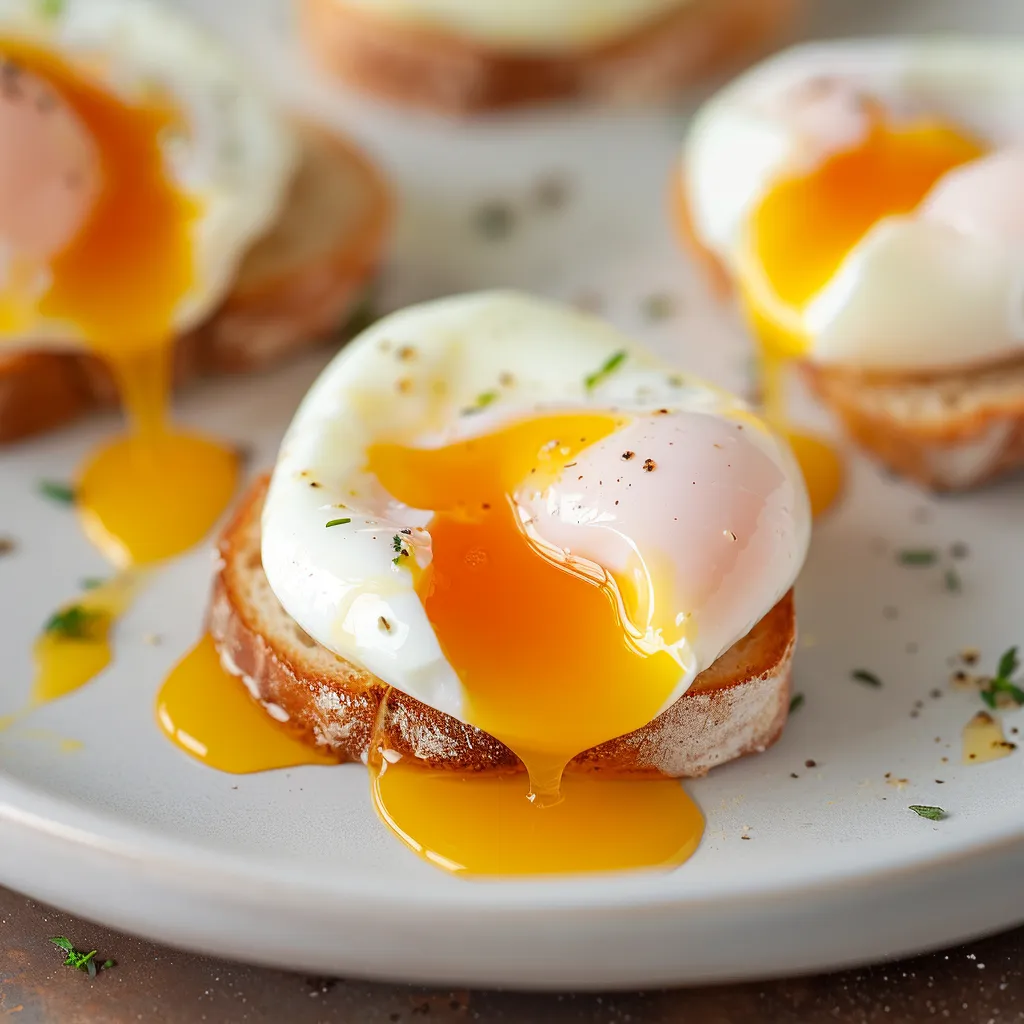
This foolproof poached egg method has transformed my breakfast game, creating silky eggs with perfectly runny yolks that look and taste like they came from a fancy brunch spot. After years of frustrating attempts, this technique finally clicked and has become my go-to method.
I discovered this method after countless failed attempts left me with cloudy water and ragged eggs. Now my family requests these velvety poached eggs every weekend, usually perched atop avocado toast.
Key Ingredients
- 1 fresh egg: The fresher the egg, the better it holds together. Check the date on your carton and use eggs within a week of purchase for best results.
Step-by-Step Instructions
- Prepare the Egg:
- Crack your egg into a fine-mesh sieve positioned over a small bowl. Gently swirl the sieve to allow the thinner white to drain away. This crucial step eliminates those stringy wisps that make homemade poached eggs look amateur. Transfer the drained egg to a small bowl for easy sliding into the water.
- Heat the Water:
- Fill a small pot with at least two inches of water and bring it to a gentle simmer. The water temperature is critical here. Look for tiny bubbles appearing on the bottom and sides of the pot with just a few breaking the surface. Too hot and your egg will break apart, too cool and it won't set properly.
- Poach the Egg:
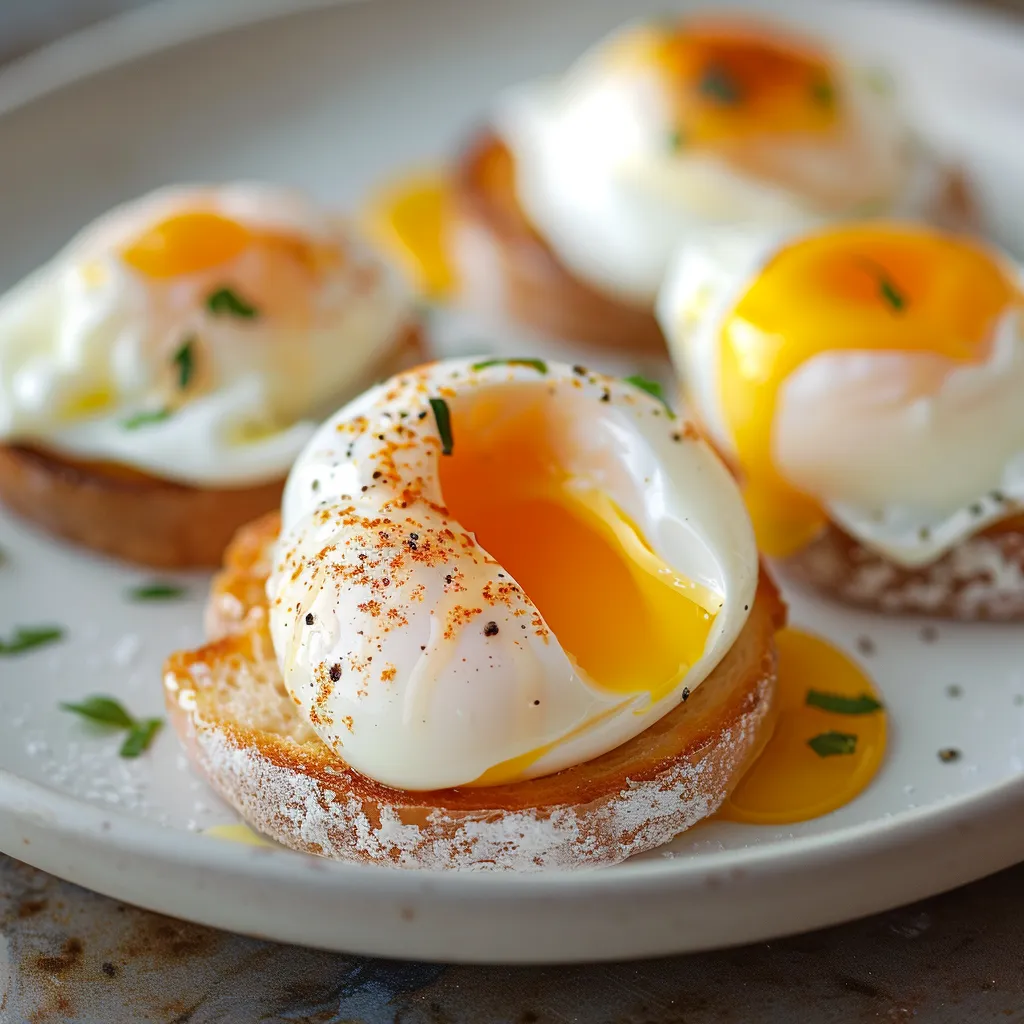
- Carefully slide the drained egg from your bowl into the barely simmering water. Resist the urge to stir or disturb it. For a gloriously runny yolk while ensuring the white is fully set, cook for exactly 4 minutes. Adjust to 3 minutes if you prefer a very runny center or 4.5 minutes for a slightly firmer yolk.
- Remove and Serve:
- Using a slotted spoon, gently lift your poached egg from the water. Hold it above the pot for a moment to let excess water drain, then briefly place on a paper towel to absorb remaining moisture. Transfer immediately to your plate and serve while hot.
 Pin it
The sieve method changed everything for me. I learned it from a chef at a cooking class who explained that removing the thinner whites before poaching creates that perfect compact shape you see in restaurants. I've never gone back to my old methods.
Batch Preparation Tips
When making multiple poached eggs, use a wider pot with sufficient depth. The water level must still be at least two inches deep. Prepare each egg individually using the sieve method, then add them to the water one by one, keeping track of which went in first.
Remove them in the same order they went in, maintaining the consistent cooking time for each egg. This systematic approach ensures every egg is perfectly cooked even when preparing brunch for a crowd.
Storage and Make-Ahead Options
Poached eggs can actually be prepared ahead of time and stored for later use. After poaching, transfer eggs to a bowl of ice water to halt the cooking process. Once completely cooled, store them in cold water in a covered container in the refrigerator for up to 24 hours.
To reheat, bring a pot of water to a gentle simmer, then lower the heat so the water is hot but not bubbling. Place your cold poached eggs in the water for about 60 seconds until warmed through. This make-ahead method is perfect for entertaining or busy mornings.
Serving Suggestions
The versatility of poached eggs extends far beyond basic breakfast. Try them atop avocado toast with a sprinkle of red pepper flakes, nestled in a bowl of ramen for added richness, or as the crowning touch on a grain bowl with roasted vegetables.
For a classic presentation, serve on toasted English muffins with hollandaise sauce for homemade eggs Benedict. The slightly runny yolk creates a natural sauce that enriches anything it touches.
Troubleshooting Poached Eggs
If your first attempt isn't perfect, adjust your technique. Water too turbulent? Lower the heat further. Egg still spreading? Your egg might not be fresh enough, or you might need to drain more of the white. Whites not set after cooking? Your water temperature might be too low.
Remember that poaching eggs takes practice. Each stove heats differently, and egg freshness varies. With each attempt, you'll develop the intuition needed for perfect results.
 Pin it
Frequently Asked Questions
- → How do I achieve a perfectly runny yolk?
Cook the egg for about 3 to 3 1/2 minutes in barely simmering water for a very runny yolk.
- → What’s the benefit of using fresh eggs?
Fresh eggs have firmer whites, which help create a neater shape while poaching.
- → Why should I avoid salting the poaching water?
Salt can break down the egg white, causing it to spread instead of holding its shape.
- → Can I poach multiple eggs at once?
Yes, use a wide pot and prepare each egg separately before adding them one at a time to the water.
- → What should I do with poached eggs I don’t eat immediately?
Place them in cold water to stop the cooking process, then reheat briefly in warm water before serving.